The Joomlashack Blog
sh404SEF Causes Wrong Modules to Show
- Written by Steve Burge Steve Burge
- Published: 13 June 2010 13 June 2010
sh404SEF sometimes creates pages where you don't see the modules that you expect to. The problem is often caused by another feature. Joomla produces lots of URL possibilities for each page and sh404SEF solves that by redirecting all the possibilities to just one URL. This is good for your site's SEO. However, sh404SEF can sometimes choose the wrong URL possibility. This is how to fix that problem when it happens:
Go to sh404SEF Configuration
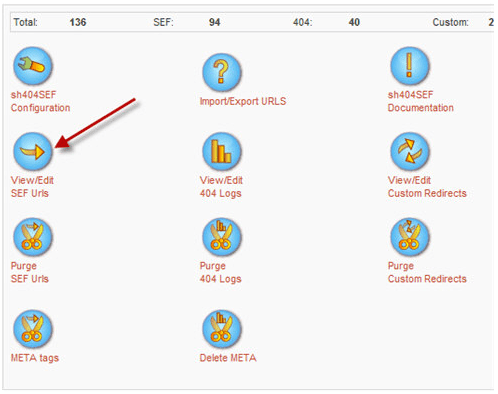
Go to Administrator >> sh404SEF >> View/Edit SEF URLs
Search for the Problem URL
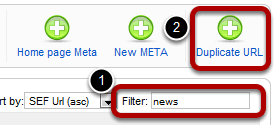
Search for the URL that is causing you problems. When you've found it, click on the box next to the URL and then click "Duplicate URL" in the top-right corner.
Examine the URLs
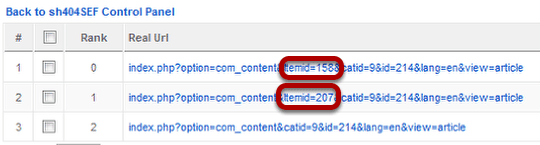
You will hopefully see more than one possibility for each URL. The key part of each URL is "Itemid=XXX". This controls which modules and templates appear on a page. The URL with Rank of 0 is the current URL. In order to get different modules and templates to appear on a page you need to choose a URL with a different Itemid. In this case we'll try the second URL which has Itemid=207
Choose a New URL Possibility
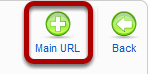
Check the box next to the new URL possibility you want to try and click "Main URL" in the top-right corner. Check the front of your site to see if this has solved the problem. If not, repeeat the process and test another URL possibility.
Deploying Large-Scale Websites with Joomla - Part 1: An Interview with Mitch Pirtle
- Written by Steve Burge Steve Burge
- Published: 10 June 2010 10 June 2010
I've heard a lot of talk lately about whether or not Joomla can handle large-scale websites, or if it's best used for small mom-and-pop sites. I can say emphatically that the answer to that question is that Joomla is not only useful for small mom-and-pop sites, but it can also be used to build it medium and large-scale sites. There are a few popular examples of large-scale websites built with Joomla, and two developers have been involved in a number of these sites: Mitch Pirtle from Space Monkey Labs and Fotis Evangelou from Komrade and JoomlaWorks. In this 2-part series, I am interviewing both Mitch and Fotis to get their insights on what it takes to deploy large-scale websites with Joomla. Part 1 is my interview with Mitch.
Read more: Deploying Large-Scale Websites with Joomla - Part 1: An Interview with Mitch Pirtle
Converting a PSD File to Joomla Template
- Written by Steve Burge Steve Burge
- Published: 10 June 2010 10 June 2010
This tutorial consists of three videos. They will show you how to take an existing PSD file created in Photoshop and convert it into a Joomla template. They are a sample of the Joomla Template Design class that is available to subscribers.
- Slicing / Exporting the Background
- Slicing / Exporting Elements
- Final Site and CSS
Part 1: Slicing / Exporting the Background
Part 2: Slicing / Exporting Elements
Part 3: Final Site and CSS
Joomla Day New England June 5th
- Written by Barrie North Barrie North
- Published: 03 June 2010 03 June 2010
 Join us at the 2nd annual Joomla Day in Vermont - June 5, 2010, 9 AM - 5 PM at Marlboro College, Marlboro, Vermont, USA.
Joomla Day's are a great way of meeting peers and learning about this award winning CMS. This will be the second year of Joomla Day New England, last year's event was highly successful with the limited places filled up in just a couple of weeks!
Just 20 minutes west of Brattleboro, there are still a few places left for this year's conference - but register now - https://newengland.joomladayusa.org/!
3 days left to save $70 a month on Scribe SEO
- Written by Barrie North Barrie North
- Published: 01 June 2010 01 June 2010
Thousands of people have downloaded our Scribe for Joomla SEO extension that allows you to use the Scribe SEO service in your Joomla websites.
Scribe is one of the best and easiest ways available right now to get your Joomla website ranked higher in the search engines, and it just got better.
First is that we have added some new features to the plugin, the coolest being the new Alternate Keyword Suggestion tool.
Change Your Joomla Database Login
- Written by Steve Burge Steve Burge
- Published: 26 May 2010 26 May 2010
This tutorial will show you how to change or verify the database login to your Joomla site. People will sometimes need to do this if:
- Their site can't access the database
- They've been hacked and need to make the site more secure
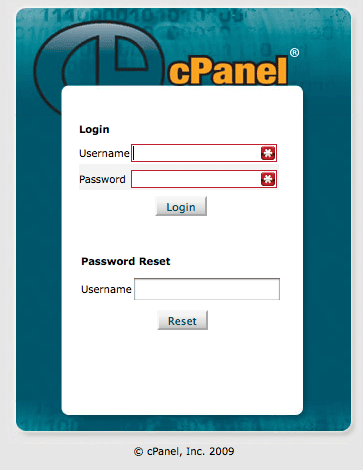
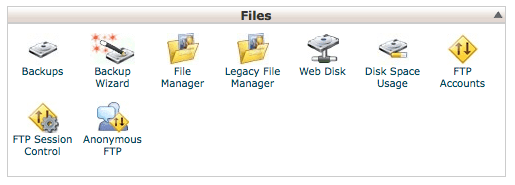
Login to Your Hosting Account
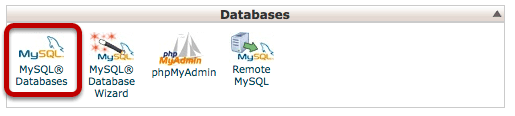
Access Your Database Area
Create a New Database User

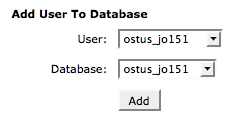
Add The New User To Your Database
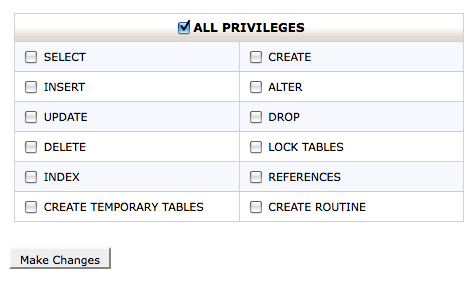
Give the New User All Privileges
Login To Your File Manager
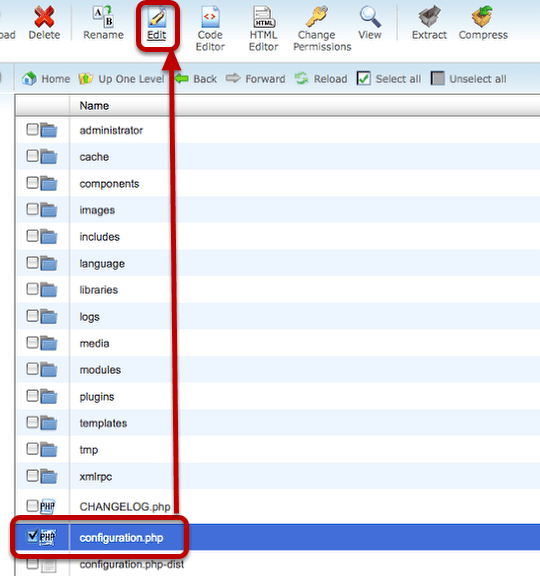
Open Configuration.php
Update the User and Password Details
Take Your Joomla Site Offline
- Written by Steve Burge Steve Burge
- Published: 26 May 2010 26 May 2010
This is Part 1 of a series of tutorials on Joomla's offline page:
- Part 1 (Beginner): Take your Joomla site offline
- Part 2 (Intermediate): Customize your Joomla offline page
- Part 3 (Advanced): Create a new Joomla offline page
Joomla has a very nice feature that allows you to test your site in complete privacy. You might just need your site offline for a few minutes, you might want to show it privately to a client, or you might want to keep the site offline for weeks while you build it. Either way, this is a good solution.
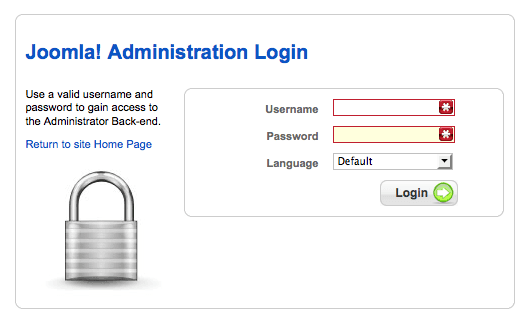
Login To Your Joomla Site
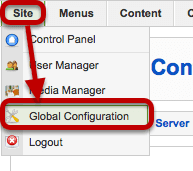
Go to Global Configuration
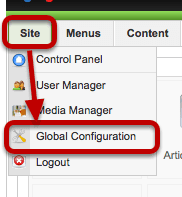
Click on Site then Global Configuration
Site Offline
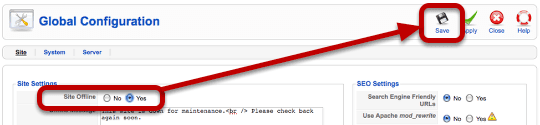
Set "Site Offline" to "Yes" and then click Save
Visit Your Site
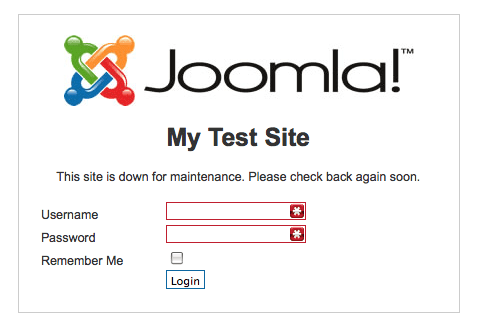
Now when you visit the front of your site you'll see a screen like this. Anyone who has a Super Administrator, Administrator or Manager account can login and view the site as normal. Everyone else will only be able to see the splash. You can keep search engines, rivals and all other unwanted guests out of your site until you're ready.
If you'd like to take this one step further and customize your offline page with a new logo and text, click here for the next tutorial.
Video Showing How to Take Your Site Offline
How to Set Up the Flash Image Rotator
- Written by BettyHelrich BettyHelrich
- Published: 24 May 2010 24 May 2010
The Flash Image Rotator is one of the most popular tools around. It enables you to set a number of images to rotate, at a speed you specify, through a module position on your site. It is a fantastic way to display multiple images without having to use up a lot of space on your page.
The Image Rotator is an extension that gets published in module positions. Once you have installed it, all you need to do is upload the images you want displayed, customise your Rotator, and publish it in a module position. This guide will teach you how to customise and publish your Rotator, after you have uploaded the images you wish to display into a folder in your Media Manager.
Setting up the Image Rotator
1. Login to the backend of your Joomla site.
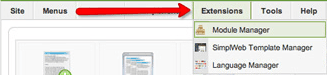
2. Go to the Module Manager under the 'Extensions' tab, as shown below.
3. You will have the Image Rotator available if you have already installed the Rotator. Find the Image Rotator, select it, and click 'Edit' in the top right corner, as in the screenshot below.

4. You will now see the familiar editing screen for modules. The editing screen for the Image Rotator is slightly different though, and it is extremely important to get all of the settings right. Important fields to note are: enabling the module, the module position, the menu assignment, and most things in the module parameters. The Image Rotator screen is pictured below, with the important fields highlighted by arrows.
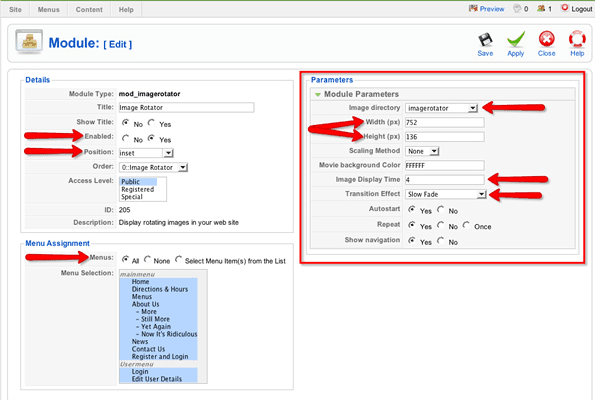
5. Set your Rotator module to be enabled, and place select the module position where you would like it to be displayed. We also recommend setting your title to be hidden.
6. Select the menu items under which you would like your Rotator to be displayed.
7. Now switch your focus to the Module Parameters box. First you will see a field for the image directory. This field determines the directory within your Media Manager from which the images will be displayed. The Image Rotator will cycle through all of the photos in the selected directory, so make sure you set this directory to be the one in which you will store your Image Rotator images.
8. Next you will see a field for height and a field for width. These fields determine the dimensions of the Image Rotator, and so they determine what dimensions the images you display should be. Putting a 900x400 pixel image into a rotator set to display at 700x200 pixels will break the rotator display. Make sure you resize your images to match the dimensions you specify in this field.
Another thing to be careful of is breaking the module position into which you place your rotator. If you set the rotator to display at 1000x800 pixels, you will break most modules because the dimensions will be greater than the dimensions of the module positions themselves. The rotator dimensions are the trickiest thing to get right, and it will likely take some trial and error to set these fields up properly.
9. The Image Display Time field determines for how long an image displays before rotating to the next image in the directory, and the Transition Effect determines the style used when it rotates. Set these fields to your preference.
10. Finally, you will see options for how your rotator triggers, whether it repeats its cycle, and whether shows navigation. We recommend leaving these to their default settings. When you are finished with the Module Parameters, click 'Save'
11. Your Image Rotator will now be up and running, but until you upload images to the directory from which it is pulling them, it will not display anything. The final step is to upload all of the images that you want your rotator to cycle through. Put them all into the directory you selected in the Module Parameters, and your Image Rotator will now be rotating through all of these images!
Establishing a patching process
- Written by Tom Cannan Tom Cannan
- Published: 17 May 2010 17 May 2010
Good day,
Waaaaaay back in January, I took the time in this column to discuss with you the concept and need to patch your site. Since that article was written till now (May 16, 2010) there has been about 180 report vulnerabilities for Joomla extensions. And some number of them for the Joomla core (to be fair only a few).
Given that you might be using one of these, its important to revisit this highly important topic.
Joomla Save and Apply Buttons
- Written by Steve Burge Steve Burge
- Published: 13 May 2010 13 May 2010
Save and Apply Buttons
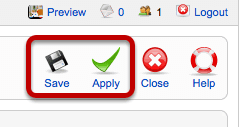
Many, many screens in a Joomla site have both "Save" and "Apply" Buttons. This tutorial will show you the difference between the two.
Go to SIte >> Global Confiuration
Change the Site Name Field
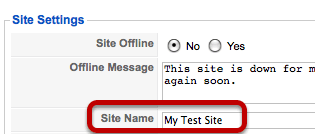
Change the "Site Name" field to something different (this is just an example, you can try changing anything on any page with a Save and Apply button).
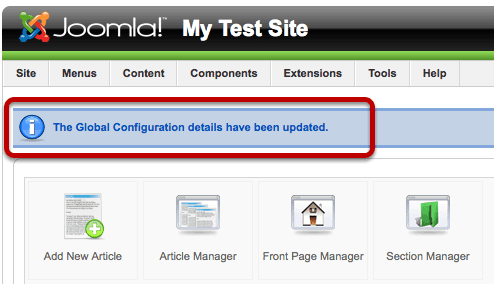
Click Apply

- Click on Apply
- Notice that there's a message "The Global Configuration details have been updated"
- Notice that you're still on the same "Global Configuration" page
Click Save
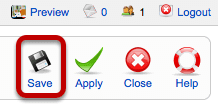
This time we'll try clicking the "Save" button.
This time you still get the "The Global Configuration details have been updated" message but now you've been logged out of the screen.
So what's the difference between Save and Apply?
- "Save" saves your changes and forces you out of the current screen
- "Apply" saves your changes but keeps you on the current screen