If you followed "The Easiest Workflow to Add Your Joomla Content" post, you learned how to easily create a dozen articles on your site. You practiced that task and built your site using the CASh workflow.
In this lesson, you'll continue using the same site and learn why the task of creating its menu links must follow the same CASh workflow.
Menu links allow visitors to find pages on your site. Without menus, all your visitors would be stuck on the home page. In Joomla, menu links also have substantial control over how your page is laid out and displayed.
At the end of this practical lesson, you'll be able to do the following:
- Understand how Joomla menus work
- Categorize your menu links
- Add your menu links
- Show your menus
- Understand more advanced menu layout options.
Categorizing Your Menu Links
We’ve already created links to many of our articles in the Main Menu, but there are more menus on our site. Let's see one of those menus in action.
- Use the Login Form module on the front of your site to log in:
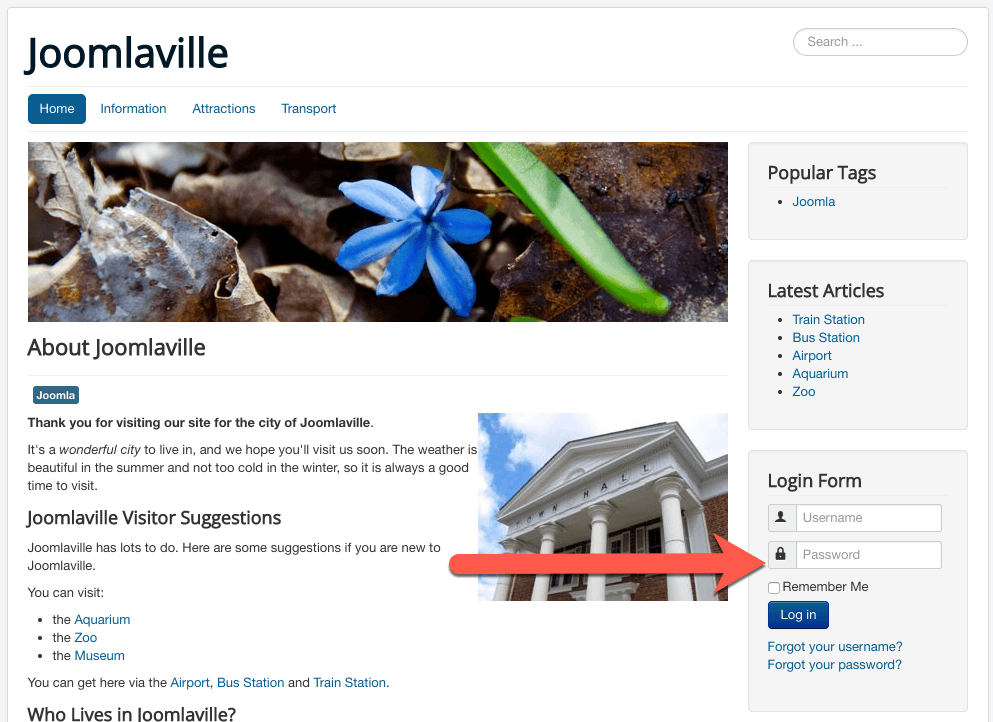
- The Login Form module will change to showing your name and a "Log out" button. You'll also see a new "User Menu" module:

These five links are helpful for your site's users.
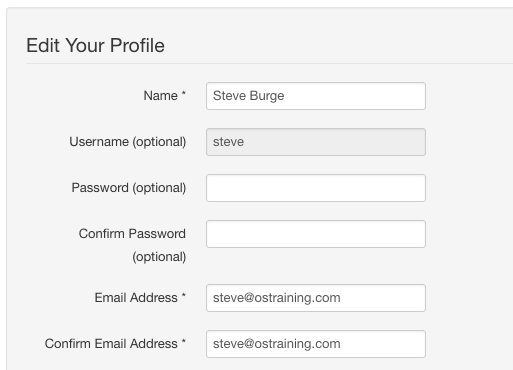
- For example, click on "Your Profile", and you can update your account details:
- Click on "Submit an Article", and you have the ability to write articles from here. This feature makes it easy for users to write content without needing to log in to the administrator area.
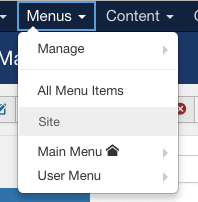
We organized our articles using categories. We organize our menu links using menus.
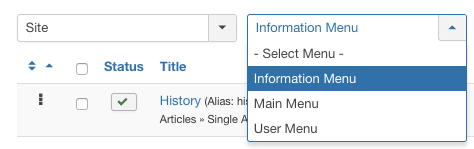
- Go to the administrator area of your site and hover over "Menus". You'll see both "Main Menu" and "User Menu".
Let's see how to use the CASh workflow for menus. We're going to create a menu for our Information links. These are some of the most important articles about Joomlaville, so we want them available on every page.
Step #1. Categorize
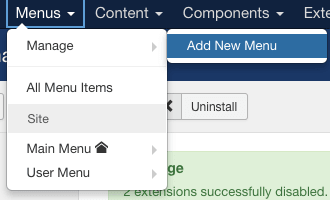
First, we'll create the menu to hold our Information links:
- Go to "Menus", "Manage", and then "Add New Menu":
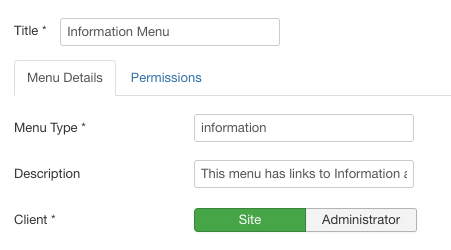
- Title: Information Menu
- Menu Type: information
- Description: This menu has links to Information articles
- Click "Save & Close".
Step #2. Add
Now let's create links to our Information articles.
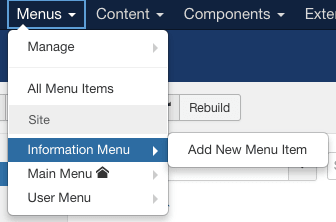
- Go to "Menus", "Information Menu", then "Add New Menu Item".
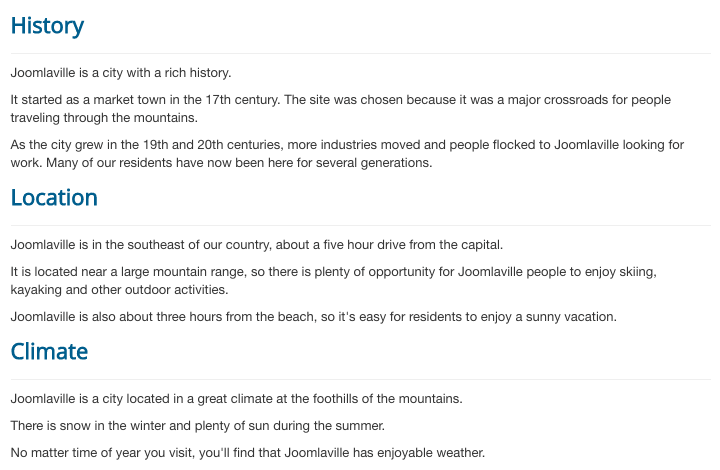
- Menu Title: History
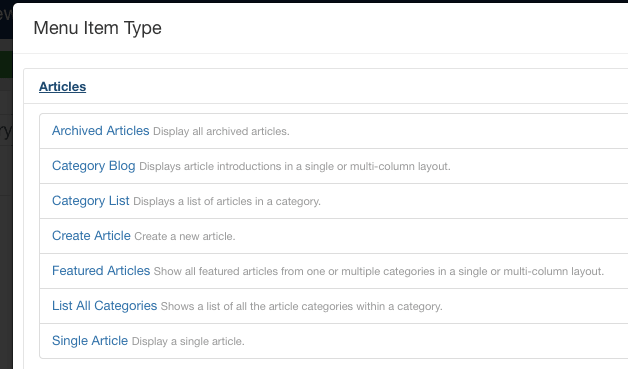
- Menu Item Type: Single Article. You'll find this by clicking "Select" and then the Articles slider:
- Click "Select" next to "Select Article":

- Click "History". If it helps, you can use the search box in the pop-up window:

- Click "Save & Close".
- If you don't immediately see your new History link, use the dropdown filters to choose "Information Menu":
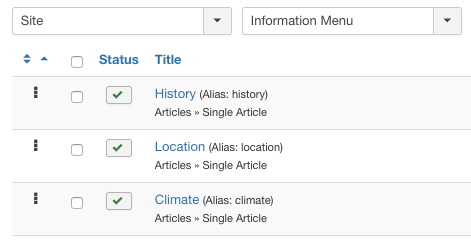
Let's repeat this process for our other two information articles:
- Go to "Menus", "Information Menu", then "Add New Menu Item".
- Menu Title: Location
- Menu Item Type: Single Article
- Select Article: Location
- Click "Save & Close".
- Repeat the process for the Climate article. When you're done, your list of menu links will look like this:
Step #3. Show
At the moment, no-one can see our menu links, so let's make them visible. With menus, the "Show" part of the workflow is handled by modules.
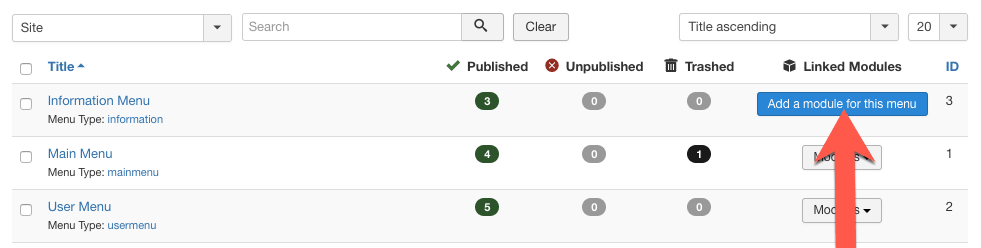
- Go to "Menus", then "Manage".
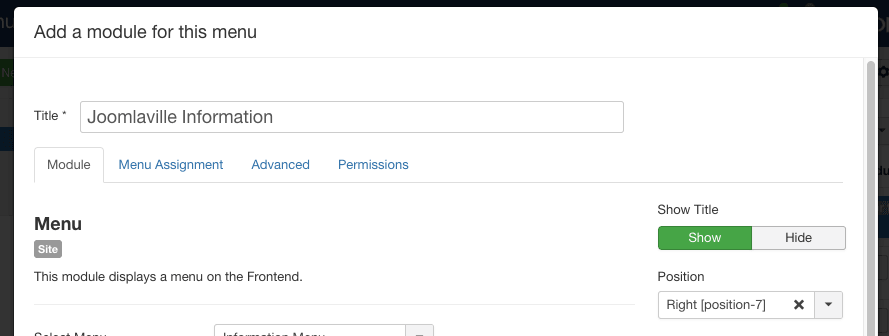
- Click "Add a module for this menu".
You'll see a pop-up window.
- Title: Joomlaville Information
- Position: Right
- Click "Save & Close" in the bottom-right corner.
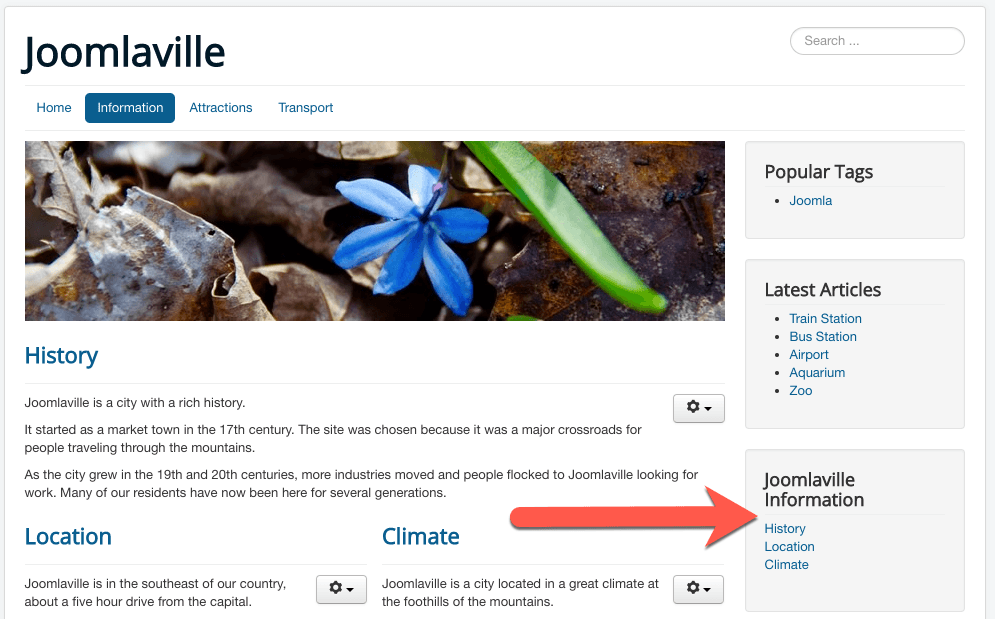
Visit the front of your site, and the new menu will appear on the right sidebar:
Dropdown Menus
Creating a new menu isn't the only way to organize your menu links. You can also add more links using dropdown links. These organize menu links and also help you to save space. Let's see how dropdown menus work, using the example of our Attraction links.
- Go to "Menus", "Main Menu", and then "Add New Menu Item".
- Menu Title: Train Station
- Menu Item Type: Single Article
- Select Article: Train Station
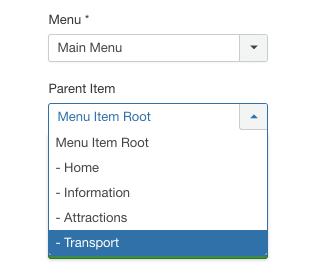
So far, we haven't done anything new. The trick when creating dropdown menus is to use the "Parent Item" option.
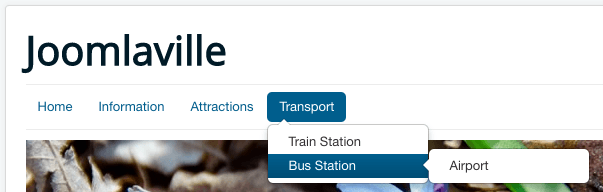
- In the "Parent Item" dropdown, choose "Transport":
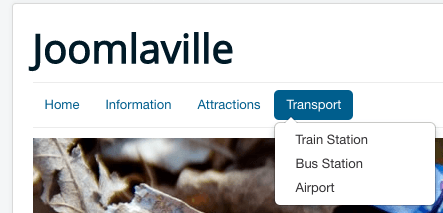
- Click "Save & Close" and visit the front of your site.
- Hover over the "Transport" link, and you'll see a "Train Station" dropdown.

Let's repeat that process for our other transport articles:
- Go to "Menus", "Main Menu", and then "Add New Menu Item".
- Menu Title: Bus Station
- Menu Item Type: Single Article
- Select Article: Bus Station
- Parent Item: Transport
- Click "Save & Close".
- Repeat for the Airport article.
When you're finished with these two new links, your menu will look this:
It's worth noting a couple of things about dropdown menus:
- Not all site designs (called "templates") support dropdown menus.
- It is possible to create more levels of dropdown menus, although this can get confusing. For example, if you edit your Airport article and choose "Bus Station" as the parent item, this is what you'll see:
Layout Changes
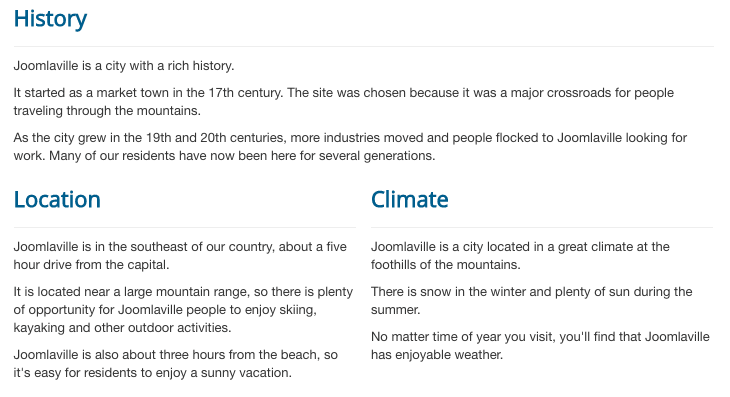
Until now, our category pages have all shared a standard layout. There's one main article on the top row, and then two columns underneath. This layout is controlled by the menu link.
Let's see how to change this default layout.
- Go to "Menus", then "Main Menu".
- Click "Information".
- Click the "Blog Layout" tab. You'll see several options, including the ones in the image below:
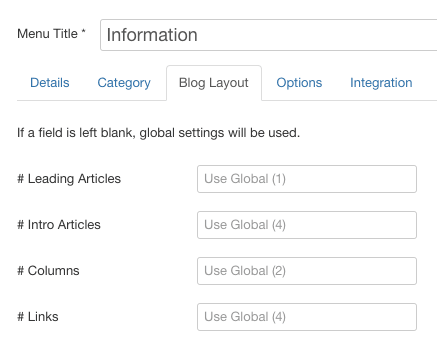
Notice the "Use Global" text? That means that these settings rely on the site-wide Options screen that we saw in "Joomla Fields Explained". We can override these settings on individual menu links.
If you're not sure what any of these options do, hover over the label and you'll see an explanation:

Lets turn the 1 row, 2 columns layout into a multiple row layout:
- # Leading Articles: 3
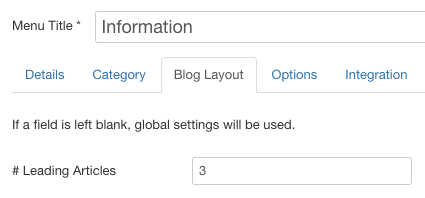
- Save the menu link and visit the front of your site. Click the "Information" link, and you'll see the layout has changed. There are now three articles full-width at the beginning of the page:
This was a relatively small change, but it is possible to make larger layout changes. In this example, we'll replace the blog layout with a table layout:
- Go to "Menus", then "Main Menu".
- Click "Attractions".
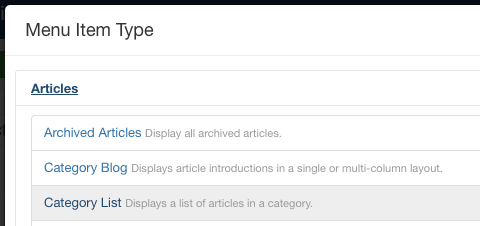
- Click "Select" next to "Menu Item Type".
- Choose "Category List":
You will have to select the Attractions category again after making this change:
- Choose a Category: Attractions
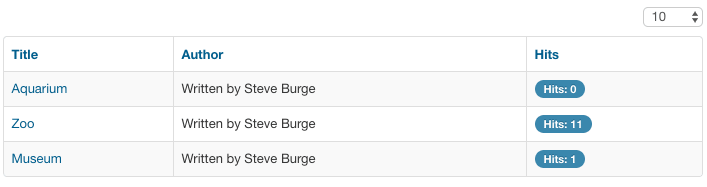
- Save the menu link and visit the front of your site. Click the "Attractions" link, and you'll see the layout has changed to a table format.
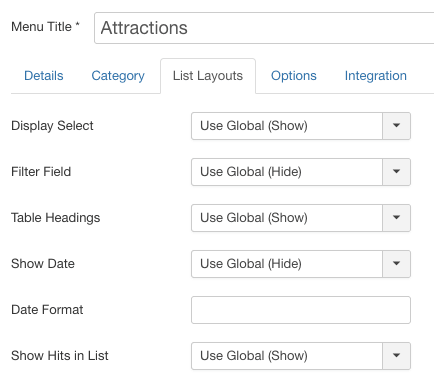
If you want to change the appearance of this table, you can edit the Attractions link again. The "List Layouts" tab will allow you to enable and disable features:
Practicing the CASh Workflow
Over the course of the last few posts, we’ve been explaining the CASh workflow.
Now that you understand more about menus, you’re ready for a complete practice of the CASh workflow.
We’re going to move through the CASh workflow, from start to finish. Here’s the plan:
- Categorize: Categories
- Add: Articles
- Show: Menu links
We’re going to use the example of parks in Joomlaville.
Step #1. Categorize
First, let’s create the category for our Parks:
- Go to Content, then Category Manager, and click New.
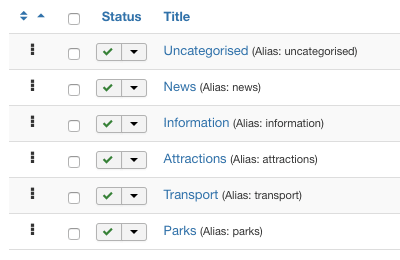
- Title: Parks
- Click "Save & Close". You should now have six categories, as shown in the figure below:
We’re also going to upload images for our Parks articles, so let’s create the folder for them:
- Go to "Content", and then "Media".
- Click "Create New Folder" and create a folder called Parks.
Step #2. Categorize
Second, let’s write our Parks articles. All of the text and images are available at https://ostraining.com/books/j3e/chapter8/.
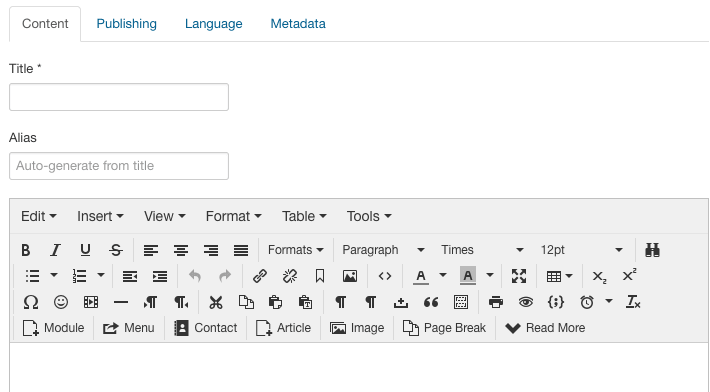
- Go to "Content", "Articles", and "Add New Article" to start the process.
- When you’ve added all three articles, use the Select Category filter to check that your Parks articles are correct. Your screen should look like the one below.

Step #3. Show
Now let's go and make a menu for our news:
- Go to "Menus, "Main Menu", and click "Add New Menu Item".
- Title: Parks
- Menu Item Type: Category List
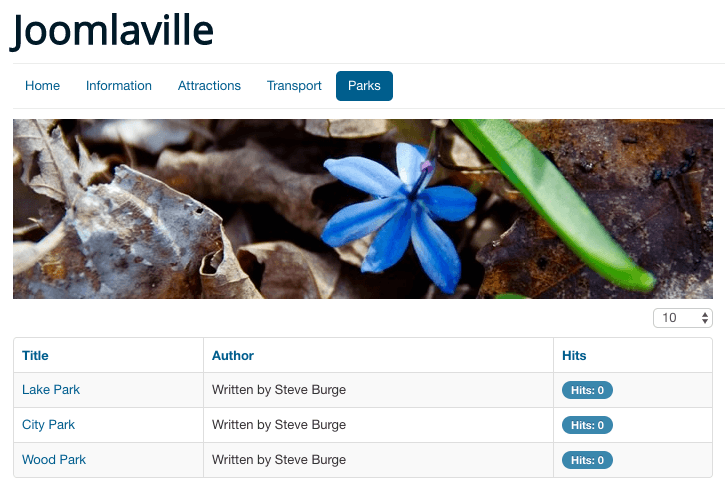
- Choose a Category: Parks
- Click "Save & Close" and visit the front of your site. Click the Parks menu link, and you should see the layout shown on the screen below.
Congratulations! You’ve just used the entire CASh workflow.
We absolutely recommend that you use the CASh workflow to set up your content. Nearly every time that we find someone who is confused about Joomla, it is because they didn’t follow CASh:
- Categorize: If you don’t use categories, you’ll soon find that your articles are unorganized and difficult to manage.
- Add: If you don’t add articles, you’ll have an empty site.
- Show: If you don’t have any menu links, people won’t be able to see your content.
As you can see, if you skip any of these three steps, you’ll be headed for trouble.
The same thing is true if you try these steps in a different order. For example, many people want to create menu links first. Often this is because they’ve used software like Dreamweaver before, and with Dreamweaver you do create the navigation first.
I’m not going to argue about whether Joomla is better than other software you’ve used before, but it’s important to remember that Joomla is probably different and it requires a different approach.
The approach we recommend for Joomla is the CASh workflow.
What’s Next?
Now that we’ve covered Content, we’re going to turn our attention to Extensions, which are the extra features we can add on to our site.
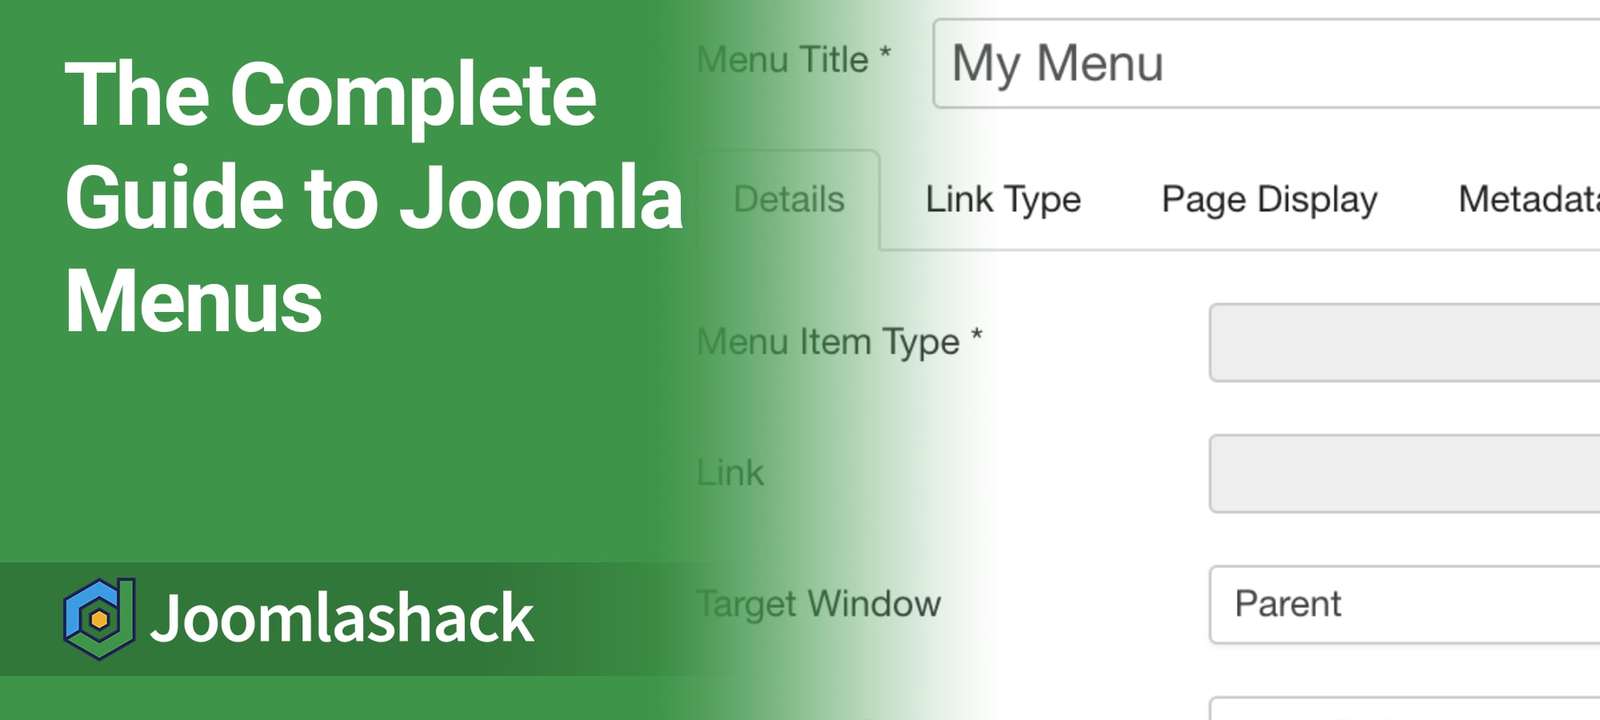
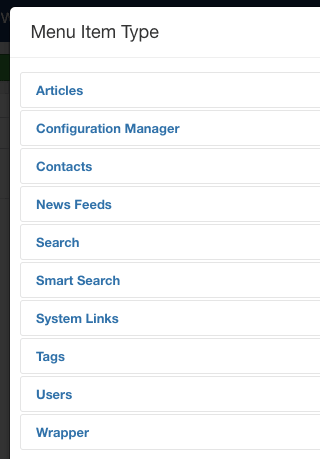
Each time you were creating menu links in this lesson, you saw a screen like the one below. You undoubtedly noticed that you could link to many more things beyond just articles. In fact, you can link to Contacts, News Feeds, Search, Users, and much more.
In the next post, we show you what all those extra features are and how they can enhance your Joomla site. These extra features are a type of extension called Components.
Additional Reading
- How to Make Your Joomla Content Look More Interesting and Exciting
- How to Create Dummy Content in Joomla Articles with OSContent
- The Absolute Beginners Guide to Joomla's Custom Fields
- How to Add Extra Features to Your Joomla Site
Would you like to learn more about how to create a great website with Joomla? Join the Joomlashack Everything Club and instantly download the bestselling book "Joomla 3 Explained" by Steve Burge.