In this tutorial, you will learn and practice the easiest and fastest way to add content to your Joomla site. If you follow this workflow, it will make your Joomla life very easy.
The workflow for adding Joomla content is simple:
- Step 1: Categorize. Create organization for your articles.
- Step 2: Add. Write your articles.
- Step 3: Show. Make menu links so that people can click on them and see your articles.
Let's get started.
Our CEO Steve Burge called it the CASh workflow. CASh is short for Categorize, Add, Show. It does take a little bit of practice to follow the workflow correctly.
Once you run through the workflow a few times, it should become easy to add content to your Joomla site. The CASh workflow is very simple:
- Organize your Joomla content into categories
- Add new content to Joomla
- Show your content in various ways, including a full page, a blog with intro text, or a long list of articles.
Step #1: Categorize
The first step in the Joomla content workflow is to categorize your content. You need to make sure that your information can be usefully organized.
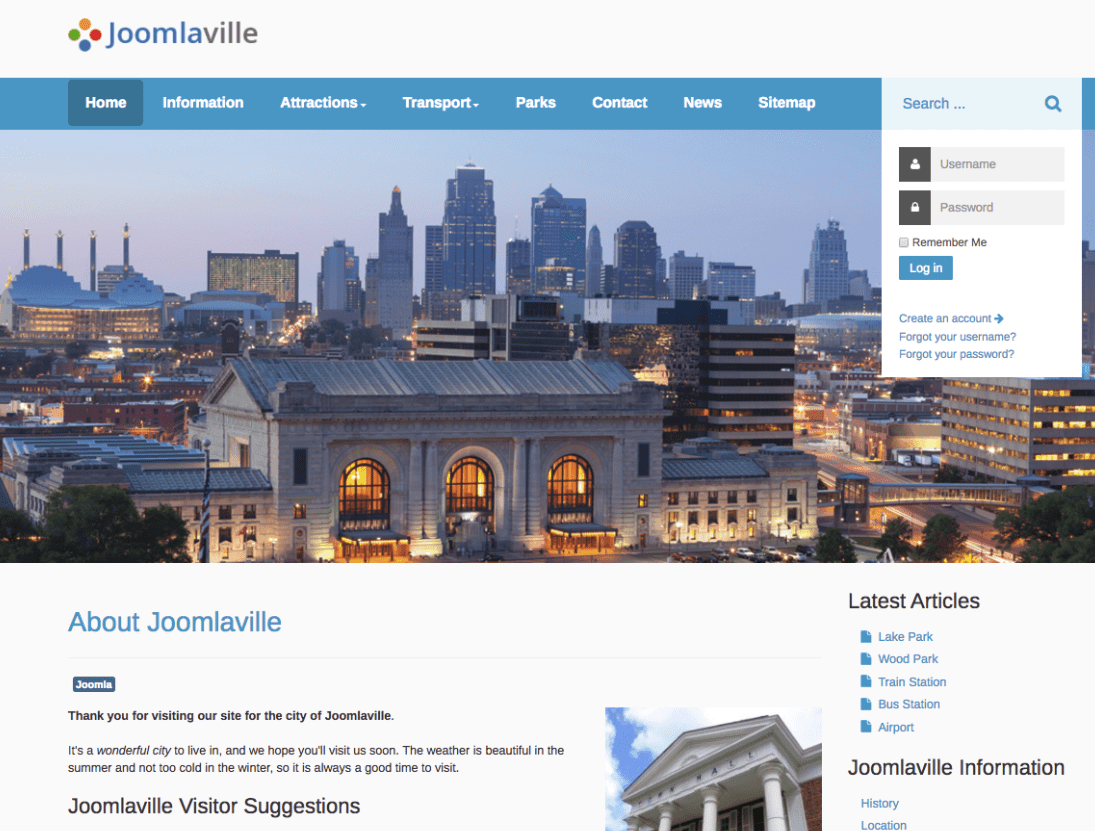
Let's assume you’re going to build a site about a town called Joomlaville. Let's assume your plan is for the final site to look like the image below:
The site you are going to build will have multiple types of content. Here’s a list of the types of content that you will add to your site:
- Information about Joomlaville
- Attractions
- Transport
- Parks
- News from other Joomla sites
What do you need to include on the website for your visitors? To plan your site’s organization, grab a piece of paper and a pen and brainstorm.
Go ahead and write down all the articles you want on your site. For this small site, your list might look like below:
- Climate
- Location
- History
- Museum
- Zoo
- Aquarium
- Trains
- Buses
- Airport
Now that you know what information you want to have on your site, let’s organize it. Joomla uses categories to organize articles. Create one category for each group of related articles and name it appropriately, as seen below:
Information
- Climate
- Location
- History
Attractions
- Museum
- Zoo
- Aquarium
Transport
- Trains
- Buses
- Airport
Here are those categories in visual form:
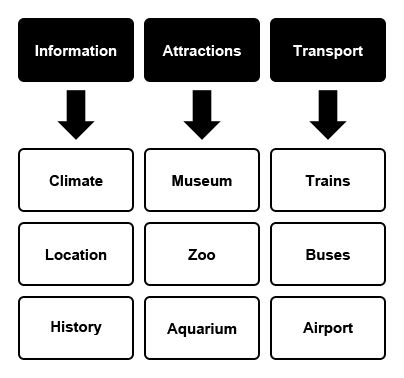
Things can get much more advanced, but this is a nice straightforward example to get you started. Now that you’ve finished your site content plan, you are ready to start implementing that plan in Joomla.
You will use the CASh workflow to create the first category called Information and the three articles inside called Climate, Location, and History. Here’s the process we use:
- Step 1: Categorize. Create the Information category.
- Step 2: Add. Write your three articles.
- Step 3: Show. Make menu links so that people can click through and see your articles.
Ready? Let’s get started and use Joomla’s CASh workflow for the first time.
- Go to your administrator area, click on "Content" and then click on "Categories". You’ll see a page like the one in the figure below:
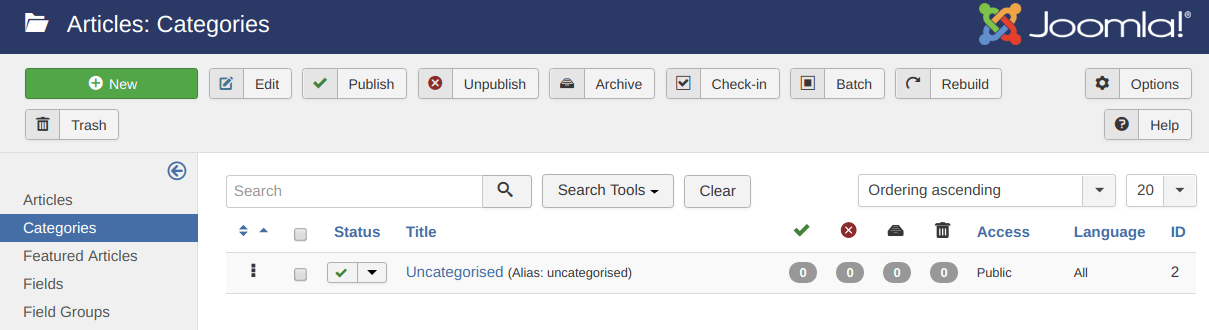
You can see that Uncategorised is already an option. The Uncategorised category is used for articles that really don’t fit in any other category. It’s most commonly used for small sites with only five or six articles.
With so few articles, you wouldn’t really need to divide them into categories. However, we’re going to have at least a dozen articles, so we need to create more categories.
- Click the green "New" button.
- Title: Information.
- Description: This category contains information about Joomlaville.
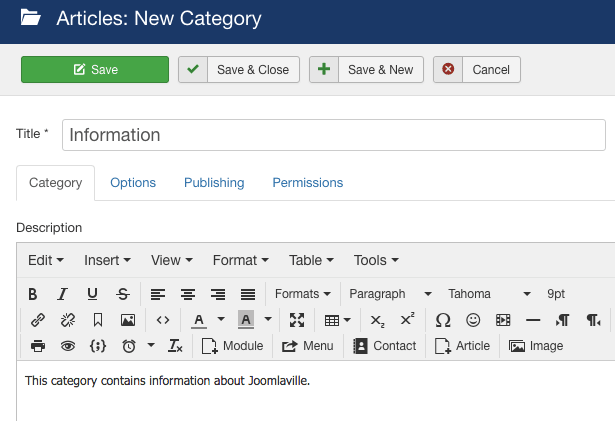
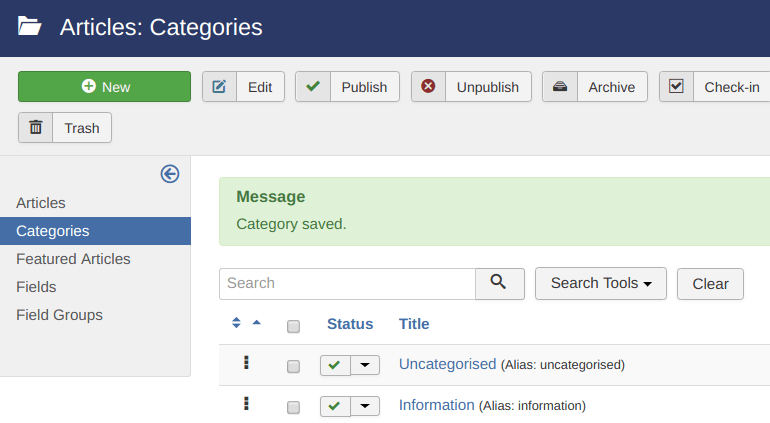
- Click "Save & Close". You should see that your category has been added, as seen below. You’ll see a message which says, “Category saved”.
Now that you have a category to organize your articles, go and write those articles.
Step #2: Add
To start writing, go and create a new article:
- Click "Content", then"Articles", and then "Add New Article".
The articles have a lot of options, but there are only three fields you must fill in:
- Title
- Content
- Category
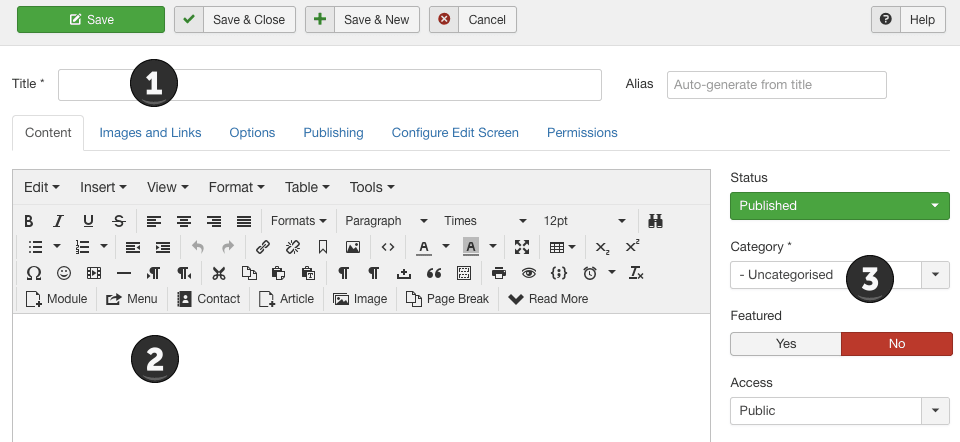
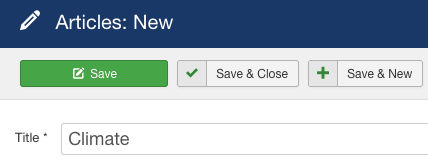
Fill in those three fields from top to bottom:
- Title: Climate
Using "Climate" matches the first article in your site content plan. When you save the article, the Title is automatically copied into the Alias field.
This Alias field forms part of the article URL, so your Climate article will have a URL that contains “climate”.
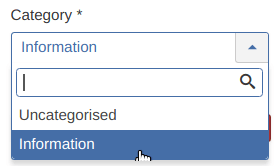
- Category: Information
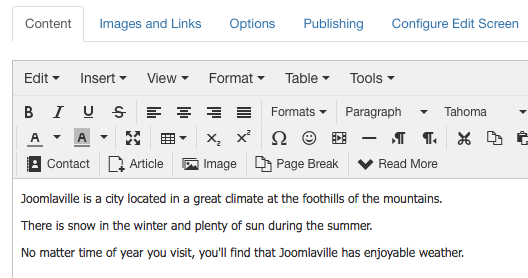
- Finally, write the article. Put inside the text area the following text:
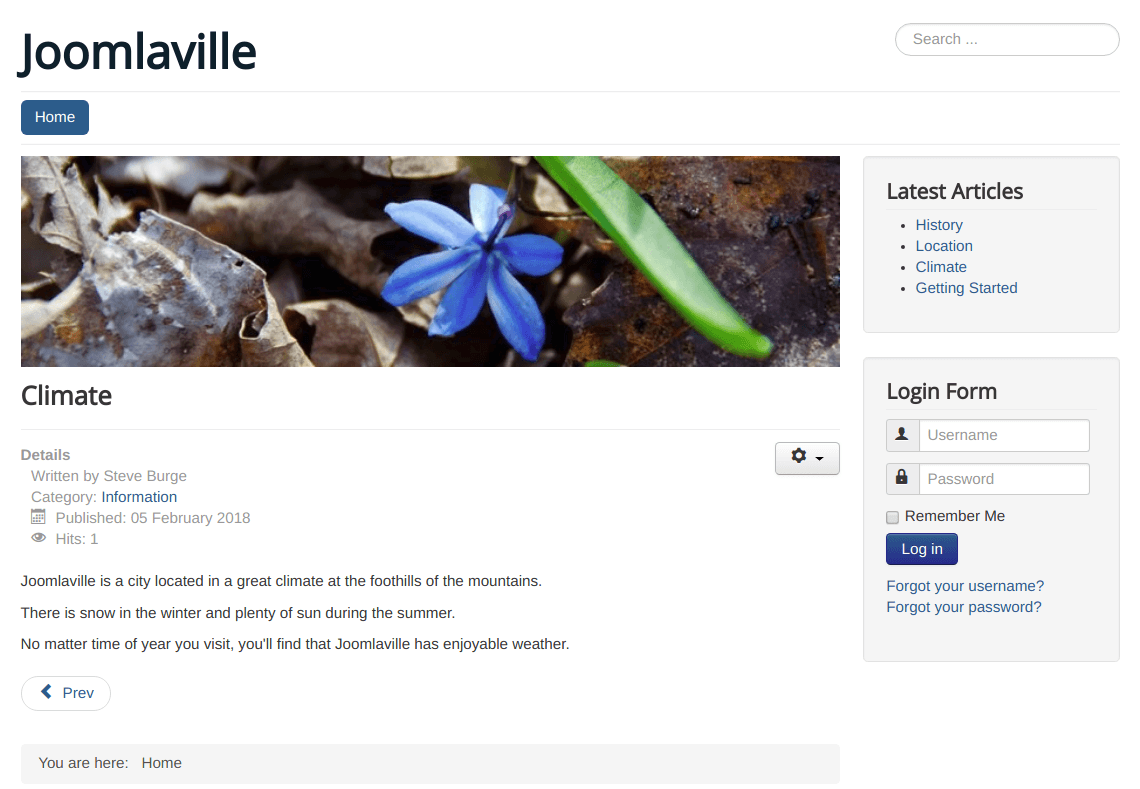
Joomlaville is a city located in a great climate at the foothills of the mountains.
There is snow in the winter and plenty of sun during the summer.
No matter time of year you visit, you'll find that Joomlaville has enjoyable weather.
- Click "Save & Close".
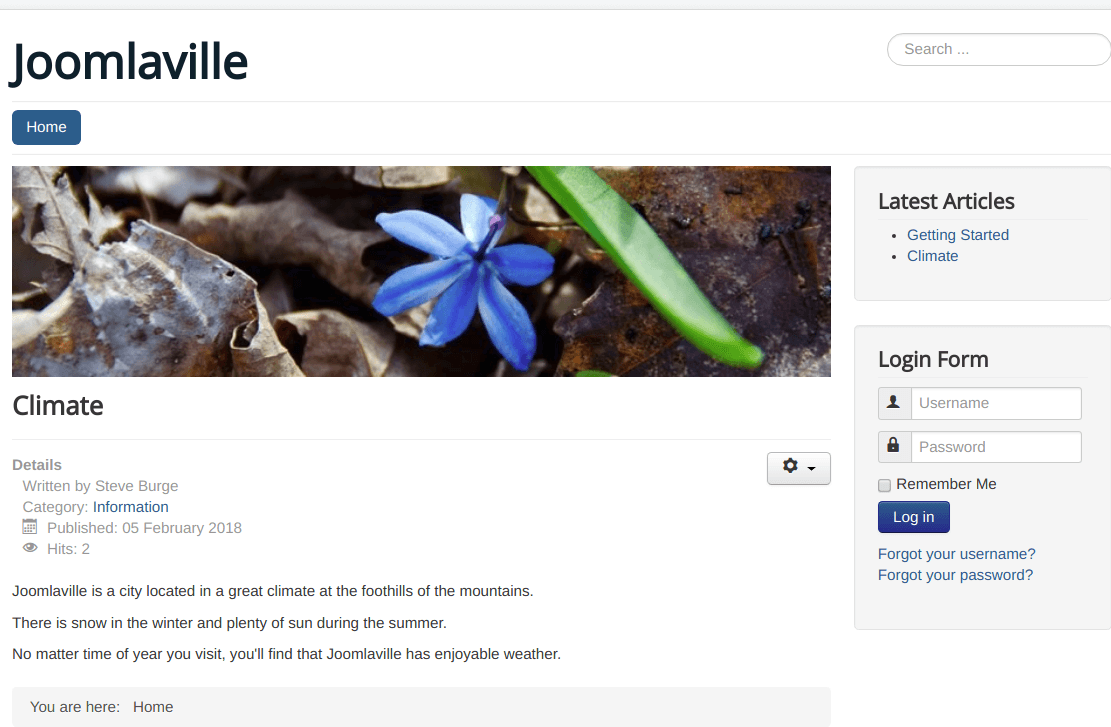
- If you now visit the front of your site and click "Climate" in the "Latest Articles" module, your article will look like the image below:
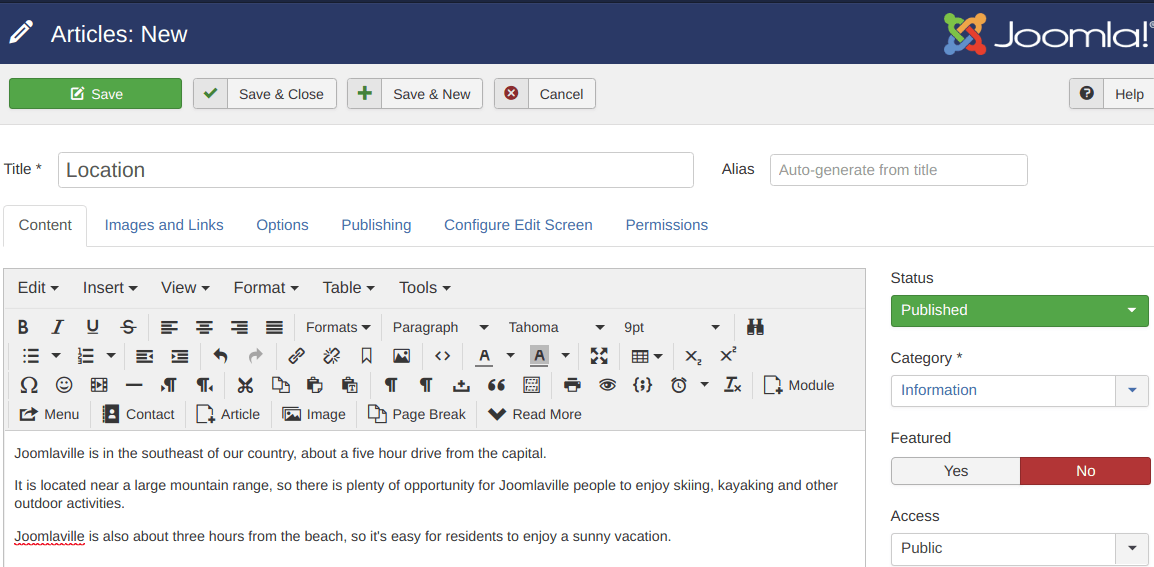
Go ahead and repeat that process again. Here are the details for your second article in the Information category:
- Title: Location
- Category: Information
- Article Text: Describe where the city is:
Joomlaville is in the southeast of our country, about a five hour drive from the capital.
It is located near a large mountain range, so there is plenty of opportunity for Joomlaville people to enjoy skiing, kayaking and other outdoor activities.
Joomlaville is also about three hours from the beach, so it's easy for residents to enjoy a sunny vacation.
Do that one more time to finish your Information category with the third article. Here are the details you use:
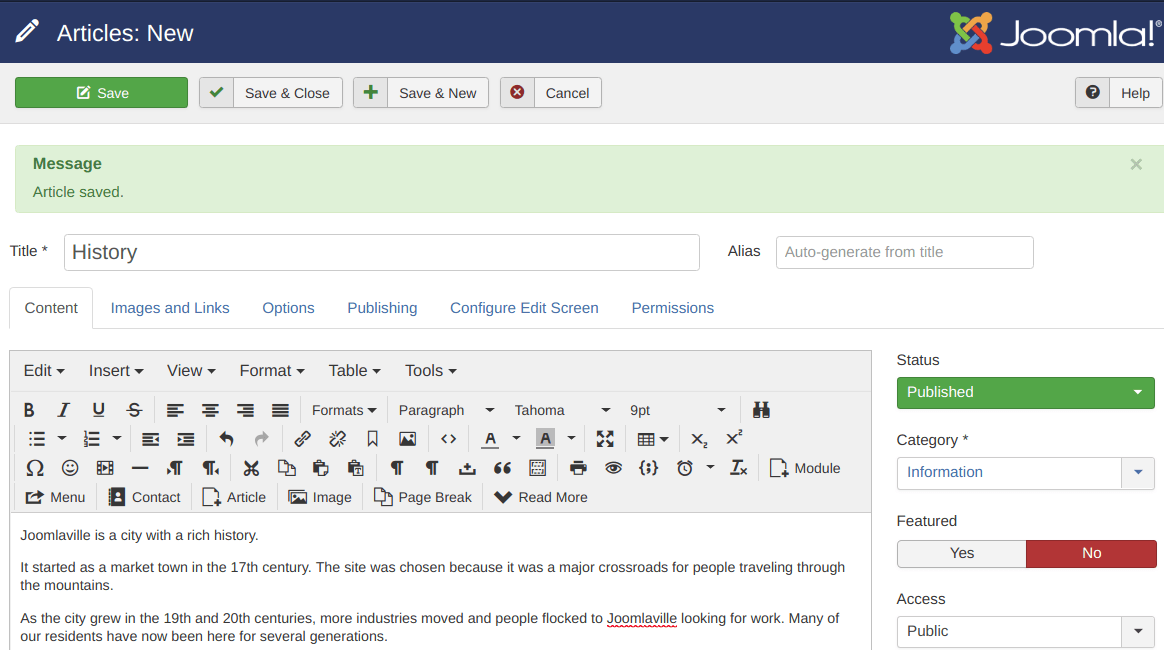
- Title: History
- Category: Information
- Article Text:
Joomlaville is a city with a rich history.
It started as a market town in the 17th century. The site was chosen because it was a major crossroads for people traveling through the mountains.
As the city grew in the 19th and 20th centuries, more industries moved and people flocked to Joomlaville looking for work. Many of our residents have now been here for several generations.
Wonderful! You now have one new category on your site called Information, and it contains three new articles: Climate, Location, and History.
There’s only one thing left to do. Go and visit the front of your site. Have a look at your site and the image shown below. What’s missing?
There's no easy way to see your new "Information" articles. Yes, there's the "Latest Articles" module, but that will soon be updated with new articles. Your solution will be to make new menu links so visitors can see your articles.
You’ve done two steps of your Joomla CASh workflow: Categorize and Add. The third and final step is Show.
Step #3: Show
You need to show people our articles. You do that by making menu links to the articles:
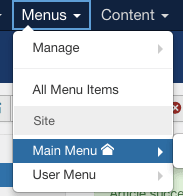
- In the administrator drop-down menu, click on "Menus" then "Main Menu".
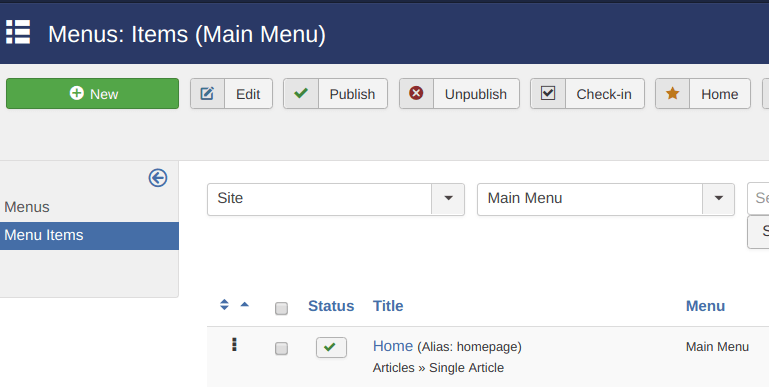
You currently only have a single menu link to Home:
You're going to add a new link to the Information articles you created earlier.
- Click "New" in the top-left corner.
- You will now see a screen like the image below. Whenever you create a menu link to any part of your site, you’ll always see this same screen.
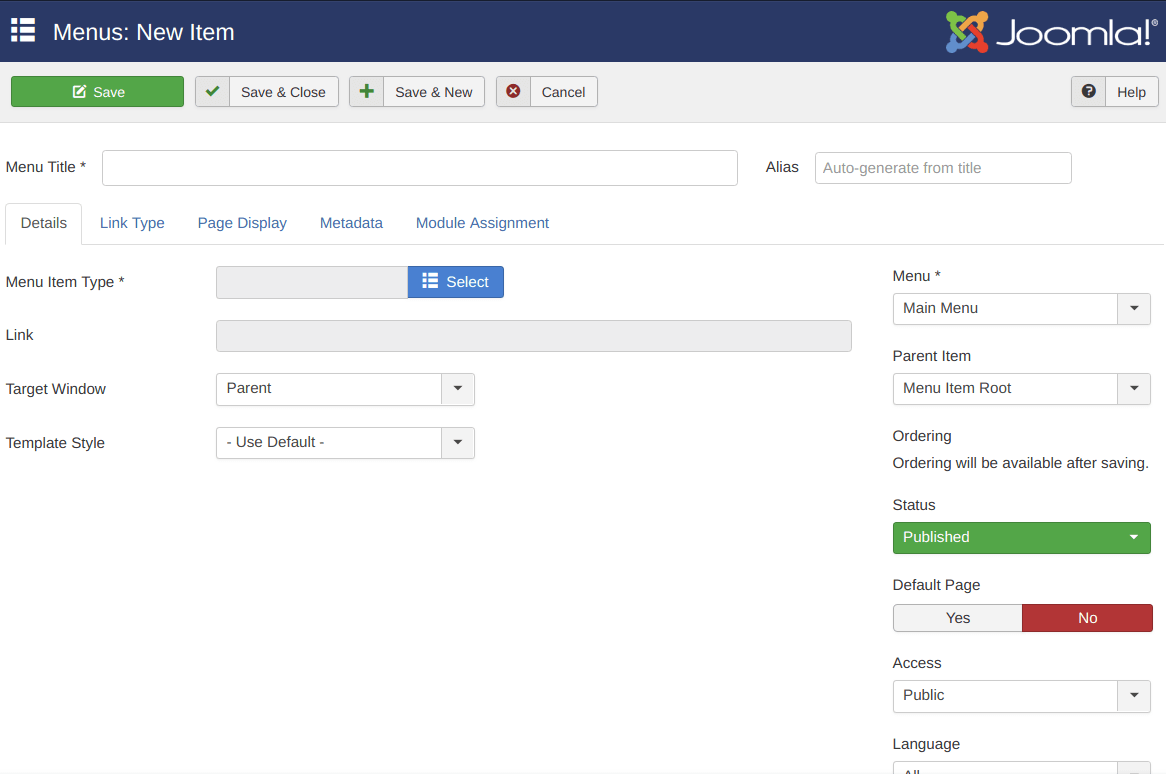
- Click on the blue "Select" button. This will allow you to decide which part of the site to link to.

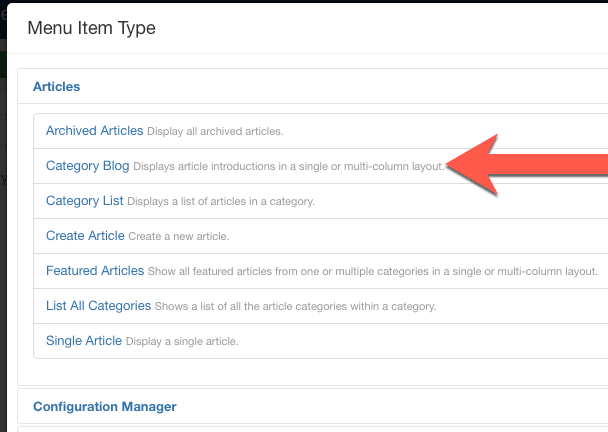
- You'll see a pop-up screen with all sorts of different options. Each one allows you to link to a different part of your Joomla site. You could link to a contact form, a search box, a registration form, or many other features. You want to link to one of the articles you created earlier, so click "Articles" and choose "Category Blog", as shown below:
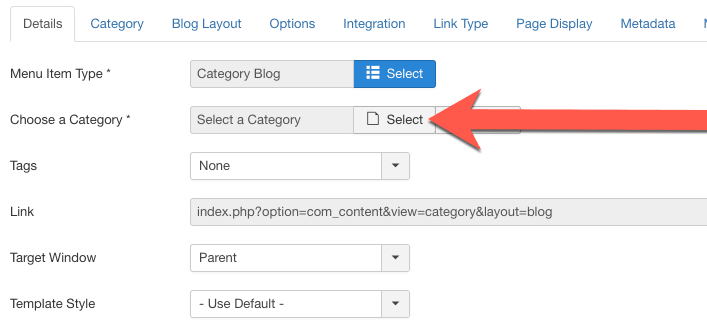
- You have just chosen to link to a category. Now choose which category. Click on the "Select" button, as in the image below:
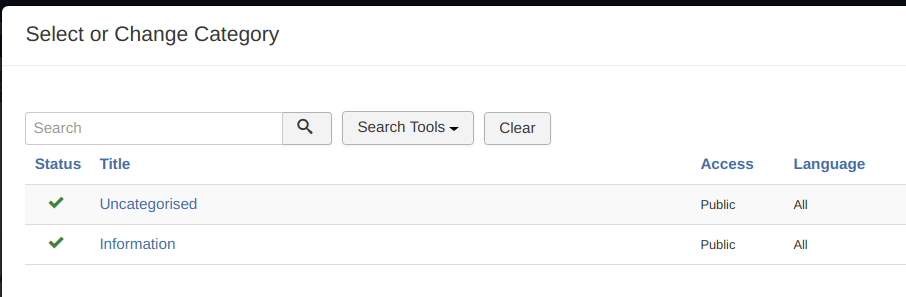
- You’ll see another pop-up box. Click on the "Information" link".
- Enter "Information" in the Menu Title field, as shown below:
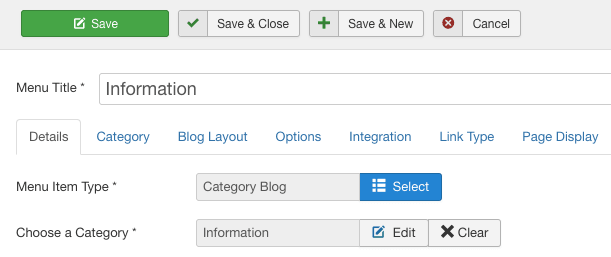
- Click "Save & Close" to complete the creation of your menu link.
- Visit the front of your site, and you'll see your new "Information" link on the Main Menu:
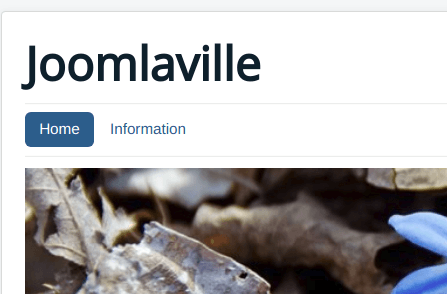
- Click on the "Information" link, and you'll see your new articles published on your site:
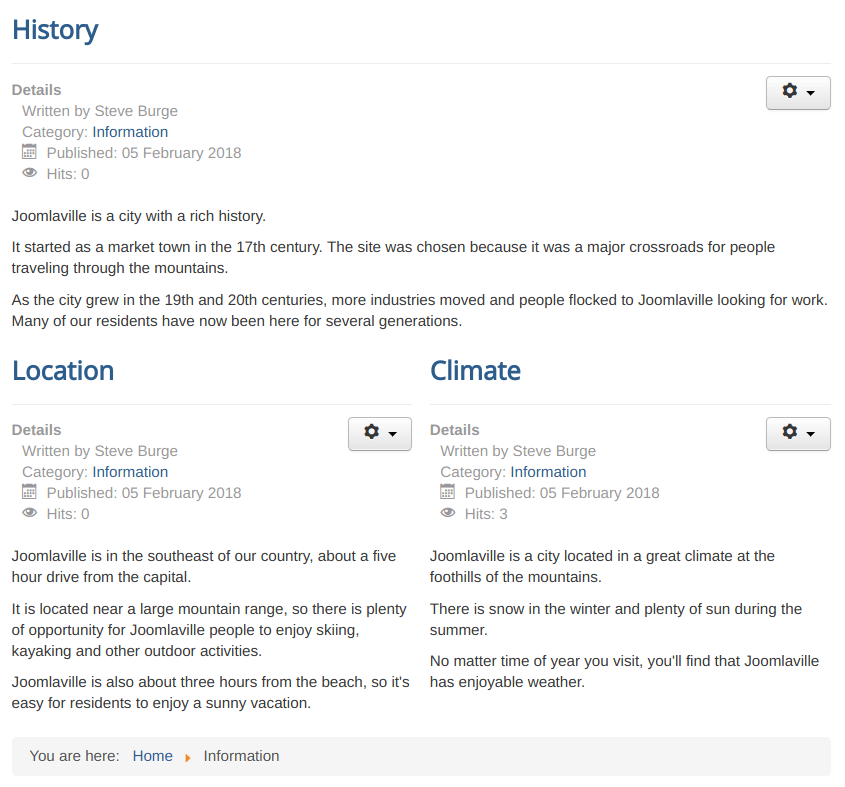
That’s it. You’ve done it! Both you and your visitors can now see your new articles.
The Joomla CASh Workflow: Why Do It This Way?
- Step 1: Categorize
- Step 2: Add
- Step 3: Show
Those are three steps for adding content to a Joomla site. However, why do it this way? Why not make your menu links first? Why not write your articles first? Why bother making links at all? Here are answers to some of the questions you might have at the moment:
- Why not make your menu links first? Because you wouldn’t have anything to link to. You wouldn’t have any articles to show.
- Why create your categories first? Imagine you build a big Joomla site. You might be planning 50, 500, or even 5,000 articles. I’ve seen Joomla sites with more than 100,000 articles. How would you organize that many articles? The answer is "Categories"! Categories allow you to organize all your articles.
- Why bother making menu links? Remember when you first added your articles but couldn’t see them on your site? Menu links are what allow people to see your articles. If people can’t click through to the articles, they can’t see them.
We regularly meet Joomla students who have tried to teach themselves and got stuck. Most of the time it’s because they didn’t know about this workflow:
- Some of them tried to make their menu links first and wondered why they had so few choices.
- Some people wrote all their articles first and then ended up with a big mess of unorganized articles.
- Some people added their categories and articles and then stopped. They looked at their site and got frustrated because they couldn’t see what they’d written.
Follow the CASh workflow, and creating your Joomla content will be easy. Here it is one more time:
- Step 1: Categorize. Create categories so that you can organize your articles.
- Step 2: Add. Write your articles.
- Step 3: Show. Make menu links so that people can click through and see your articles.