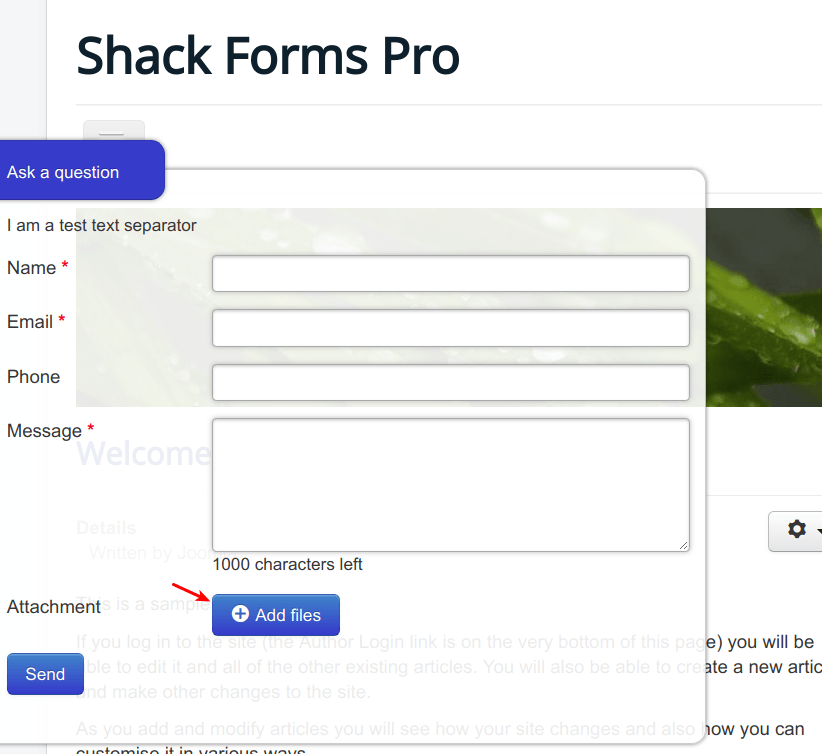
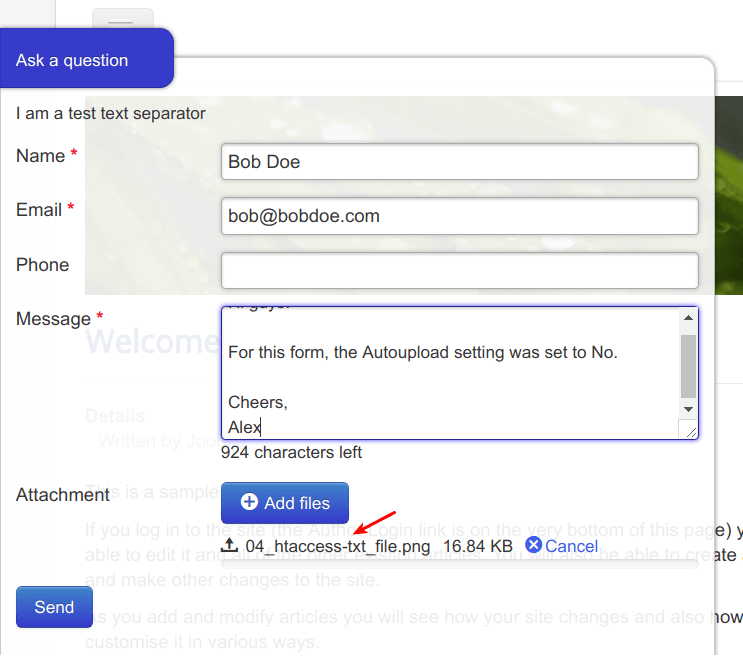
Using Shack Forms, you can allow your site's visitors to upload files and send them to you. This image below shows a Shack Form with this upload feature.

Video guide to uploading files with Shack Forms
Text guide to uploading files with Shack Forms
Let's see how to enable the file upload feature:
- Go to Extensions > Modules.
- Open the contact form module you built with Shack Forms.
- Click the Upload tab.

Under the Upload tab, set the following options:
- Show upload: click Yes or Require.
- Attachment type in email: click Files.
- Delete files after sending: click Yes if you would like to delete files from your server once they have been sent in a form. To keep the uploaded files on your server, click No.
- Autostart upload: click Yes if you would like a file to be uploaded once a user selects it on their hard drive. Otherwise, it will be uploaded only when the user clicks the Send button:

- Server max upload size: this parameter will be set automatically, based on your server.
- File size limit (MB): set desired file limit in MB.
- Files limit: set here the maximum number of files allowed to be sent with one sending. Set the value 0 for no limits.
- Allowed file extensions: leave the default value of
gif|jpe?g|png|docx?|odt|txt|pdf|zip. - Show limits in tooltip: leave the default Yes.
- Upload label: leave empty to use default labels set in Shack Forms language file.
