Shack Forms is a Joomla extension that sends out emails. You may sometimes find that their users on your Joomla site are experiencing issues with receiving such emails.
One of the first steps to troubleshoot such issues is to test your Joomla Mailer with an external SMTP server. We suggest the free SendGrid SMTP service for such testing.
In this tutorial, I will show you how to set up your Joomla Mailer to a free SendGrid SMTP testing server.
What Is the Joomla Mailer?
The Joomla Mailer is a Joomla core component that allows your Joomla site to send out emails.
Let's say that you may wish to allow your Joomla site to interact with its visitors.
For example, you might want to allow them to contact you via a contact form. You most likely would want your contact form to send an automatic email reply to a sender and notify about this contact the site administrator.
The Joomla Mailer core component is responsible for sending out such emails. Check the Joomla Mailer first thing if for some reasons your site visitors don't receive emails sent out by your site.
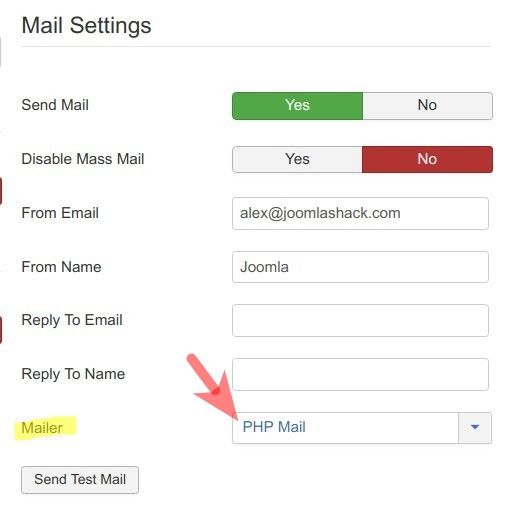
By default, your Joomla Mailer is set to "PHP Mail":
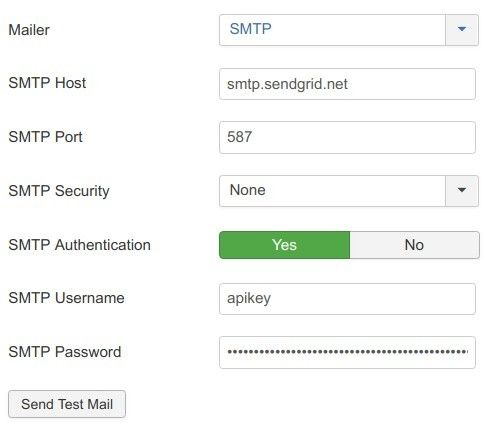
You would want to switch it to a SendGrid external SMTP, as shown in the image below, to see if this resolves the issue:
Let me show you how you can do this.
Step #1. Create a Free SendGrid SMTP Testing Server
You may want to ask why I suggest SendGrid as an external SMTP testing server. Good question.
Firstly, SendGrid has a free option. They even don't ask for your credit card number as you sign up with them. Obviously, you wouldn't want to pay for the purpose of troubleshooting and testing.
Secondly, I found that creating my free SendGrid SMTP testing server and setting up my Joomla Mailer to work with it was ridiculously quick and easy. Also not something to sneeze at.
Let's get started.
- Go to sendgrid.com.
- Once on the site, click "Start For Free" in the top right corner:

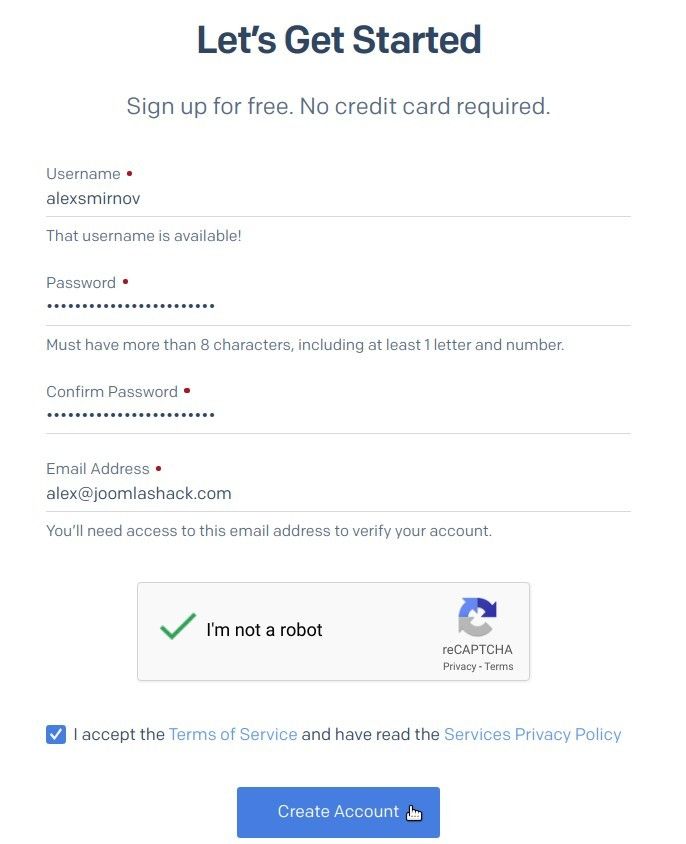
- You will be taken to the signup screen. Fill in your SendGrid username, password, and email address. Click "I am not a robot", agree to the Terms of Service, and click "Create Account":
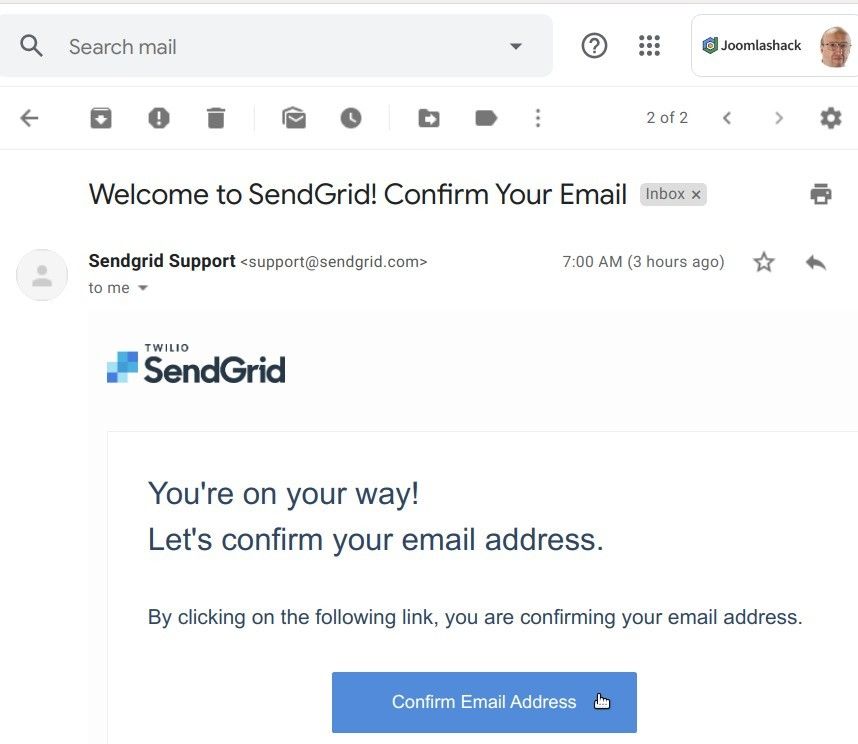
- Everything being well, SendGrid will send you a "Welcome to SendGrid! Confirm Your Email" email. It will ask you to confirm the email address you just registered with them. Open that email and click the "Confirm Email Address" button:
- You will arrive at your SendGrid account. SendGrid will present to you a screen with a few more questions about your business. Submit your answers. You will then be taken to your SendGrid Dashboard:
Fantastic! You now have your free SendGrid SMTP testing account. Now let's create your free SendGrid SMTP testing server.
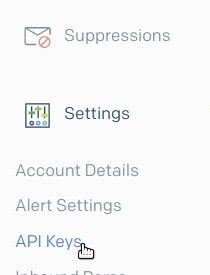
- In the left menu, click "Settings" > "API Keys":
- In the top right corner of the next screen, click "Create API Key":

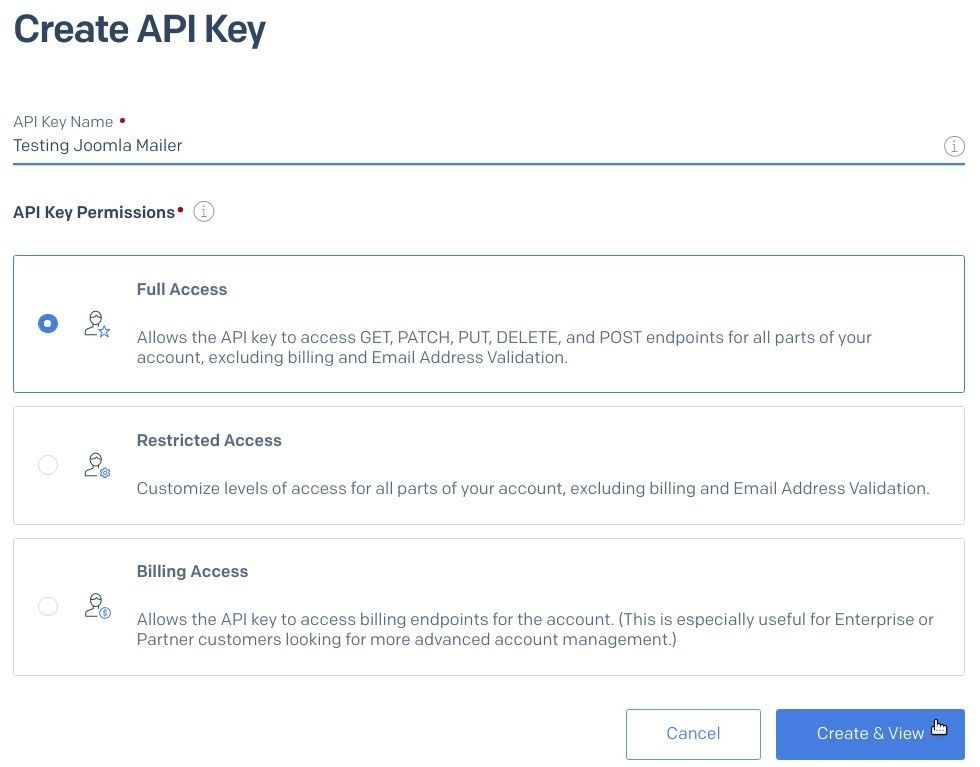
- You will be taken to the "Create API Key" screen. Create a name for your testing API key and click "Create & View":
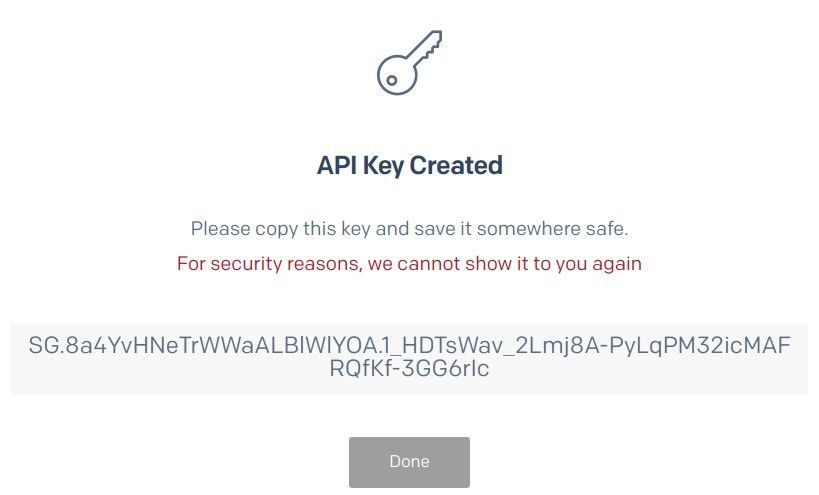
- You will see the "API Key Created" screen. Copy your SendGrid SMTP server API key.
Good job! You are done on the SendGrid end. You are ready now to switch your Joomla Mailer to this new SMTP server.
Step #2. Set Your Joomla Mailer to Your SendGrid SMTP Testing Server
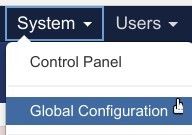
- In your Joomla control panel, go to "System" > "Global Configuration":
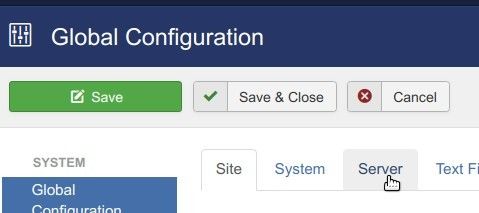
- You will see the "Global Configuration" screen. Click the "Server" tab:
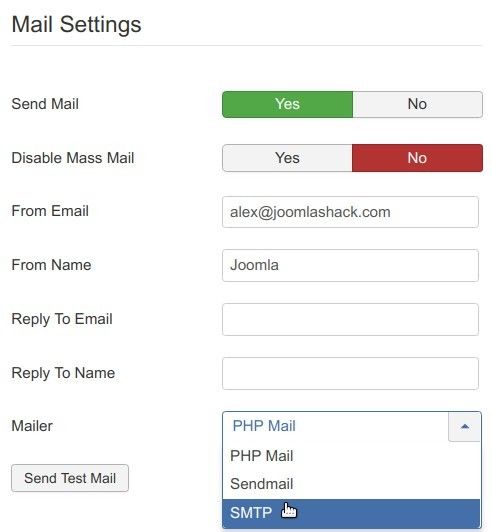
- On the right-hand side, in the "Mail Settings" section, find the "Mailer" parameter. Click on "PHP Mail" and on the drop-down list of options click "SMTP":
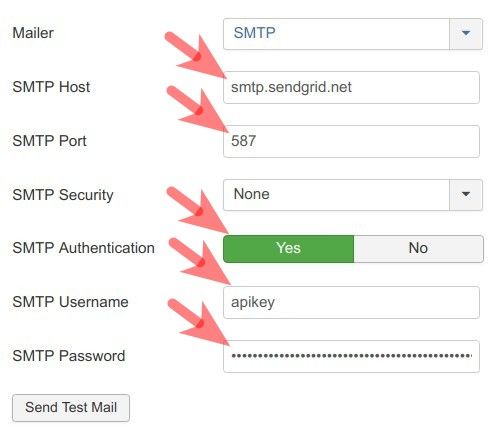
- For the "SMTP Host" setting enter smtp.sendgrid.net.
- For the "SMTP Port" setting enter 587.
- For the "SMTP Authentication" setting click "Yes".
- For the "SMTP Username" setting enter apikey.
- For the "SMTP Password" enter your SendGrid API Key you copied in the previous step.
- Click "Save" or "Save & Close".
Good job! You can now check if this new SMTP Joomla Mailer solves the emails receiving issue.