Documentation for Joomla 3
There's lots of Shack Forms documentation available, plus this video is a guide to getting started with Shack Forms on a Joomla 3 site:
Step #1. Create the Module
For maximum flexibility, Shack Forms uses modules so that your form can be placed wherever you need it.
- In your Joomla 3 control panel, go to Extensions > Modules > New.
- Click "Shack Forms Pro".
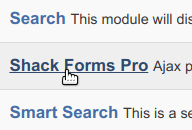
Step #2. Choose the Form Settings
You are now on the screen where you can start entering key information.
- Choose a title for your form, such as "Contact Us":

Choose these settings on the right side of the screen:
- Show Title: Hide
- Position: Debug
- Status: Published.
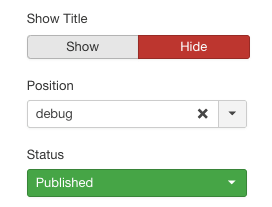
Good job! You are done with the basic module settings. Now you will move to create the contact form itself.
- Click "Add new field".

You will see a few fields dropped down. To create your first field named Your Name, set it as follows:
- Field label: enter "Your Name".
- Field type: leave the default "Text" value.
- Required: click "Yes".
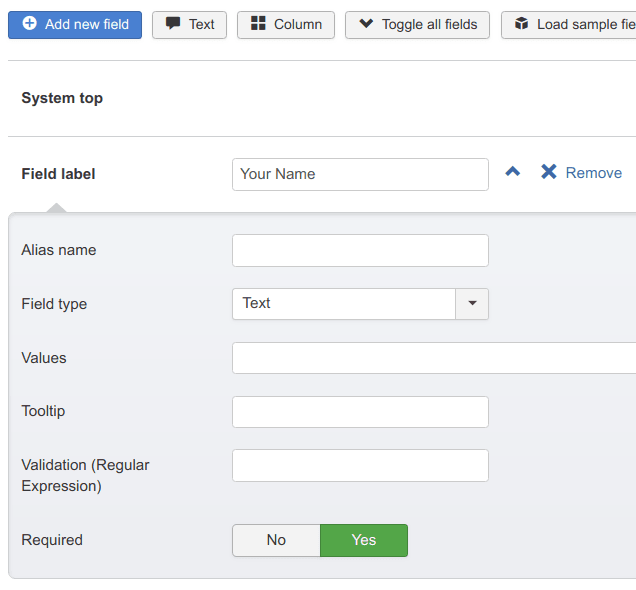
Next, let's create a field for email addresses:
- Click the "Add new field" button once again.
- Field label: enter "Your Email".
- Field type: click inside the field and select "Email".
- Required: click "Yes".
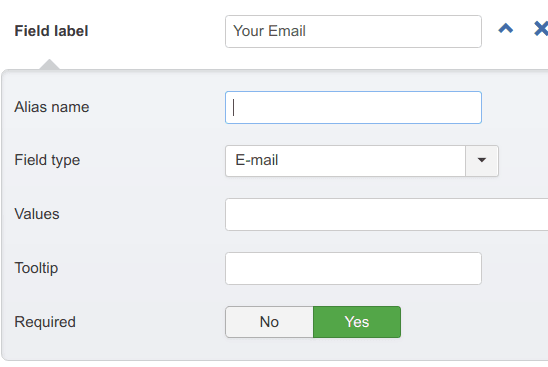
- Click the "Add new field" button once again.
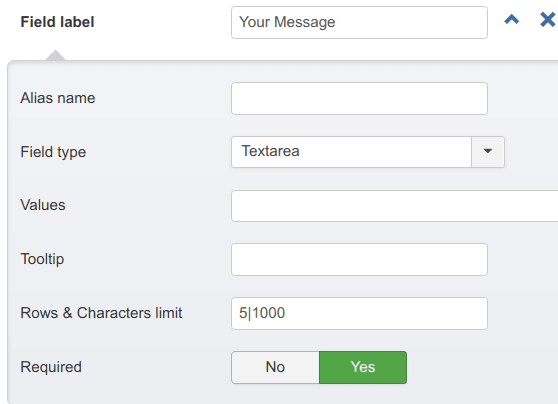
- Field label: enter "Your Message".
- Field type: click inside the field and select "Textarea".
- Required: click "Yes".
Step #3. View the form
- Click "Save & Close".
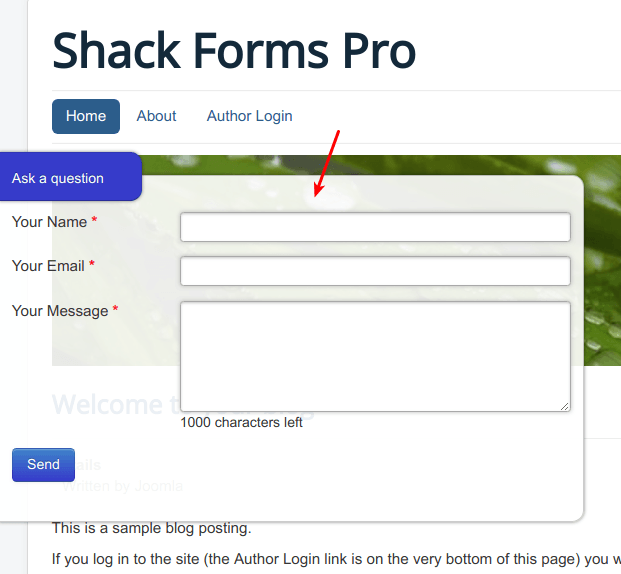
- Visit your site. You should now see the "Ask a question" button in the left top corner of the site:

- Click Ask a question. You will now see your new contact form:
It's that easy to get started with Shack Forms on a Joomla 3 site. You will find a lot more documentation about Shack Forms on the site. Take a look around and you're also welcome to contact us if you have any questions.
Documentation for Joomla 5
There's lots of Shack Forms documentation available. Here is our Quick Start guide to get you easily and quickly started with Shack Forms on a Joomla 5 site.
Step #1. Create the Module
For maximum flexibility, Shack Forms uses modules so that your form can be placed wherever you need it.
- In your Joomla 5 administrator Dashboard, click on the "+" icon on the "Modules" button:
![]()
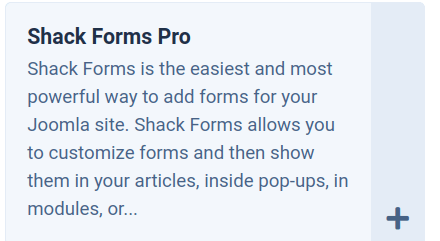
- This will take you to the "Select a Module Type" screen, as you can see in the next image. Scroll slightly down and click anywhere on the "Shack Forms Pro" button:
Step #2. Choose the Form Settings
You are now on the screen where you can start entering key information.
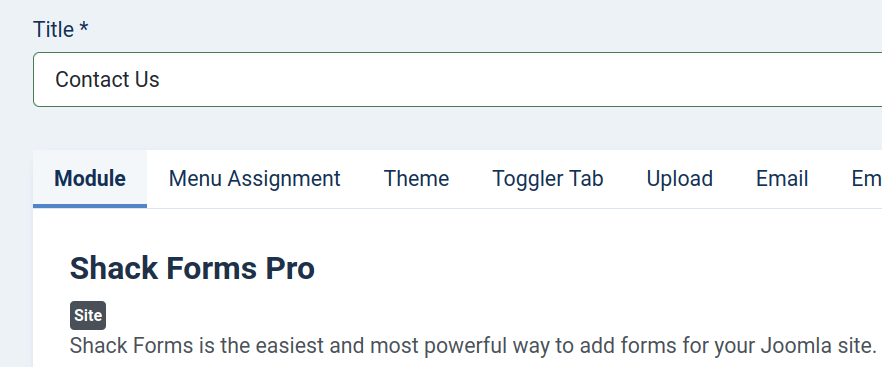
- Choose a title for your form, for example, such as "Contact Us":
Choose these settings on the right side of the screen:
- Show Title: Hide
- Position: Debug
- Status: Published.
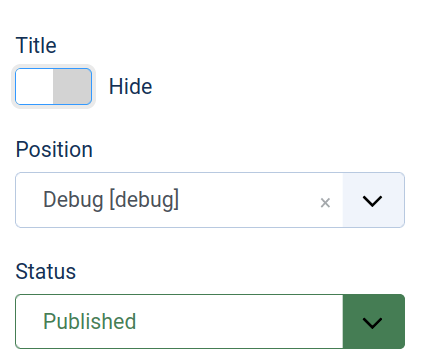
Good job! You are done with the basic module settings. Now you will move to create the contact form itself.
- Scroll down and click "Add new field":
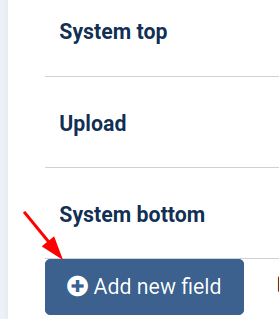
You will see a few fields dropped down. To create your first field named Your Name, set it as follows:
- Field label: enter "Your Name".
- Field type: click inside the field and select "Text".
- Required: click "Yes".
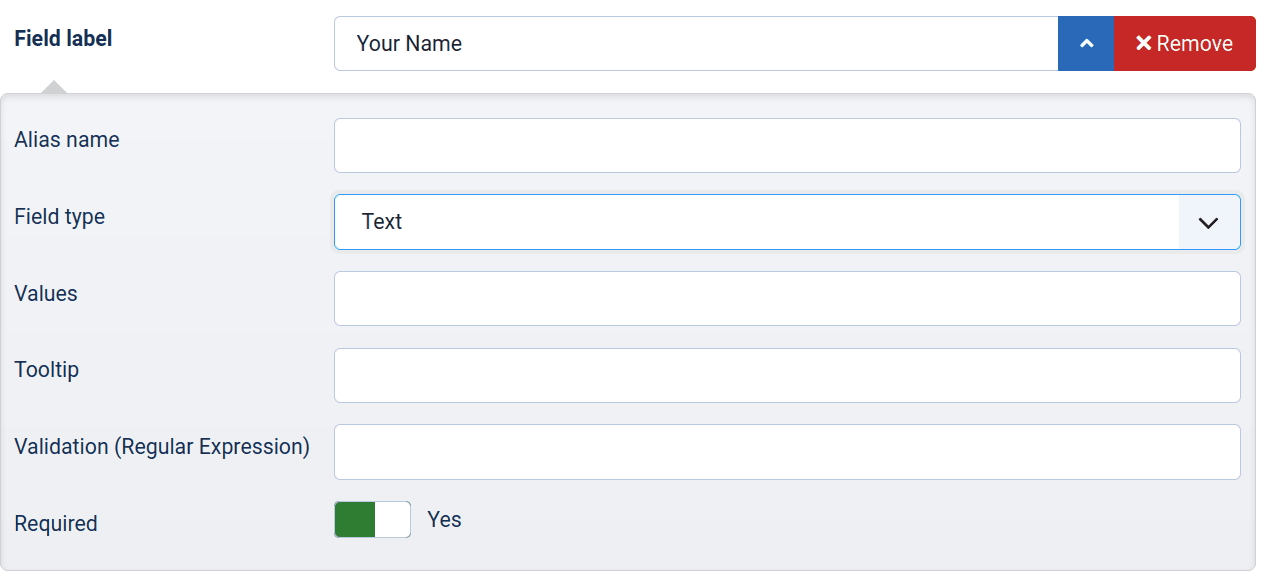
Next, let's create a field for email addresses:
- Click the "Add new field" button once again.
- Field label: enter "Your Email".
- Field type: click inside the field and select "Email".
- Required: click "Yes".
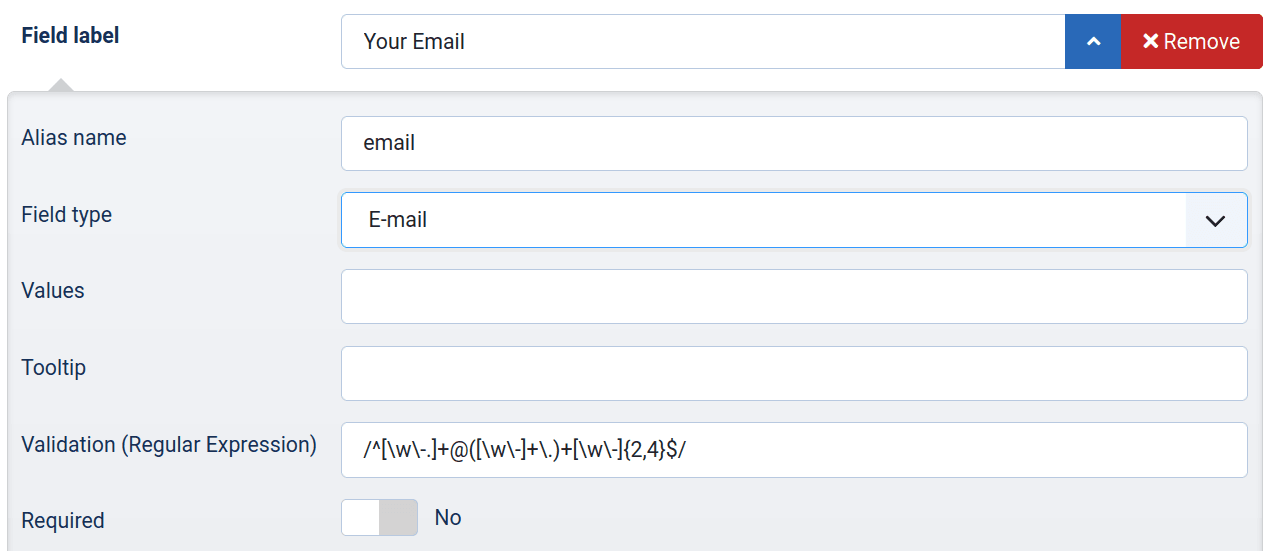
- Click the "Add new field" button once again.
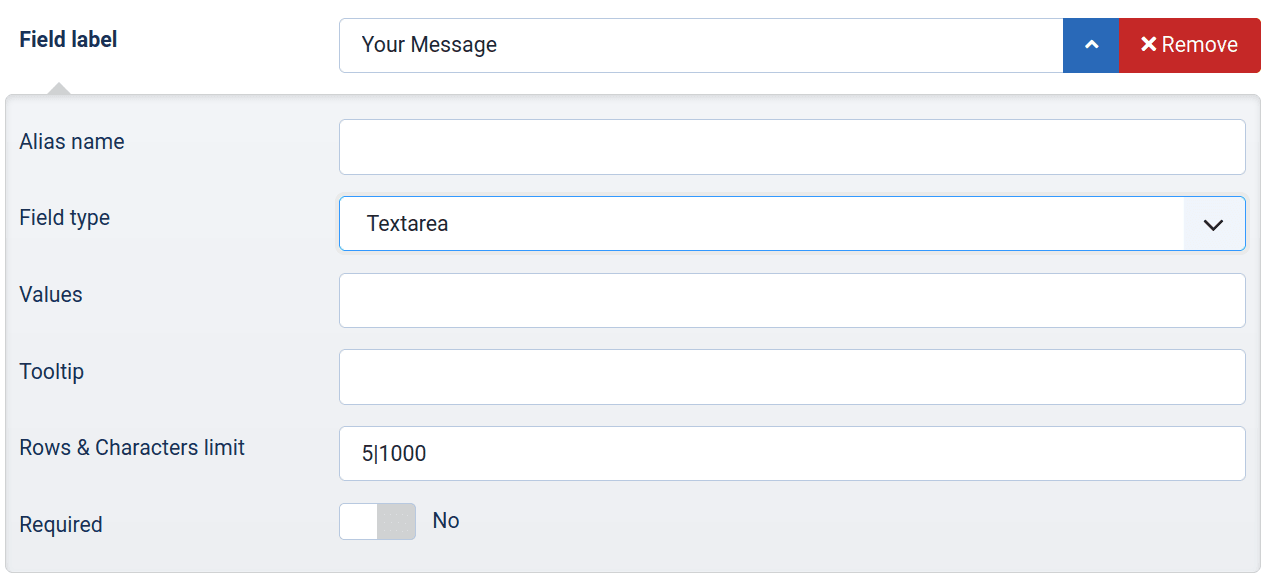
- Field label: enter "Your Message".
- Field type: click inside the field and select "Textarea".
- Required: click "Yes".
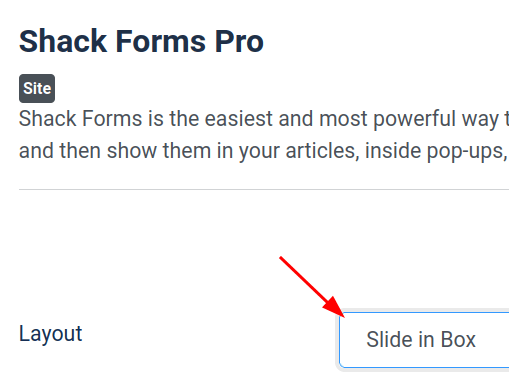
- Set the "Layout" parameter to "Slide in Box":
- Click "Save" or "Save & Close"
Step #3. View the form
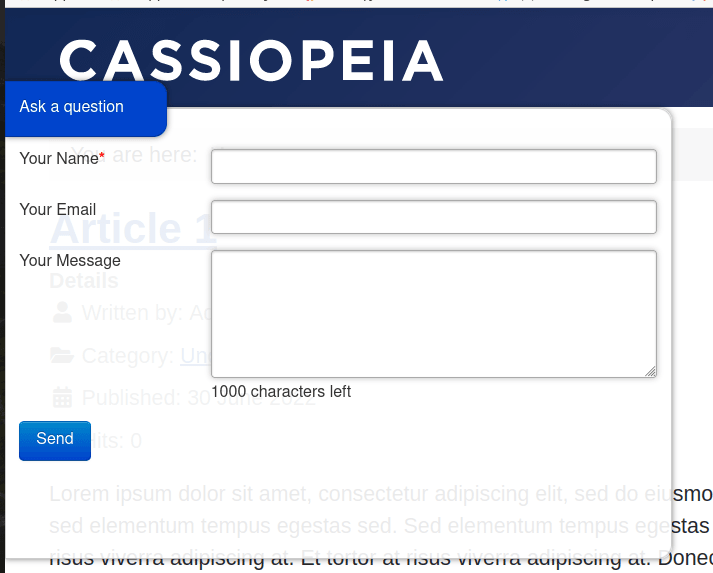
- Visit your site. You should now see the "Ask a question" button in the top left corner:

- Click Ask a question. You will now see your new contact form displayed:
It's that easy to get started with Shack Forms. You will find a lot more documentation about Shack Forms on the site. Take a look around and you're also welcome to contact us if you have any questions.
