Documentation for Joomla 3
One Joomlashack user came to us and asked this question:
"I want to allow some users to create Joomla articles from the front end of our site. But, I don't want them to see articles written by other users".
In this tutorial, I'll show you how to do this with the Shack Article Manager extension on a Joomla 3 site.
Step #1. Create a user group for contributors
The first step is to create a new user group.
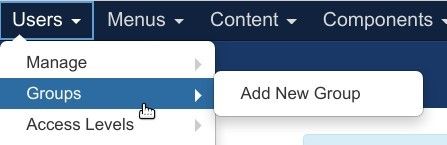
- In your Joomla admin area, go to Users > Groups > Add New Group:
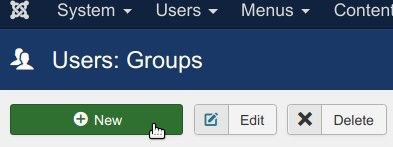
- In the top left corner, click the green "New" button:
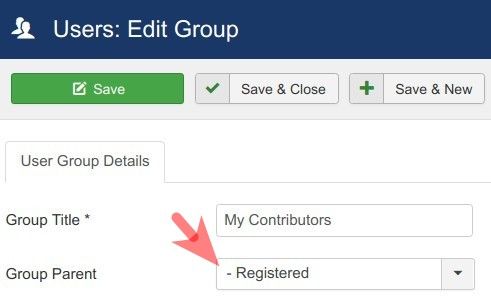
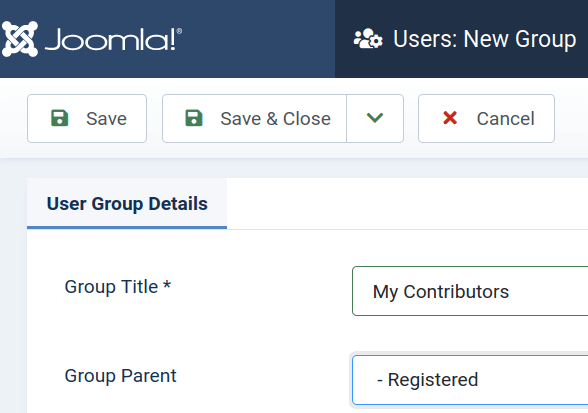
- Create a new user group called "My Contributors".
- Select "Registered" for the "Group Parent" option.
- Click "Save & Close".
Step #2. Create an access level for contributors
In the second step, we'll create an access level for this new contributor group.
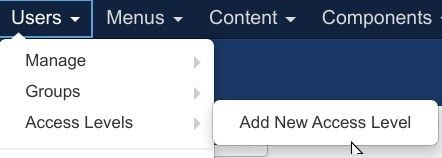
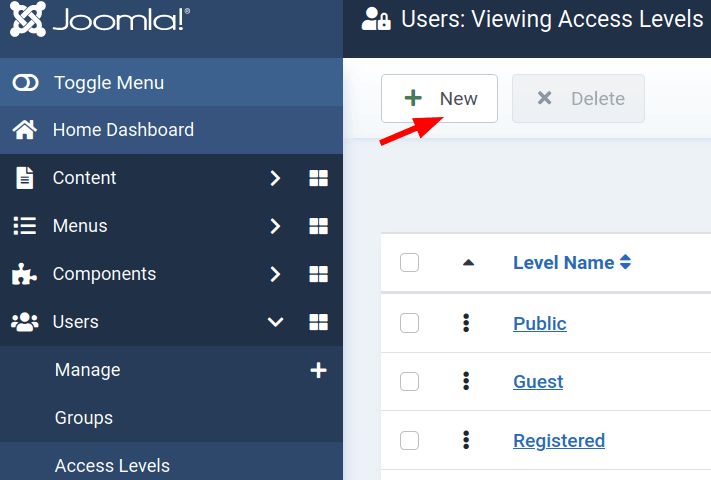
- Go to Users > Access Levels > Add New Access Level:
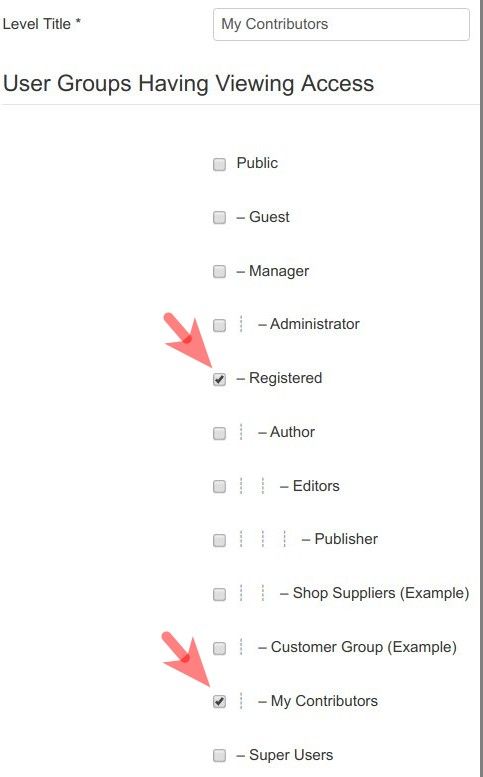
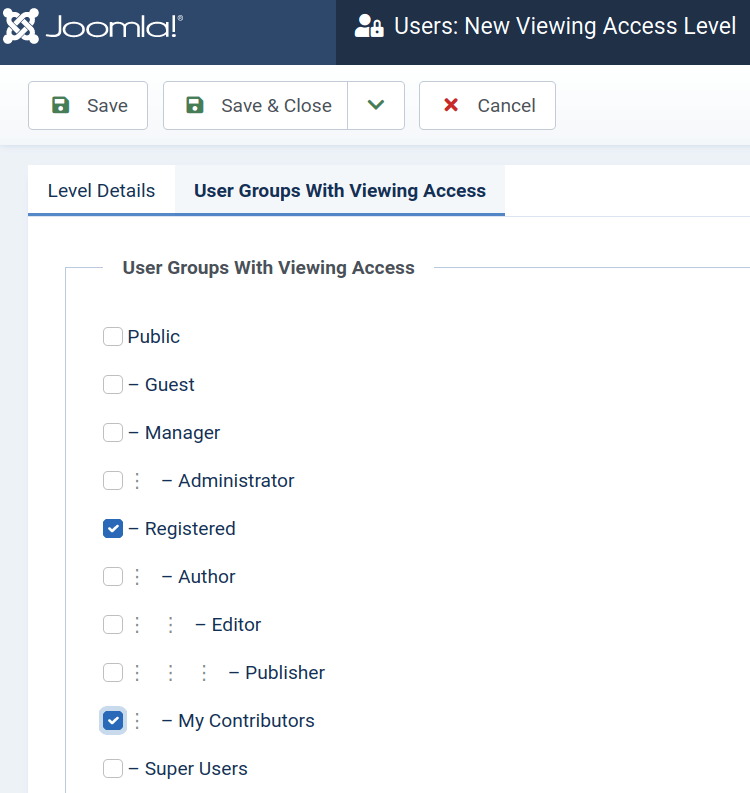
- Create an access level called "My Contributors".
- Select the User Group you created in the previous step, as well as the "Registered" group:
Step #3. Add contributors to the new user group
You now have a user group and an access level for your Joomla article frontend contributors.
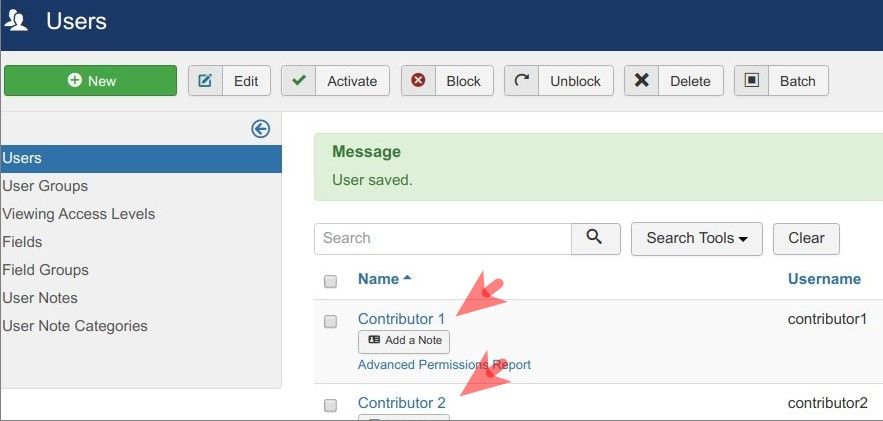
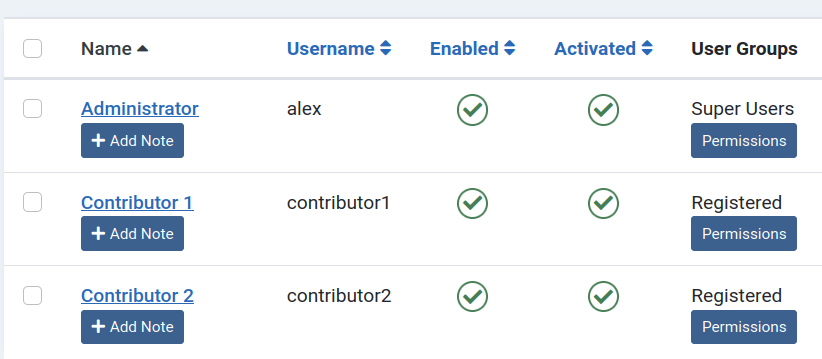
This is a good time to add the contributor user accounts. In the image below, I have created two users: "Contributor 1" and "Contributor 2":
Let's assign each of them to their user group of the frontend contributors.
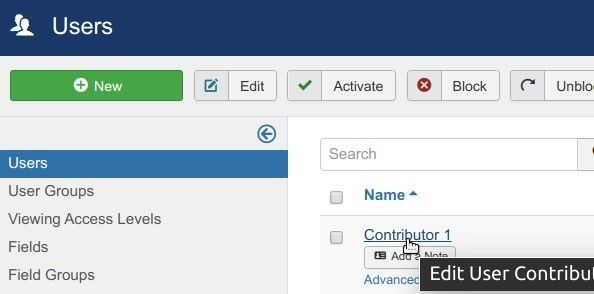
- Go to Users > Manage.
- Click on the name of the user to be a frontend article contributor:
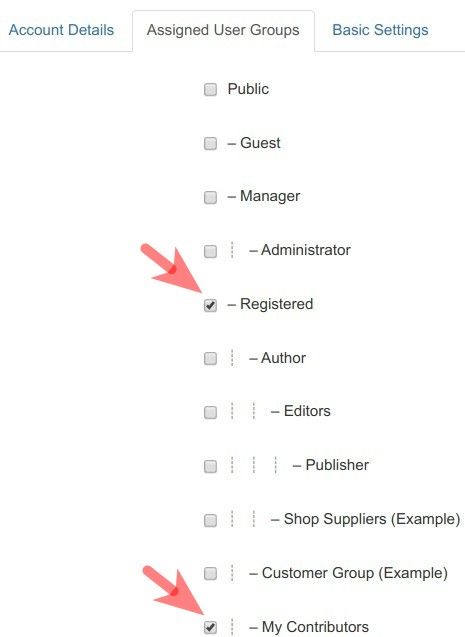
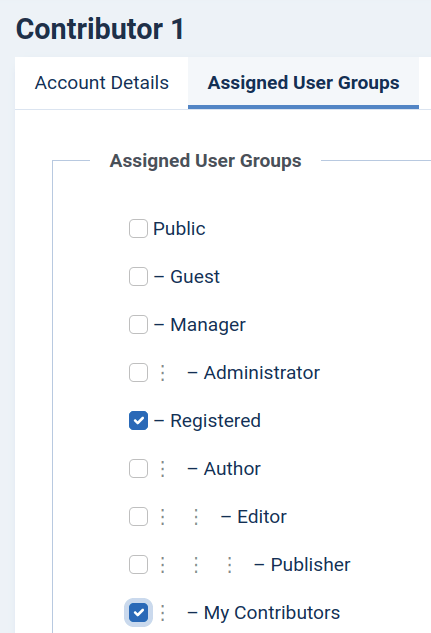
- Click the "Assigned User Groups" tab.
- Select the "Registered" group and the user group you created for your Joomla contributors.
- Repeat the same steps for all the users you want to have as contributors.
Step #4. Set permissions for the contributors
In this step, choose the permissions for our contributors.
- Go to Content > Articles.
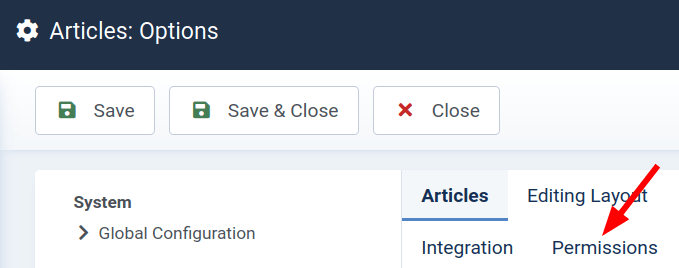
- In the top right corner of the "Articles" screen, click "Options":

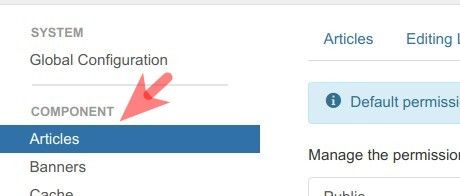
- Click the "Permissions" tab:

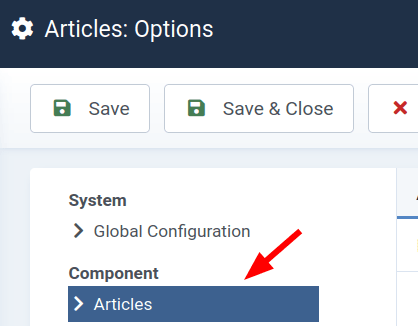
- Make sure you have "Articles" highlighted in the "COMPONENT" column:
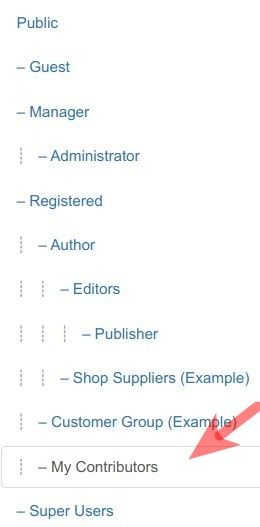
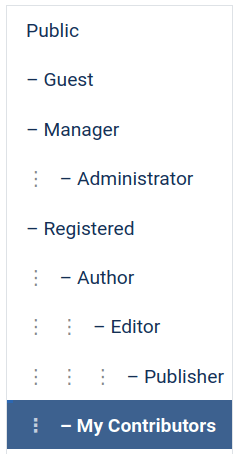
- Select the User Group you created in Step #1. For this tutorial, I chose "My Contributors":
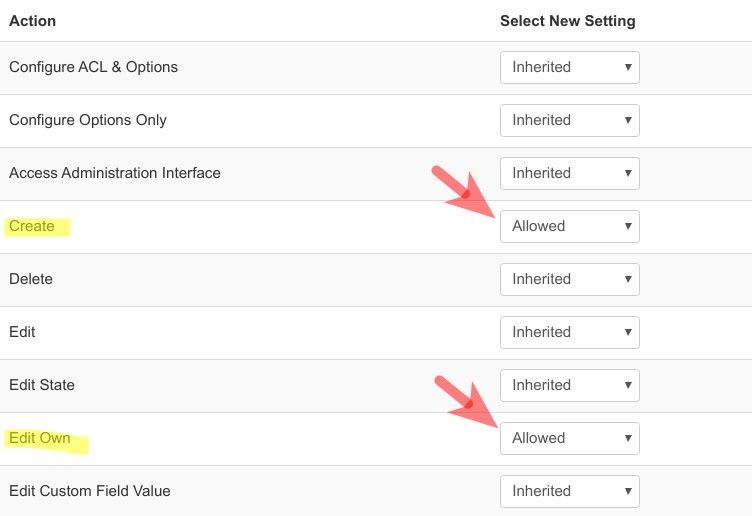
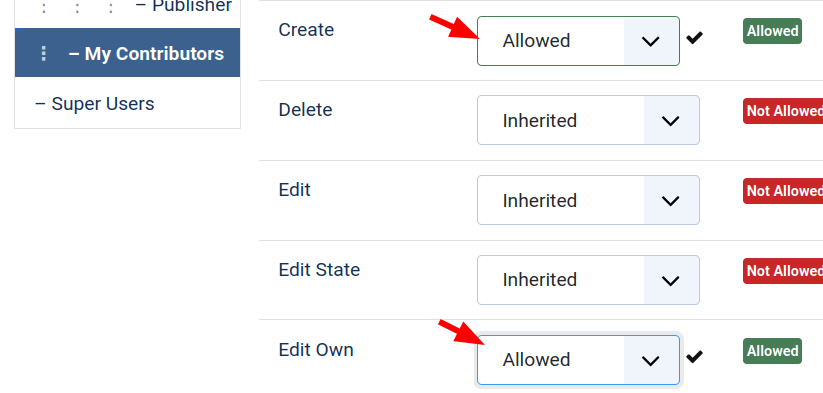
- Select "Allowed" for the "Create" and "Edit Own" actions.
- Click "Save & Close".
Step #5. Allow access to the frontend
We are nearly finished at this point. We just need to give the contributors frontend access to Shack Article Manager.
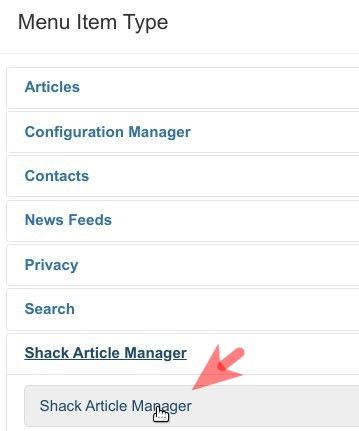
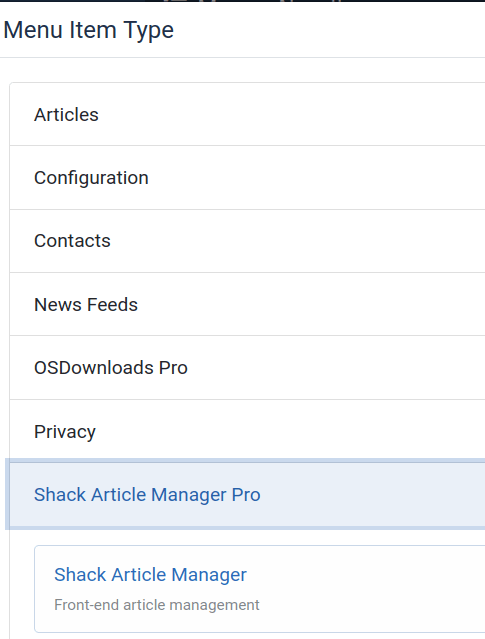
- Create a menu item using the "Shack Article Manager" type:
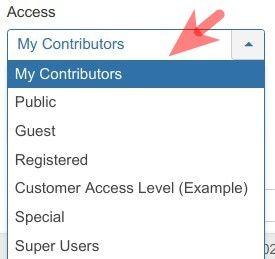
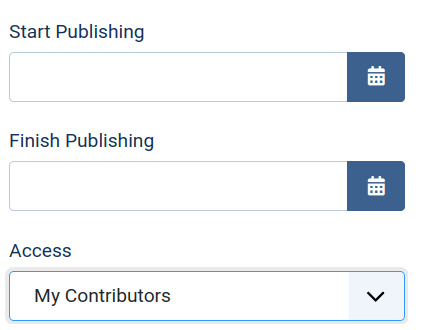
- Set the "Access" parameter to the "Access Level" you created for contributors.
- Click "Save & Close".
Check the final result
- Log into the frontend page of your Joomla site using one of your contributor accounts.
- Visit the "Shack Article Manager" link.
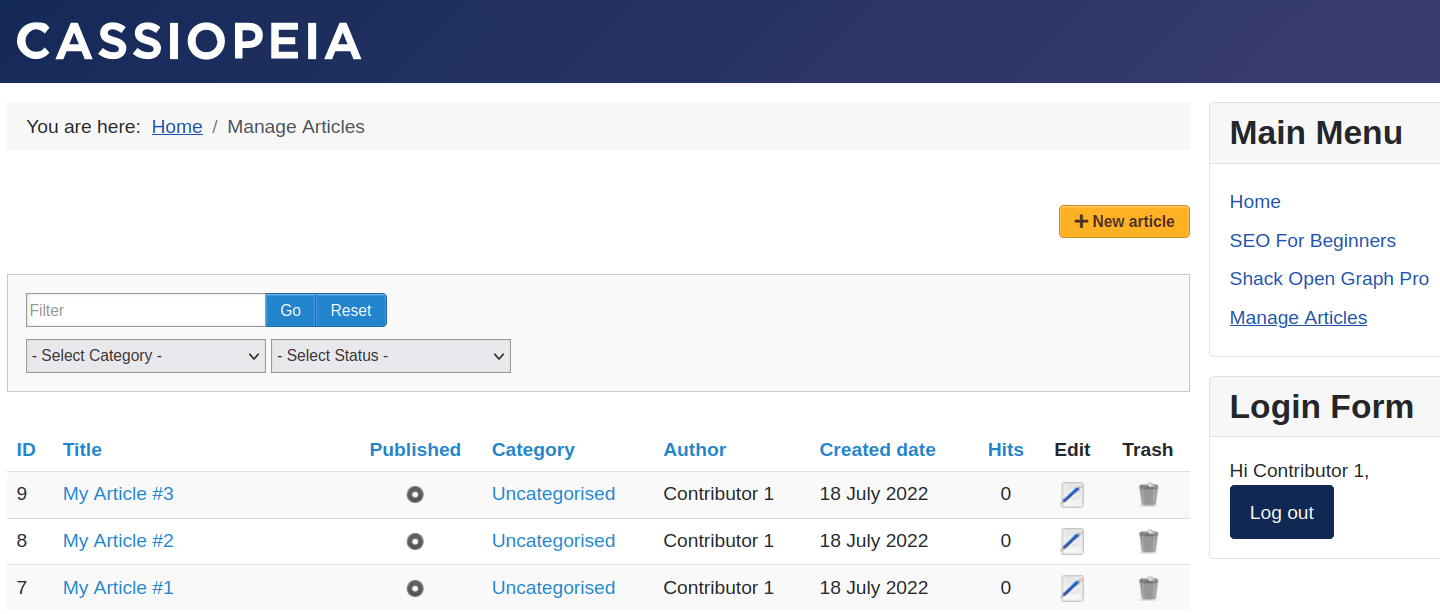
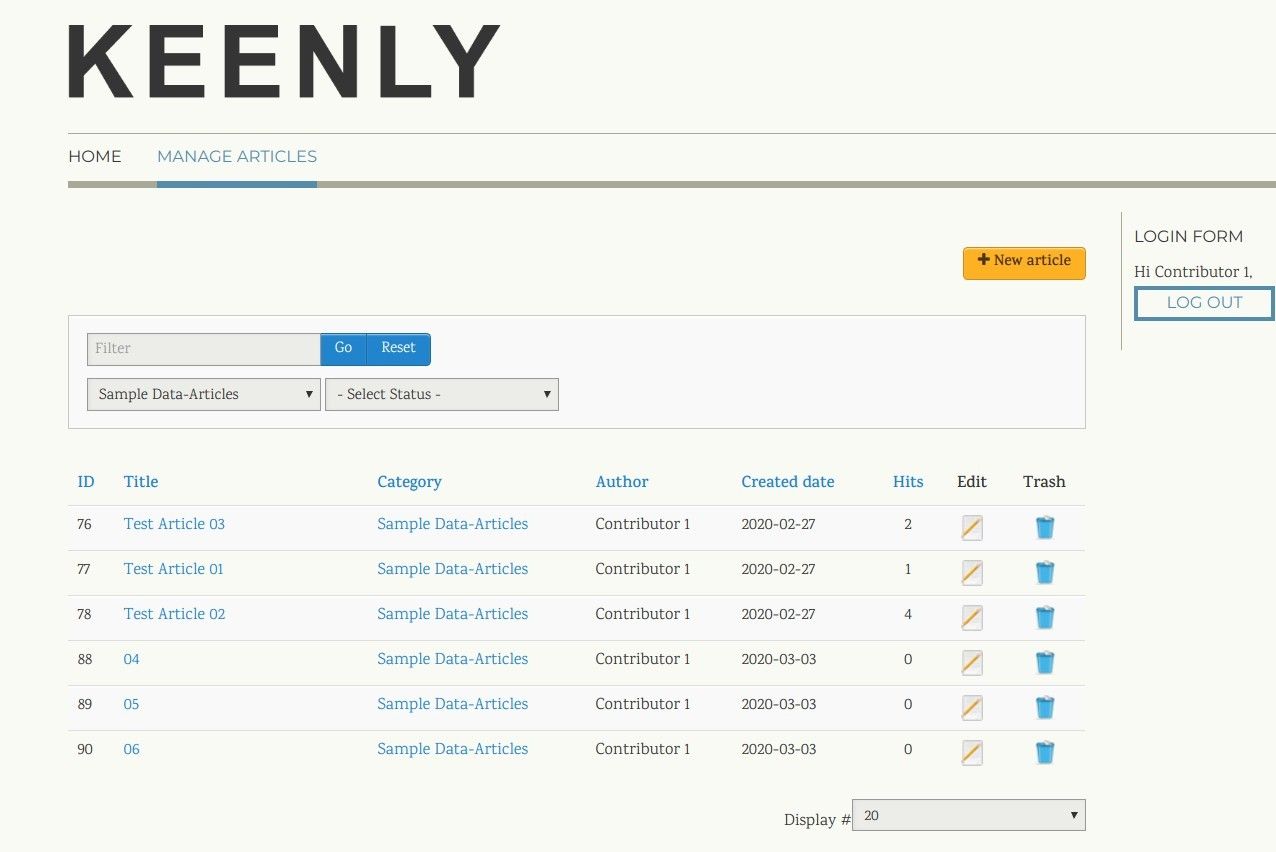
- Try creating Joomla articles. You should find that each of your contributors can see only their own articles:
Documentation for Joomla 5
One Joomlashack user came to us and asked this question:
"I want to allow some users to create Joomla articles from the front end of our site. But, I don't want them to see articles written by other users".
In this tutorial, I'll show you how to do this with the Shack Article Manager extension on a Joomla 5 site.
Step #1. Create a user group for contributors
The first step is to create a new user group.
- In your Joomla 5 administrator dashboard, go to Users > Groups > and click the "New" button:
- Create a new user group called, for example, "My Contributors".
- Select "Registered" for the "Group Parent" option.
- Click "Save & Close".
Step #2. Create an access level for contributors
In the second step, we'll create an access level for this new contributor group.
- Go to Users > Access Levels and click "New":
- Create an access level called, for example, "My Contributors".
- Click the "User Groups with Viewing Access" tab.
- Select the "My Contributors" User Group you created in the previous step, as well as the "Registered" group:
Step #3. Add contributors to the new user group
You now have a user group and an access level for your Joomla article front end contributors.
Now is a good time to add the contributor user accounts.
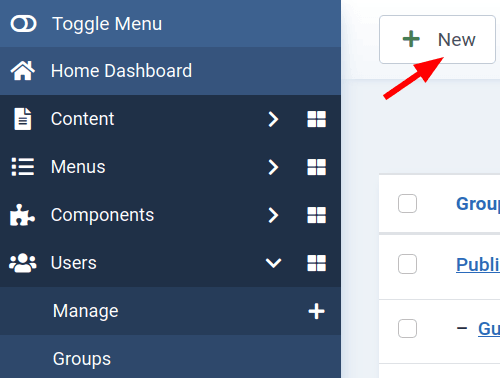
- Go to Users > Manage and click on the cross icon:
![]()
- Create new users. In the image below, I have created two users: "Contributor 1" and "Contributor 2":
Let's assign each of them to their user group of the frontend contributors.
- Open the required user for editing.
- Click the "Assigned User Groups" tab.
- Select the "Registered" group and the user group you created for your Joomla contributors.
- Repeat the same steps for all the users you want to have as contributors.
Good job! You are ready to move to the next step.
Step #4. Set permissions for the contributors
In this step, you will choose the permissions for our contributors.
- Go to Content > Articles.
- In the top right corner of the "Articles" screen, click "Options":

- You will see the "Articles: Options" area. Click the "Permissions" tab:
- Make sure you have "Articles" highlighted in the "COMPONENT" column:
- Select the User Group you created in Step #1. For this tutorial, I chose "My Contributors":
- Select "Allowed" for the "Create" and "Edit Own" actions, as shown in the next image.
- Click "Save & Close".
Step #5. Allow access to the frontend
We are nearly finished at this point. We just need to give the contributors frontend access to Shack Article Manager.
- Create a menu item using the "Shack Article Manager" type:
- Set its "Access" parameter to the "Access Level" you created for contributors. In my example, I set it to "My Contributors", as you can see in the next image.
- Click "Save & Close".
Check the final result
- Log into the frontend page of your Joomla site using one of your contributor accounts.
- Visit the "Shack Article Manager" link.
- Try creating Joomla articles. You should find that each of your contributors can see only their own articles: