In this document, you will learn how to connect Matomo (formerly Piwik) analytics software to your Joomla site using the Shack Analytics Pro Joomla extension.
Matomo is a server-side PHP/MySQL analytics self-hosted platform. It aims to be an Open Source alternative to Google Analytics.
You can quickly install it using your hosting control panel. After the installation, you will be able to log into your Matomo administrator dashboard and copy the tracking code.
Then paste this tag in Shack Analytics on your Joomla site that you would like wish to track.
Let's take a look at how to do this in more detail.
Step #1. Install Matomo
- In your hosting control panel, find the "Polls and Analytics" button. For this document, I work on cPanel:
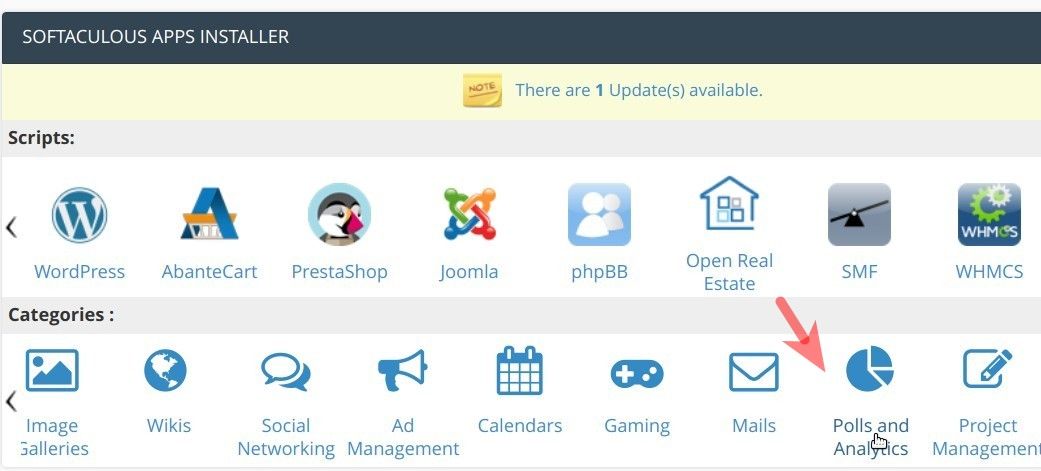
- Click "Matomo":
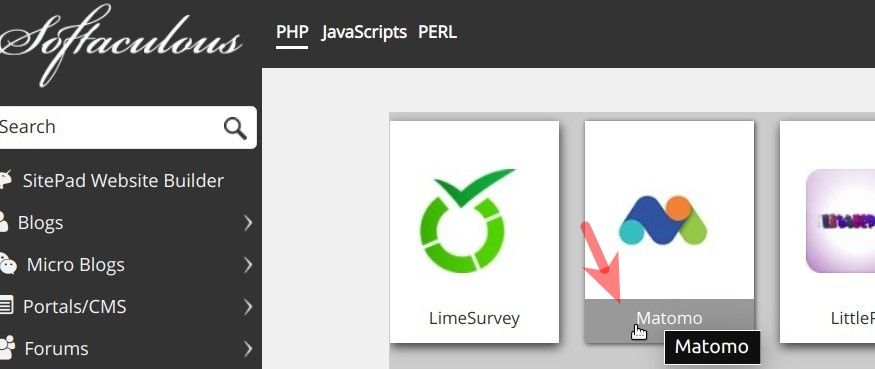
- You will be taken to the "Matomo" installation screen. Click the little arrow to the left of the "Install" button:
![]()
- In the dropdown list of the installation options, click "Quick Install":
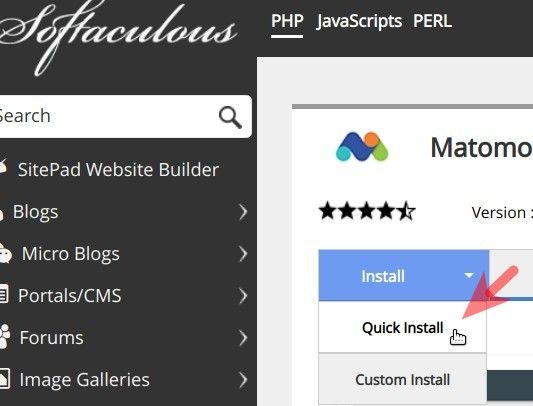
This will open a few new fields on your installation screen.
- "Choose Installation URL". Enter "matomo" in the directory field:

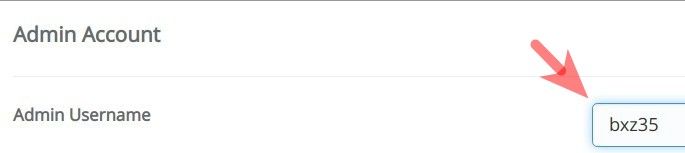
- "Admin Username". Enter here your own admin username or leave the default "admin". For this document, I entered "bxz35":
- "Admin Password". For the security of your Matomo installation, replace the default "password" with a hard to guess password:
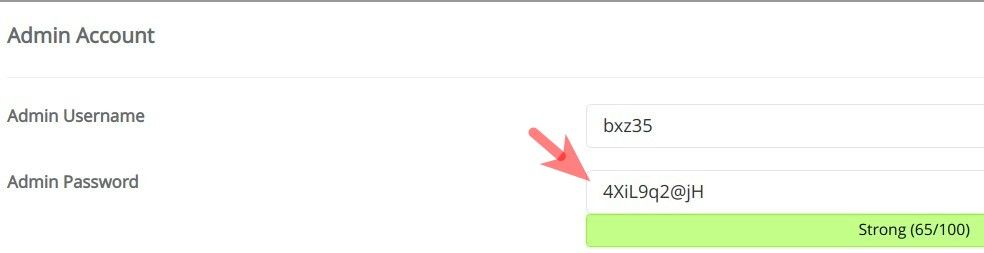
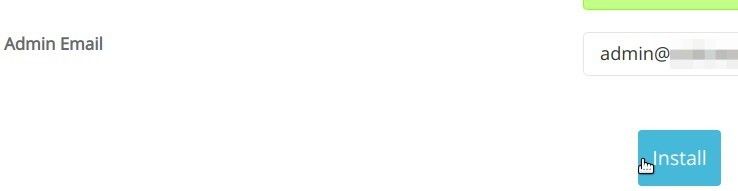
- "Admin Email". Leave the default admin email or enter a new one:

- Click "Install" to initiate installation:
- After a brief screen activity, you will see the message stating that your installation was successful:
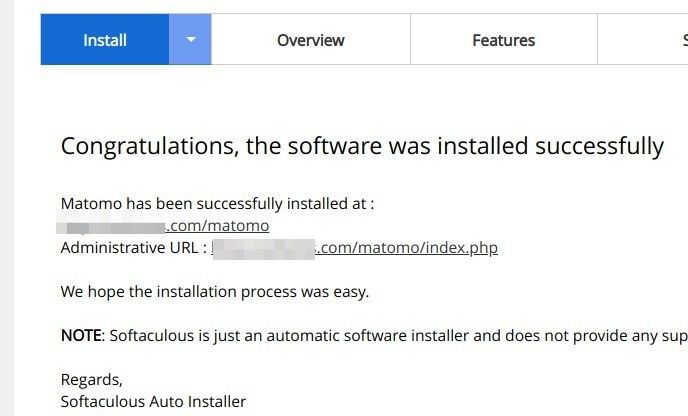
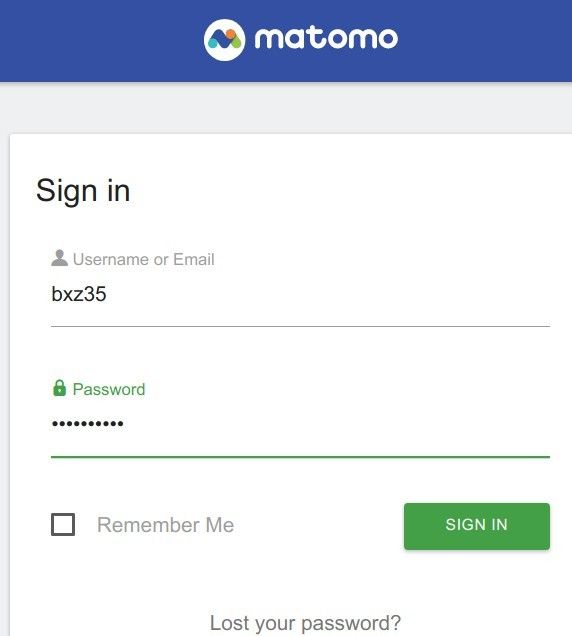
- Visit the URL of your Matomo installation and log into your Matomo analytics administrator dashboard:
- You will be taken to your Matomo Dashboard. Find the "JavaScript Tracking Code" section and copy the code:
![]()
Excellent! You are now ready to move to your Joomla site to connect it to your Matomo analytics.
Step #2. Create a Matomo global tracking tag in Shack Analytics
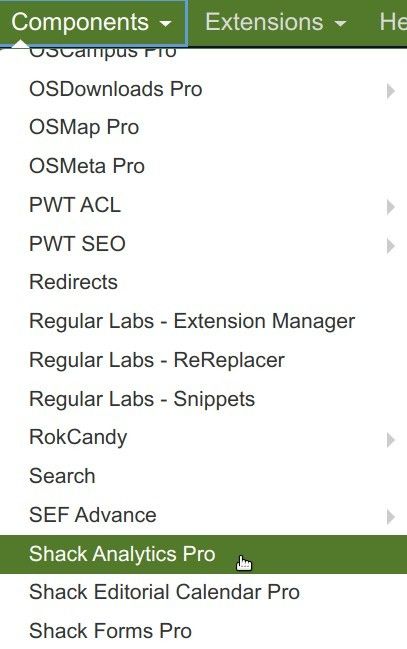
- In your Joomla administrator panel, go to "Components" > "Shack Analytics Pro":
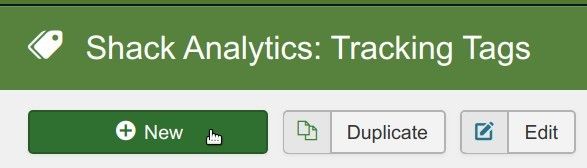
- You will be taken to the "Shack Analytics: Tracking Tags" screen. In the top left corner, click "New" to create a new tracking tag:
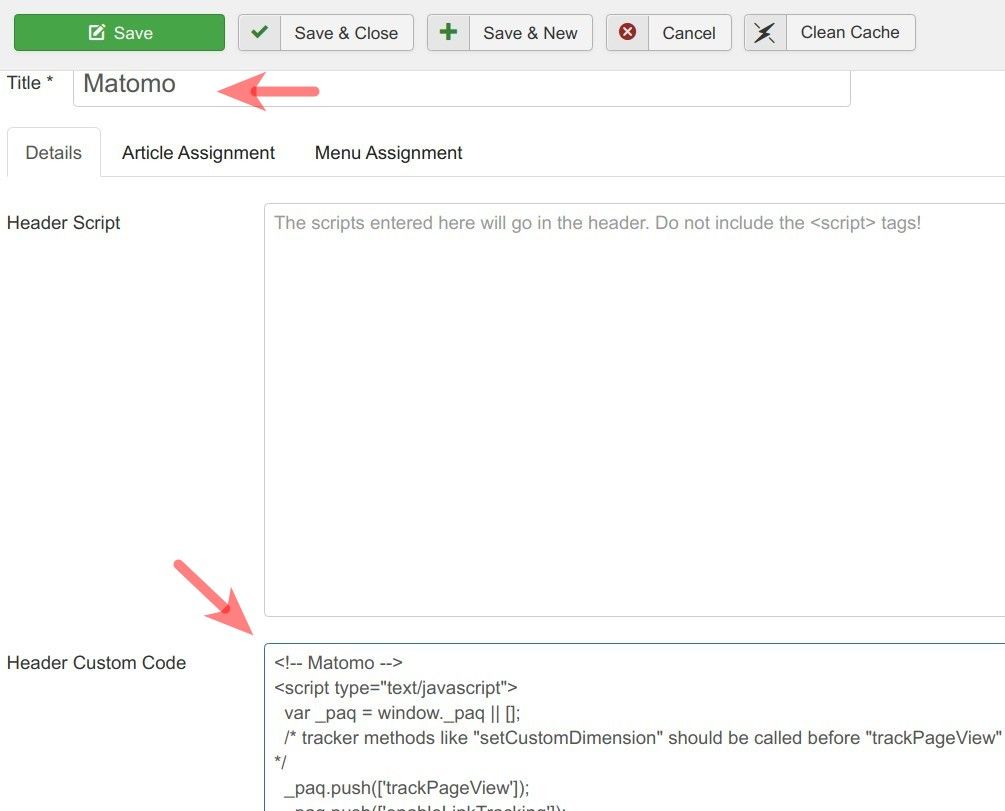
- This will open the "Shack Analytics: New Tracking Tag" screen for you. Enter "Matomo" into the "Title" field and paste the code you copied in the previous step into the "Header Custom Code" box:
- Click "Save & Close". You will see your newly created tag listed:
![]()
So far so good. You created your Matomo tracking tag but it is not at work yet. To rectify this, you need to assign this tag as a global tag for your Joomla site.
- In the top right corner, click "Options":

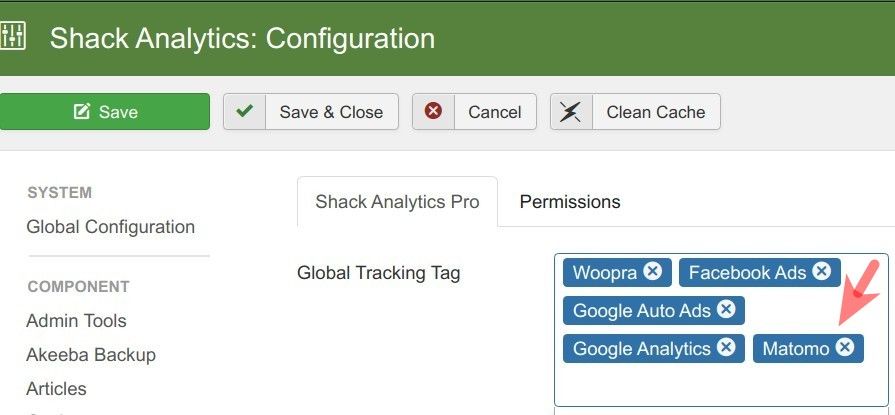
- You will see the "Shack Analytics: Configuration" screen. Click inside the "Global Tracking Tag" box and then - on your Matomo tag:
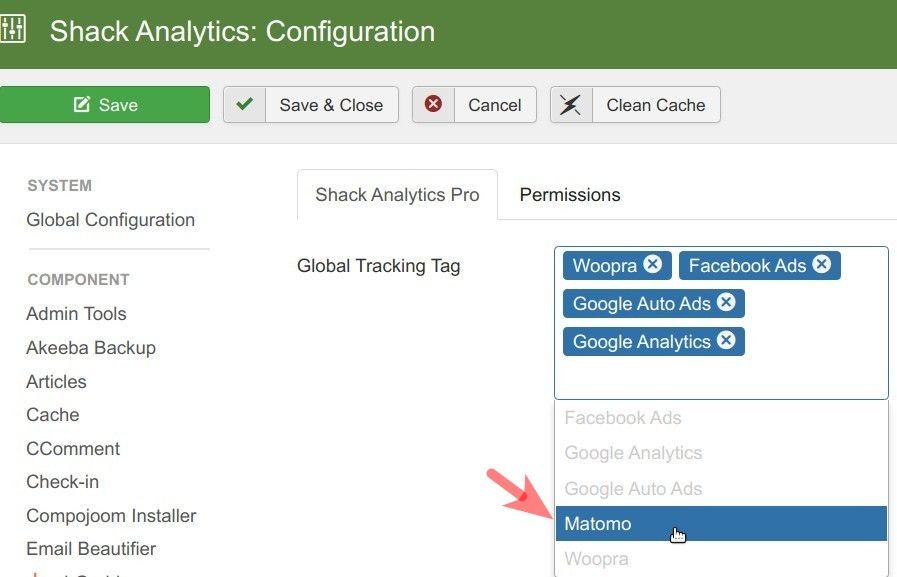
- You will see your Matomo tracking tag inside the "Global Tracking Tag" box:
- Click "Save" or "Save & Close".
- Now check the HTML source code of your Joomla site. You should see the code snippet from your Matomo installation embedded between the <head> and </head> HTML tags:
![]()
Excellent! Your Joomla site is now connected to your Matomo analytics installation. You are well on your way to become a data wizard!