You may want to display ads from Google AdSense on your Joomla site. If your Joomla site is published and already has some content, you have an opportunity to monetize it with Google AdSense ads.
You have two options:
- Let Google place their ads on your site automatically. In Google Ads interface this option is called "Auto ads".
- Create ad units by yourself and then manually place them throughout your site as you see fit, unit-by-unit.
In this document, you will learn how to use the first option.
- Visit https://www.google.com/adsense/start.
- In the top right corner of the page, click "Get started":

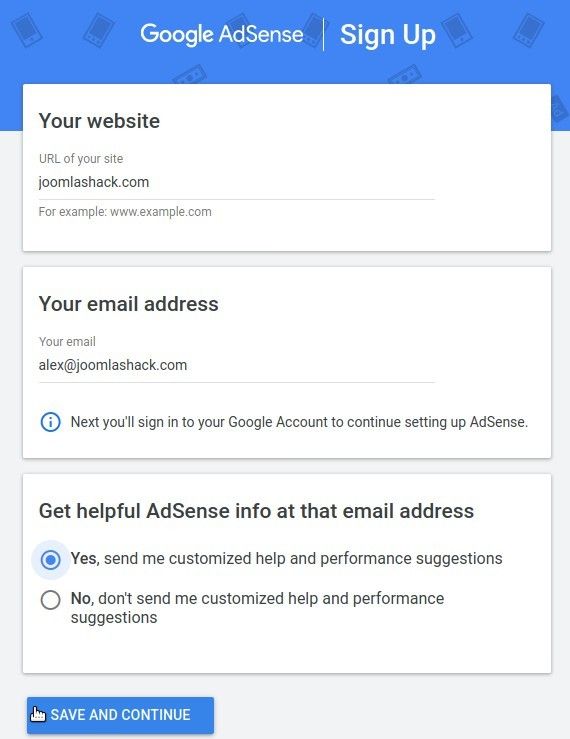
This will bring you to the Google AdSense Sign-up page.
- Enter your site URL.
- Enter your email.
- Click either "Yes" or "No", depending on whether you would like to receive suggestions from Google AdSense.
- Click "SAVE AND CONTINUE":
- Install Shack Analytics Pro on your Joomla site.
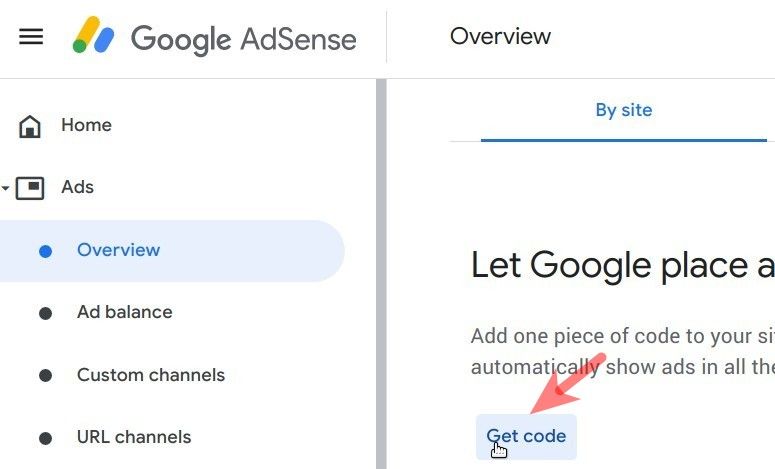
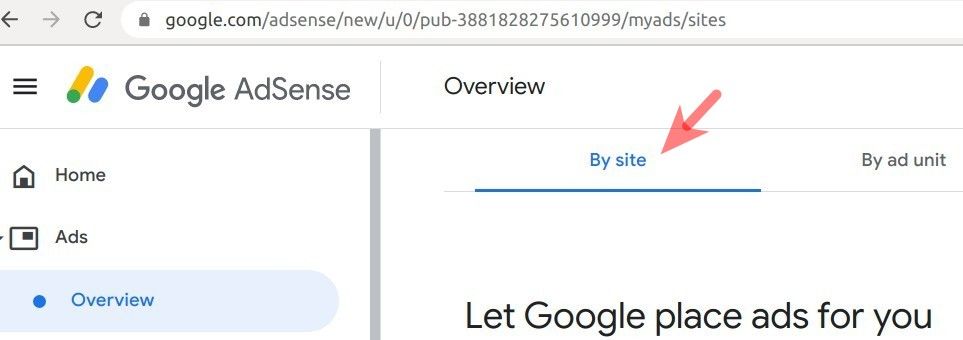
- In your Google AdSense account, go to "Ads" > "Overview" > "By site" and click "Get code":
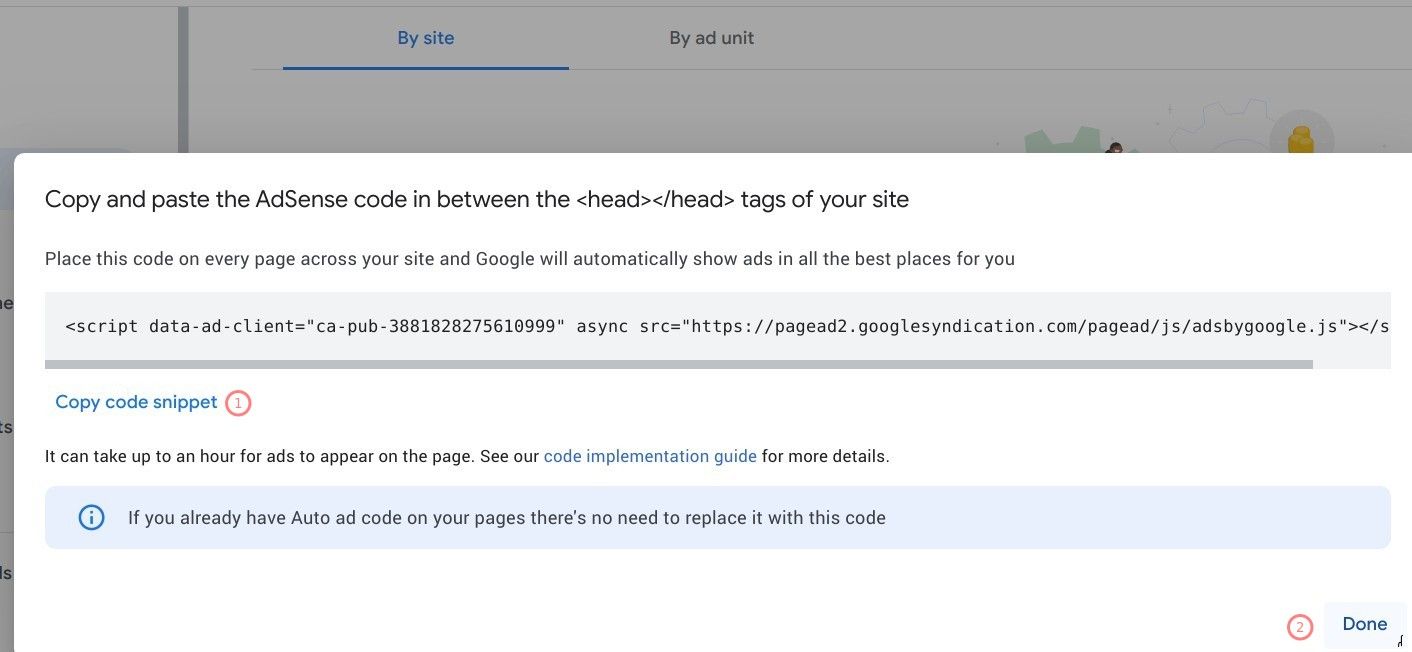
- You will see a modal box with the code snippet. Click the "Copy code snippet" button and then click "Done":
- In your Joomla administrator panel, go to "Components" > "Shack Analytics Pro".
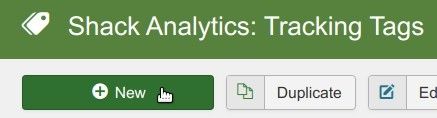
- You will be taken to the "Shack Analytics: Tracking Tags" screen. In the top left corner of the screen, click "New":
- You will see the "Shack Analytics: New Tracking Tag" screen. Give the new tracking tag a name in the "Title" field. Paste the code snippet you copied in your Google AdSense account into the "Header custom code" box:
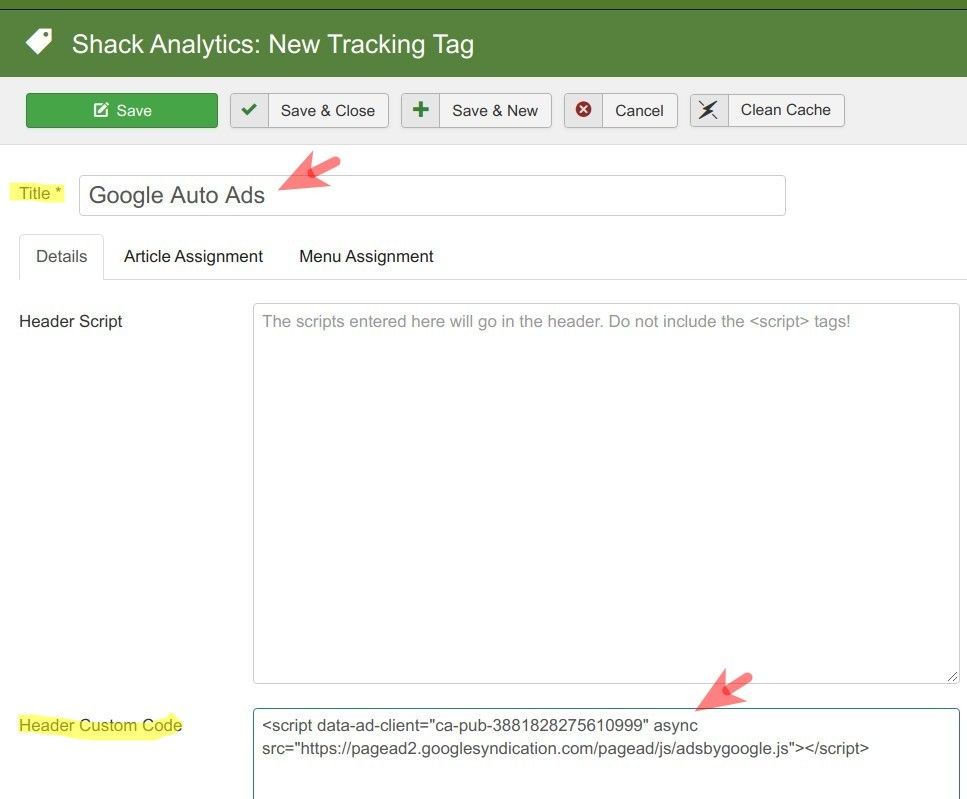
- Click "Save" or "Save & Close".
You will see your newly created tracking tag listed:
![]()
Good job! Now let's use this tracking tag with the code snippet from Google AdSense to place this code between the <head> and </head> tags of your Joomla site.
- In the top right corner of the "Shack Analytics: Tracking Tags", click "Options":

- This will bring you to the "Shack Analytics: Configuration" screen. Under the "Shack Analytics Pro" tab, click inside the "Global Tracking Tag" box and select your Google AdSense tracking tag.
- Click "Save" or "Save & Close".
- Now check the HTML source code of your site. You should see the tag's code snippet between the <head> and </head> tags:

Excellent! Your Joomla site is now connected to your Google AdSense account.
- Enter your payment address details. Visit the "Enter your payment address details" page for detailed instructions.
- Verify your phone number (Not required in all countries.). Visit the "Verify your phone number" page for detailed instructions.
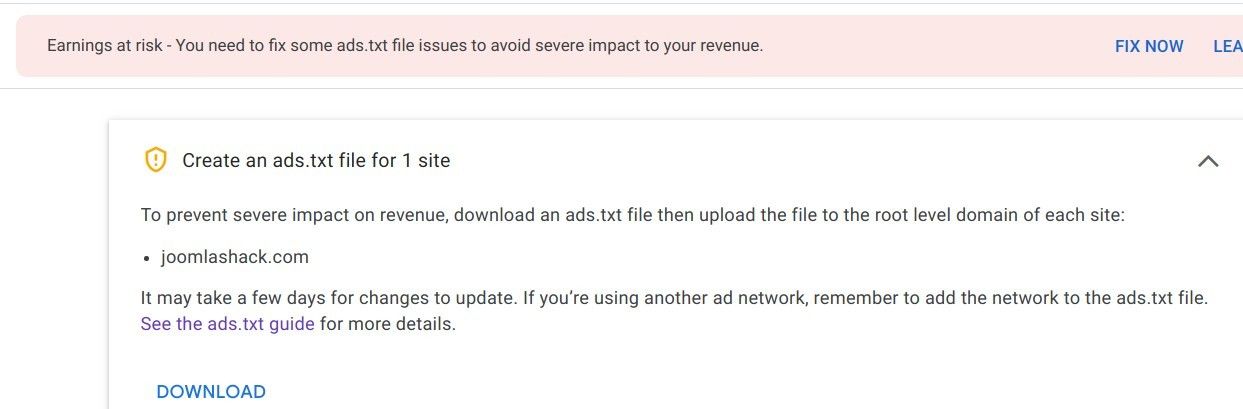
- Now visit your Google AdSense Home page. You might see the "Earnings at risk - You need to fix some ads.txt file issues to avoid severe impact to your revenue." message at the top of the page, as on the image below:

- On your "Earnings at risk..." error message, click "FIX NOW":

- You will see the "Create an ads.txt file" box appeared. Click "DOWNLOAD":
- Download the ads.txt file.
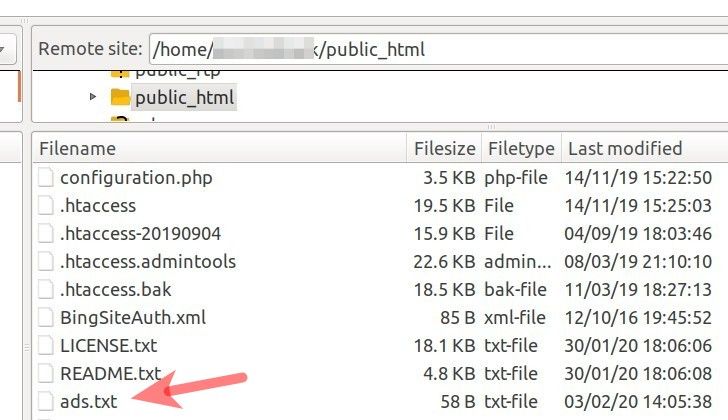
- FTP the ads.txt file to the root folder of your Joomla site:
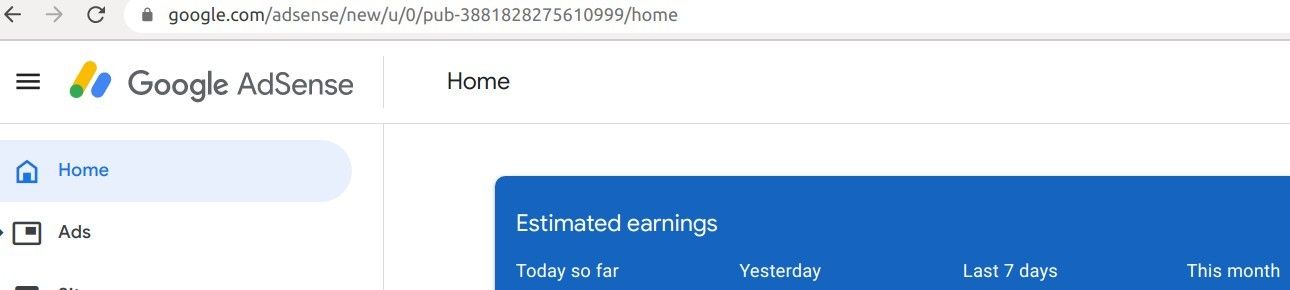
- Allow Google AdSense some time, from a day to a few weeks, to find your ads.txt file. You will know that Google AdSense now recognizes your ads.txt file when you stop seeing the "Earnings at risk ..." message in your Google AdSense account Home page:
Once this message has gone, you are ready to place Google AdSense auto ads within the content of your Joomla site. Here are the advantages of using "Auto ads" according to Google AdSenseHelp:
- They potentially increase your revenue. Auto ads analyze your pages and find new places to show ads based on your layout, content, and existing Google ads.
- They're easy to use. You only need to place one piece of ad code to get started. After you've placed the code, Auto ads will automatically adjust to any changes you make to your site and your ad settings.
- They let you tailor ads to your site. Auto ads settings give you control over where ads appear on your site.
- They're mobile friendly. Auto ads automatically adjust to every screen size. They also include mobile-exclusive formats such as anchor ads and vignettes.
Now is a good time to turn on the "Auto ads" in your Google AdSense account.
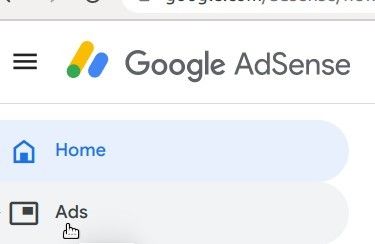
- In your Google AdSense account, click "Ads":
- Make sure you have the "By site" tab open:
- At the bottom of the screen, click on the little pencil icon:
![]()
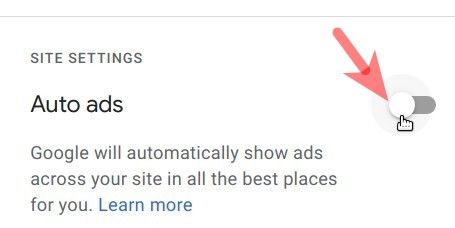
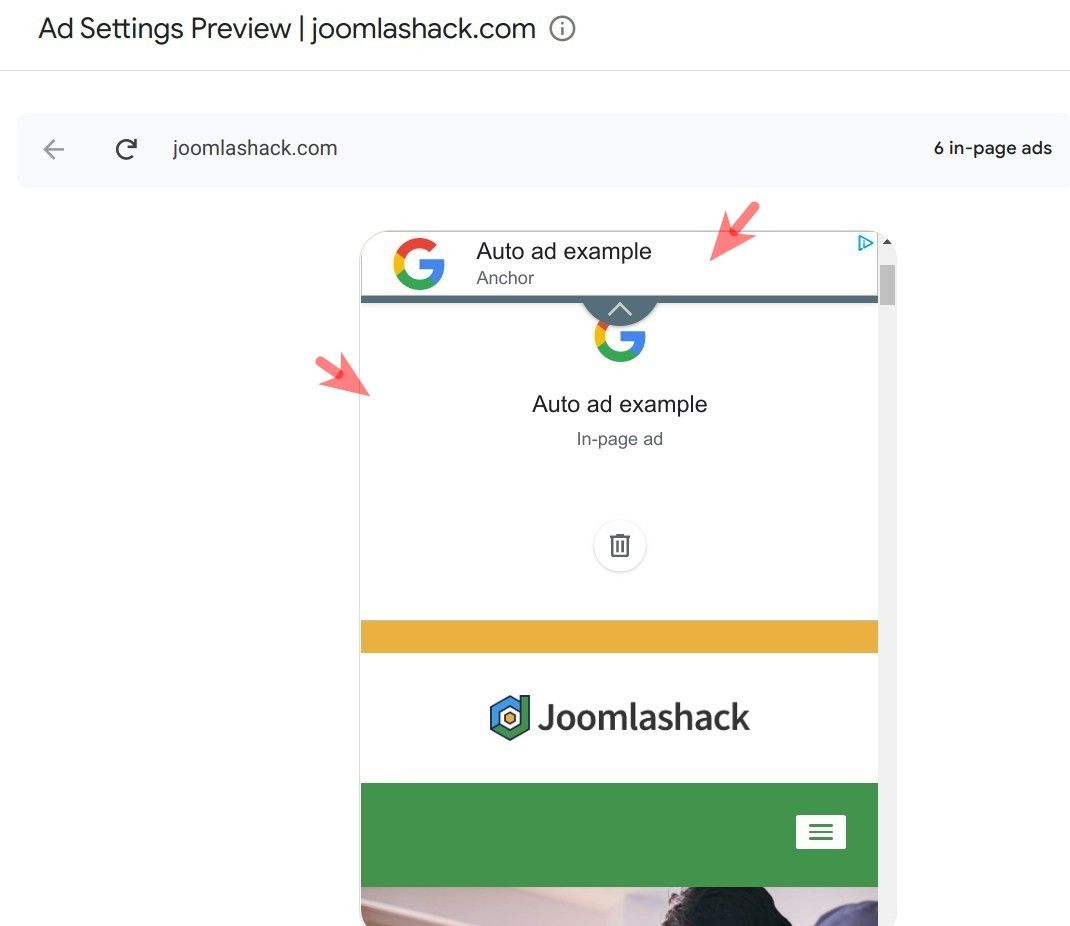
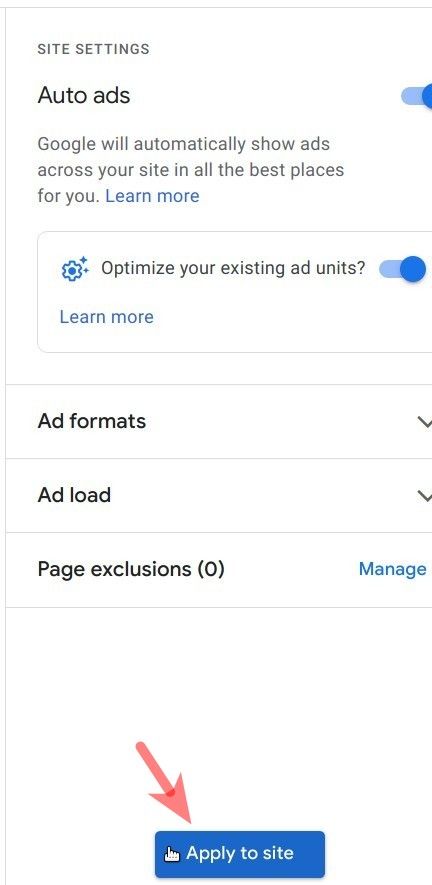
- You will be taken to the "Ad Settings Preview" screen. At the top of the right side of the screen, on the "SITE SETTINGS" section, click the "Auto ads" toggle:
- Notice that the toggle's color changed from gray to blue:
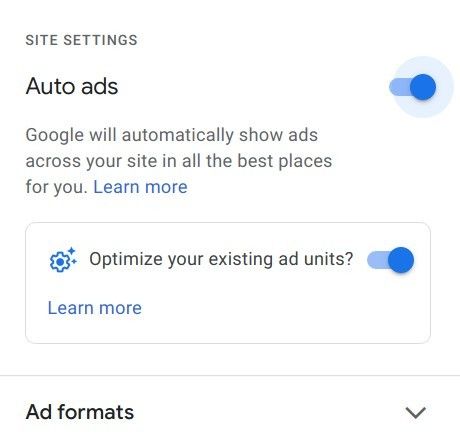
- Also, notice the "Auto ad example" appeared in your site preview:
- Go once again to the "SITE SETTINGS" and click the "Apply to site" blue button:
You will be taken back to the "By site" screen. You will see the status of the "Auto ads" now changed from "OFF" to "ON". You will also notice the "Success!" message stating that it may take up to one hour for Google AdSense to start displaying ads on your site:

- Check your Joomla site in about an hour. You should eventually see Google AdSense ads.
They may appear on your home page:

You should also see them in deeper pages, for example, in your blog:
