Documentation for Joomla 3
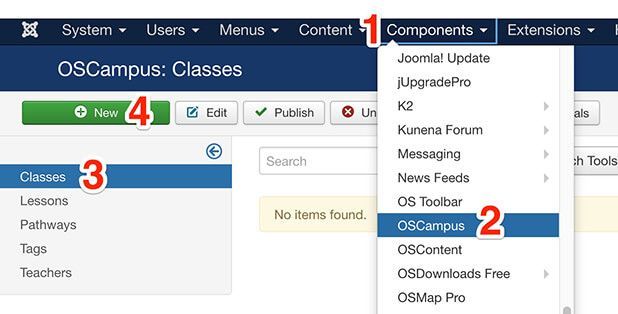
- Go to Components
- OSCampus
- Classes
- New
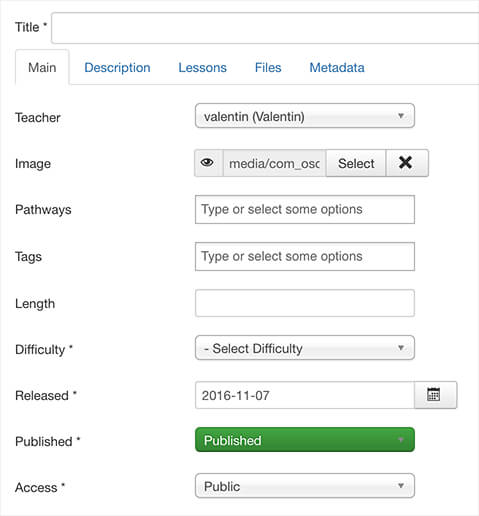
Type the main details for the class:
- Teacher. Choose the teacher assigned for this class.
- Image. If you don't choose a custom one, a default image will be saved for the class.
- Pathways. Choose one or more pathways associated to this class. Note, this isn't required. For example, if you only have one class, there's no need to choose a pathway.
- Tags. You can tag this class.
- Length. Type the class length in minutes.
- Difficulty. Choose class difficulty.
- Released. You can optionally change the release date when the class will be available for your audience.
- Be sure Published is set as published.
- If you want to limit the access for this class to a set of users, change the Access value.
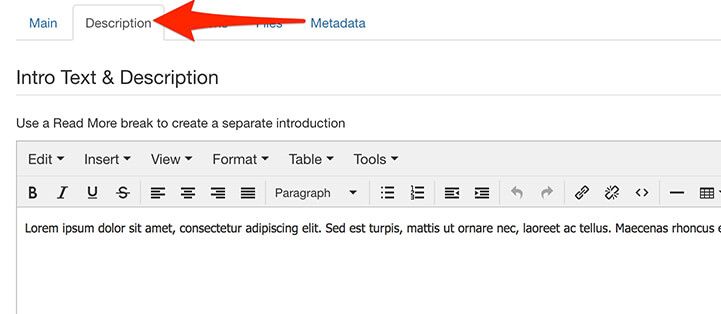
In the Description tab, you can type a short description for the class.
In the Lessons tab, you can type reorder the linked lessons to this class. Skip this step for now and come back later after adding lessons to this class.

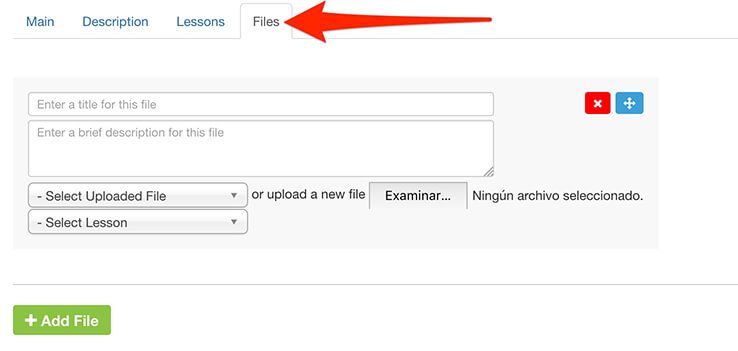
In the Files tab, you can add attachments for specific lessons. Skip this step for now and come back later after adding lessons to this class.
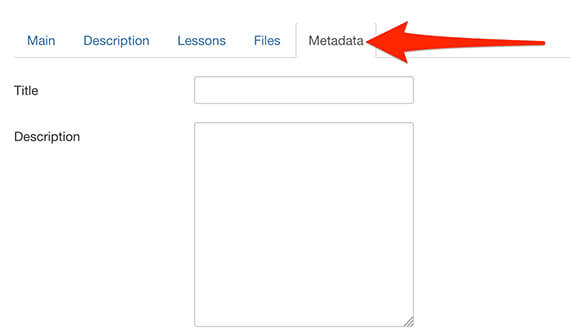
In the Metadata tab, you can type custom title and description for SEO purposes.
- Click Save and close when you're done.
Documentation for Joomla 5
Here is how to add a new class in OSCampus Pro LMS extension for Joomla 5.
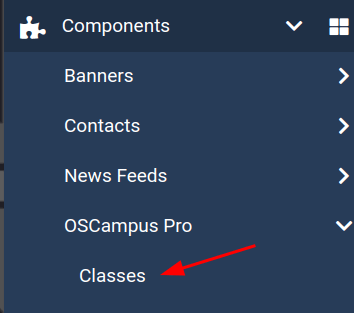
- In your Joomla 5 admin dashboard, go to Components > OSCampus Pro > Classes:
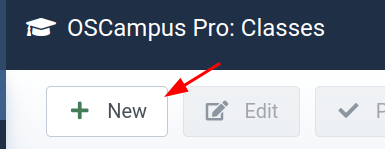
- You will see the "OSCampus Pro: Classes" screen. Click the "New" button:
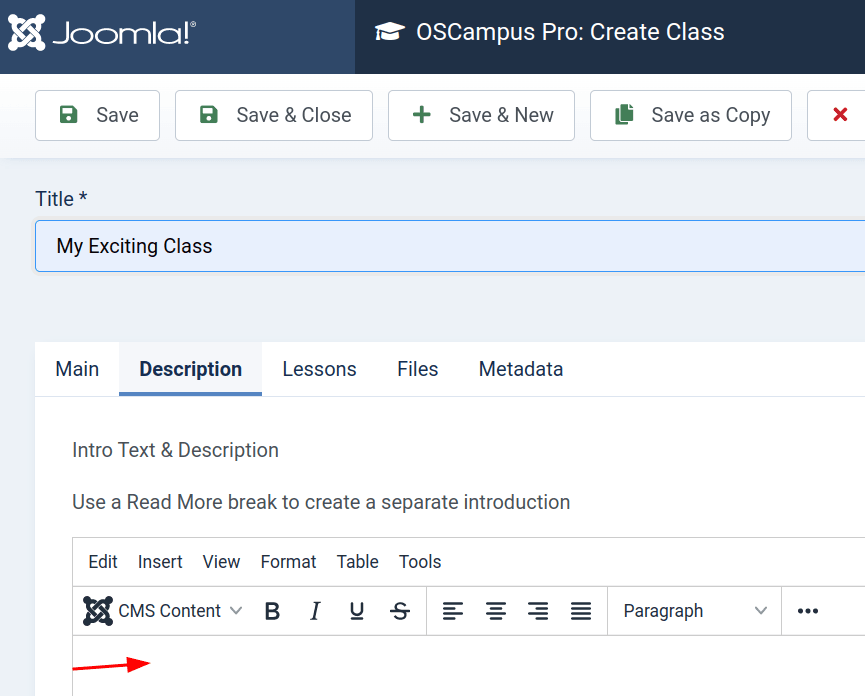
- That will open up the "OSCampus Pro: Create Class" screen shown in the next image. On the "Main" tab, set the main details of the class:
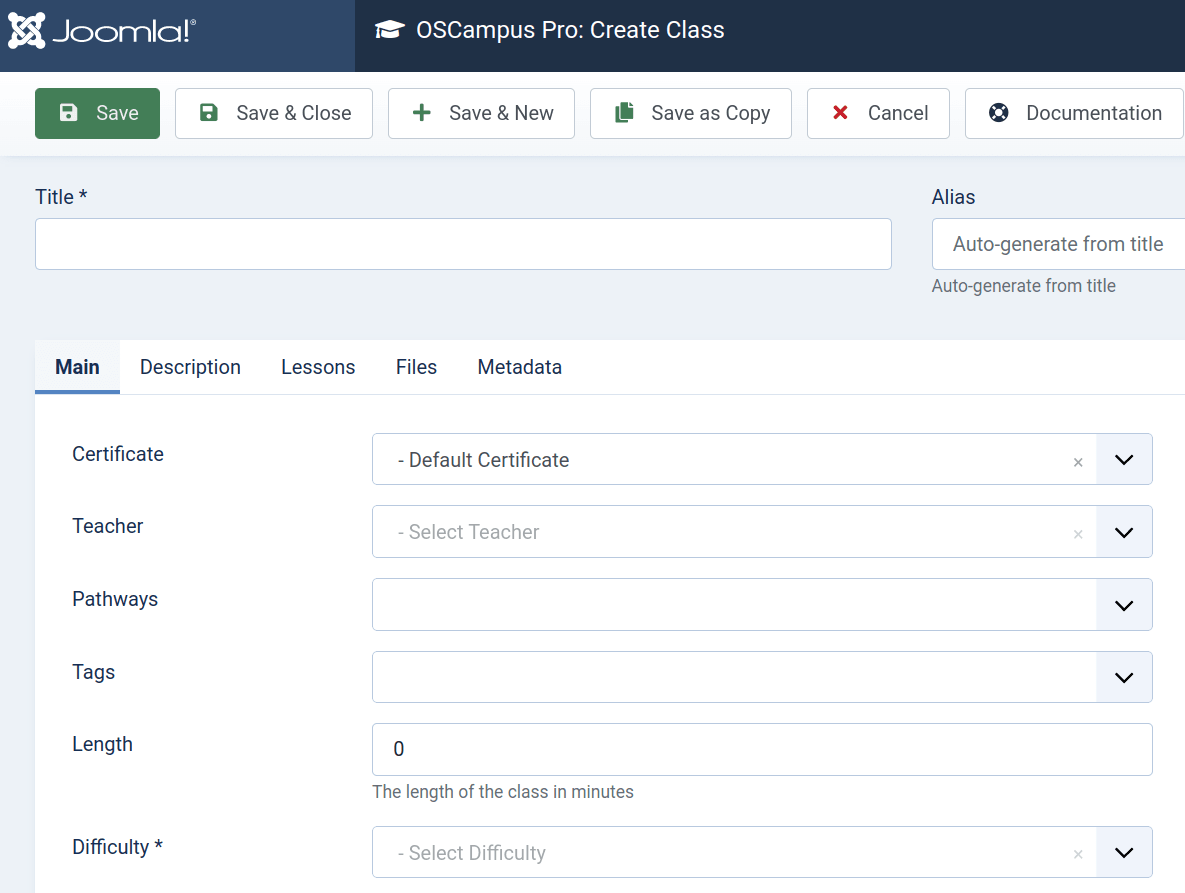
- Certificate. Either use the built-in Default Certificate or add your own.
- Teacher. Set the teacher assigned for this class.
- Pathways. Choose one or more pathways associated with this class. Note, this isn't required. For example, if you only have one class, there's no need to choose a pathway.
- Tags. Tag this class.
- Length. Type the class length in minutes.
- Difficulty. Choose class difficulty.
Now would be a good time to set the parameters on the right side of the screen, shown in the next image:
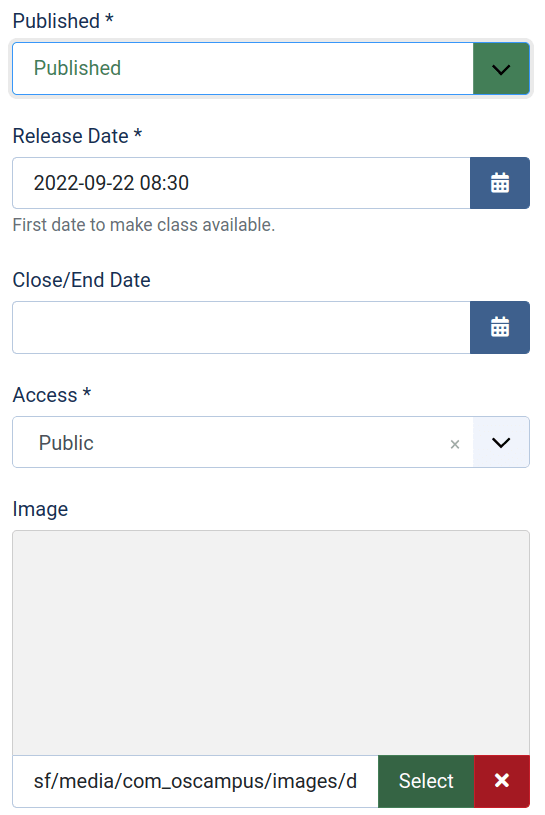
- Published. Set to Published or Unpublished.
- Release Date. Schedule here when in the future you would like your class to go live.
- Close/End Data. Schedule here when in the future you would like your class to be taken offline.
- Access. Set who will be able to view your class.
- Image. Set here a class image or photo.
In the Description tab, type a short description of the class:
- Click Save & Close when you're done.
Excellent! You can now go to Components > OSCampus Pro > Lessons and assign existing lessons to this new class.