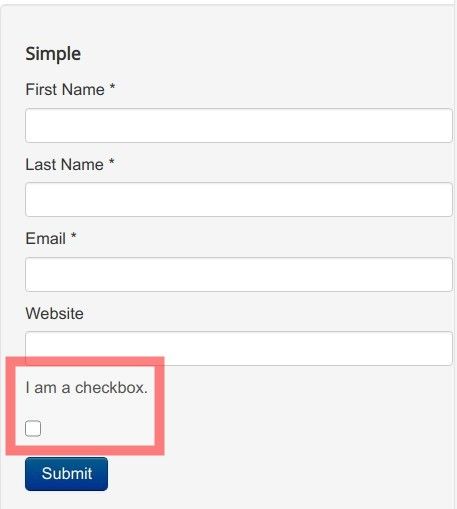
You may create a conventional checkbox for a form of a landing page in jInbound. By default, jInbound places a label of a checkbox underneath the checkbox:
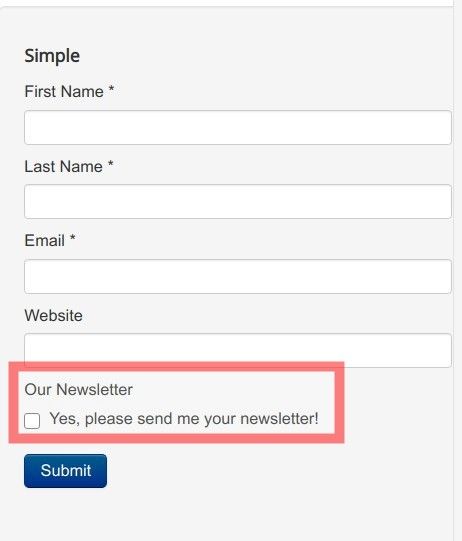
You may want to line up the checkbox with its label, just so that they would be displayed next to each other:
There is a workaround to do this, courtesy of one of our customers. Here is how.
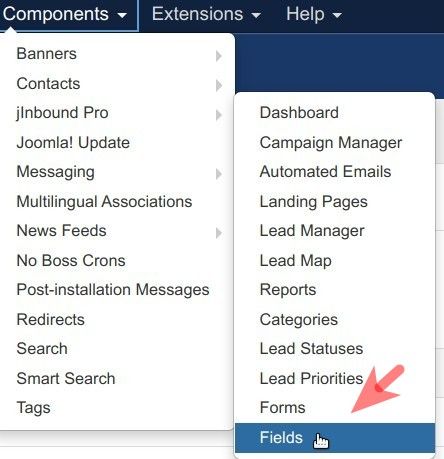
- In your Joomla administrator panel, go to Components > jInbound Pro > Fields:
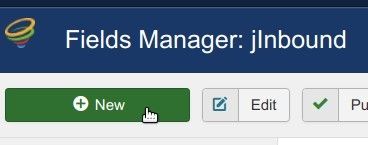
- You will be taken to the "Fields Manager: jInboud" screen shown on the image below. In the top left corner, click New:
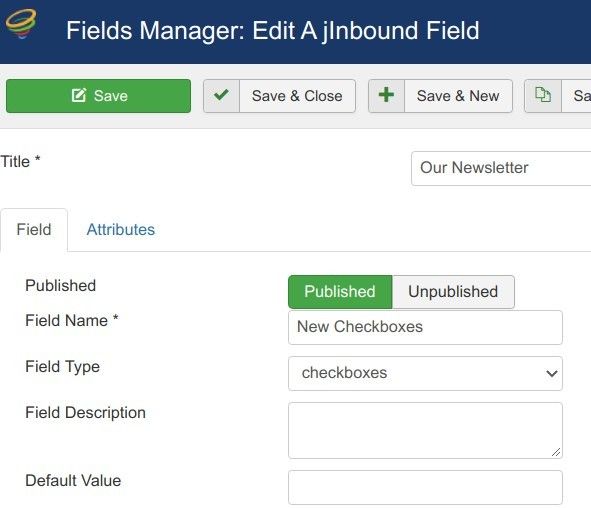
- This will bring you to the "Fields Manager: Add A New jInbound Field" page, as shown in the image below. Create a new field by the type "checkboxes" with the following settings:
- Add its title into the Title field. It will be displayed above your checkbox.
- Add its name into the "Field Name" field.
- Select "checkboxes" in the "Field Type" field.
- Leave the "Field Description" and "Default Value" fields empty.
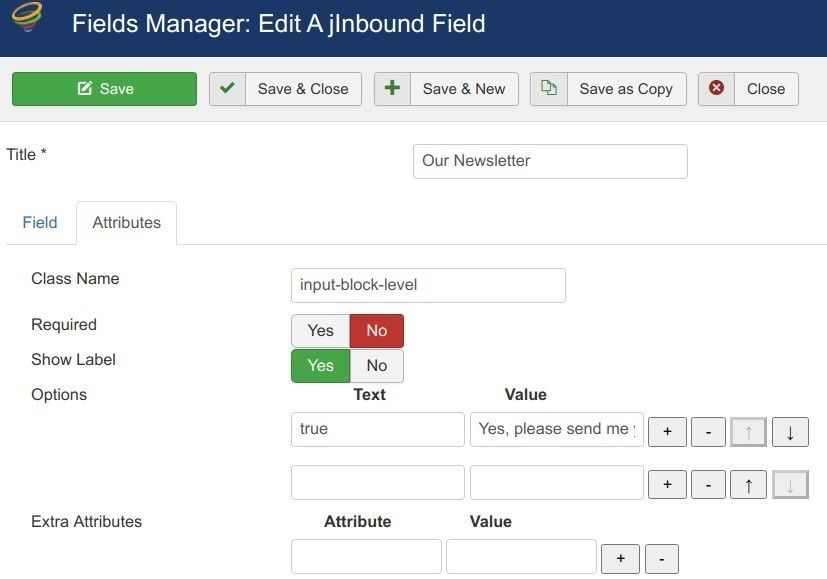
- Click the "Attributes" tab.
- Set the "Show Label" parameter to Yes.
- Type in "true" in the "Text" field.
- Type in the text that you would like to display next to the checkbox into the "Value" field:
- Click "Save & Close".
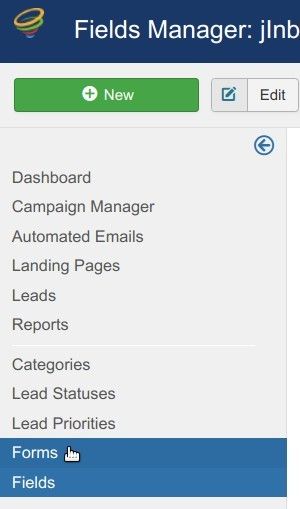
- In the left menu sidebar, click "Forms":
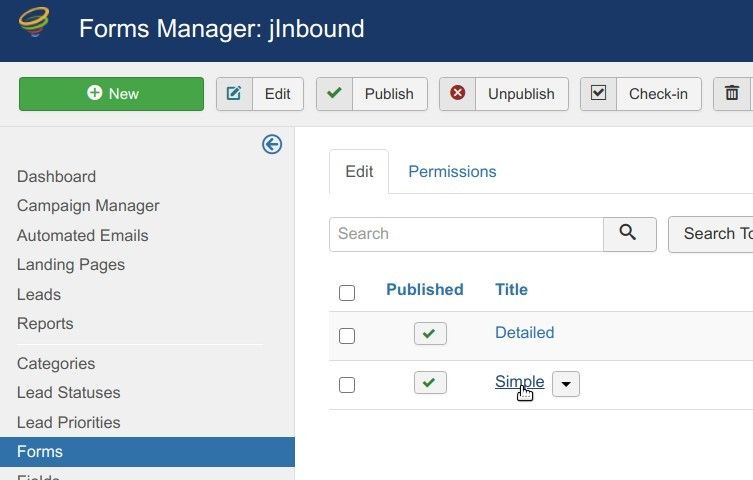
- You will be presented with the "Forms Manager: jInbound" screen. Click on the name of the form of your jInbound landing page. For my demonstration, I click on the "Simple" form:
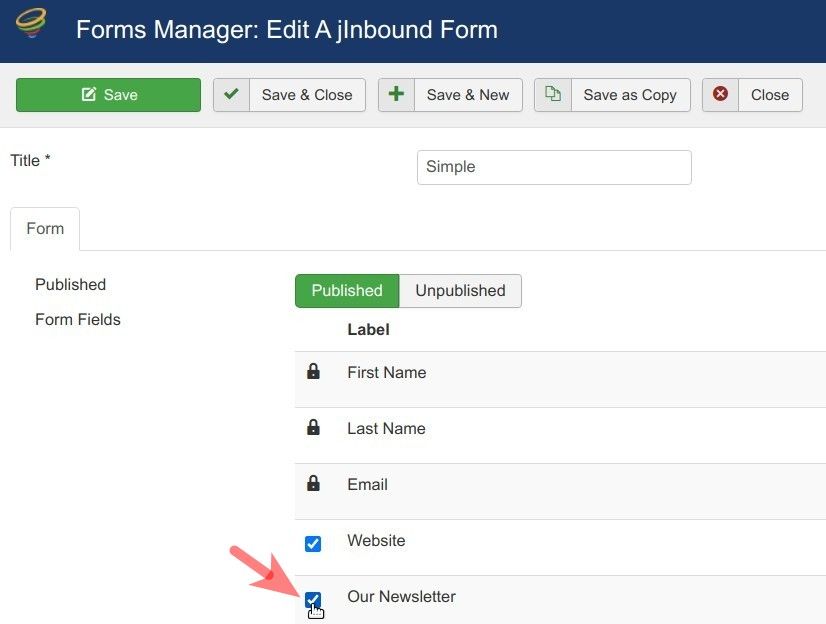
- This will bring you to the "Forms Manager: Edit A jInbound Form" screen, as shown in the image below. Check the checkbox of your newly created field to add it to your jInbound form:
- Click "Save" or "Save & Close".
- Check your form. You should now see the checkbox displayed with its label next to it:

