Documentation for Joomla 3
Download and Install JCal Pro
If you have an active subscription at Joomlashack, you can download JCal Pro inside your Joomlashack account.
- Go to Extensions > Manage > Upload Package File
- Upload the Package File by clicking Browse.
- Click Upload & Install.
This page has full installation instructions for JCal Pro.
Important Set-up Task #1: Timezones
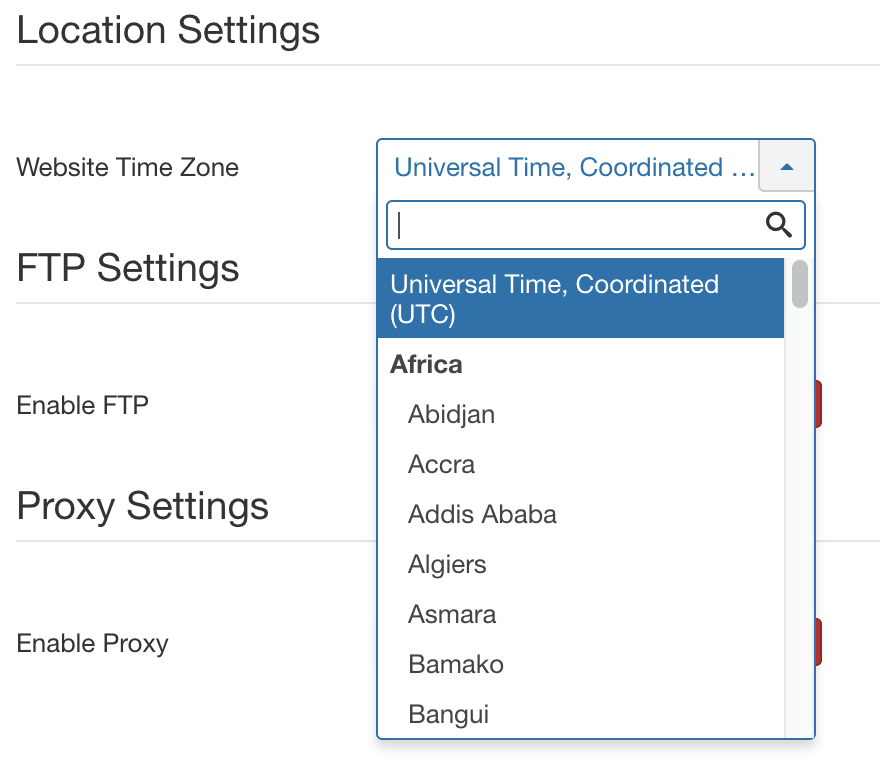
JCal Pro will function quite well with no changes to the configuration. However, you will need to choose the timezone for your location:
- In the Joomla admin area, select System > Global Configuration from the main menu.
- On the Server tab, locate the "Locations Settings" section.
- Using the "Server Time Zone", adjust the timezone offset to match your location.
- Save your changes.
Important Set-up Task #2: Menu Link
In order to function correctly, JCal Pro must be published on the frontend of your web site. You must create a menu item for JCal Pro.
- In the Joomla admin area, go to a Menu. For example, Menus > Main Menu:
- Click New.
- Click on the blue "Select" button.
- Choose JCal Pro from the list of available menu types.
- Choose your desired view. The "Monthly View" is a good option for this step.
- Give your menu item a title, such as "Event Calendar".
- Save your menu item as "Published".
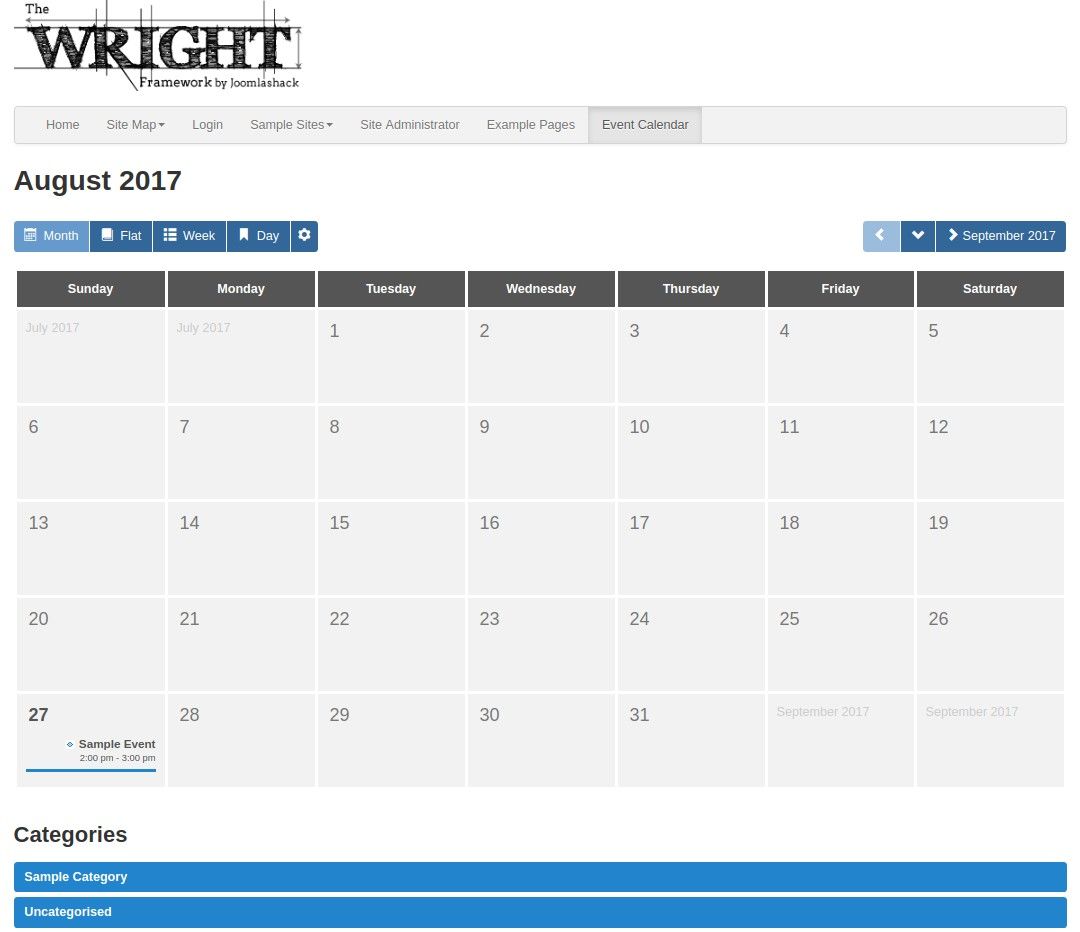
- JCal Pro is now enabled on your site's frontend:
Video Introduction to JCal Pro
Documentation for Joomla 5
Coming soon ...