JCal Pro allows you to create and automatically publish events by a designated person via your Joomla site frontend.
Here is the workflow of this task:
- Your designated JCal Pro events autopublisher logs into your Joomla site frontend.
- They click a special link, for example, "Add New Event", available only for them.
- They see a page for JCal Pro event creation and create a JCal Pro event.
- Once they click the "Save" button, this newly created event gets published with the "Unapproved" status at your JCal Pro backend control panel. It also gets published at the frontend for a logged-in JCal Pro moderator, if you created one.
- At the same time, JCal Pro notifies your site super administrator and your JCal Pro moderator, if you created one. that a new event has been created and is waiting for approval.
- Either your site super administrator at the backend or your JCal Pro events moderator at the frontend approves the event.
- The event gets displayed to the public in your JCal Pro calendar.
Setting automatic event publishing in JCal Pro is a five-step process:
- Create a Joomla user group for your JCal Pro events auto-publisher
- Create a Joomla access level for your JCal Pro events auto-publisher
- Assign your JCal Pro events publisher user group the "Allowed" permissions for the "Create" and "Autopublish" actions
- Assign the required Joomla user as your JCal Pro events auto-publisher
- Create a frontend menu item for your JCal Pro events auto-publisher.
Let's take a look at this process in more detail.
Step #1. Create a user group for JCal Pro events frontend auto-publishers
The first step is to create a new Joomla user group specifically dedicated to your JCal Pro frontend events auto-publisher.
- In your Joomla control panel, click Users > Groups > Add New Group:

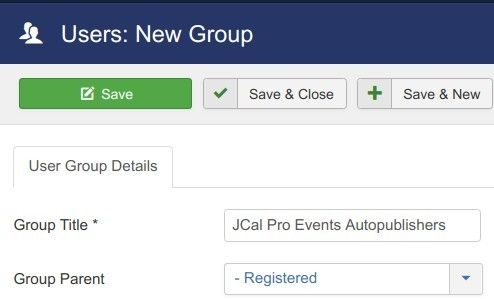
You will see Users: New Group administrative page. Create a new user group:
- Group Title: Enter JCal Pro Events Frontend Autopublishers.
- Group Parent: Select the Registered user group.
- Click Save & Close.
Good job. You now have a special Joomla user group for your JCal Pro events frontend auto-publishers. Let's create for this group its own access level.
Step #2. Create an access level for the events frontend auto-publishers
In this step, you will create a special access level for your JCal Pro events frontend auto-publishers.
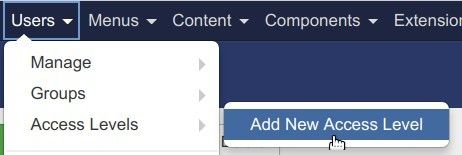
- In your Joomla administrator panel, go to "Users" > "Access Levels" > "Add New Access Level":
- Create a new access level:
- Level Title: JCal Pro Events Frontend Autoublishers
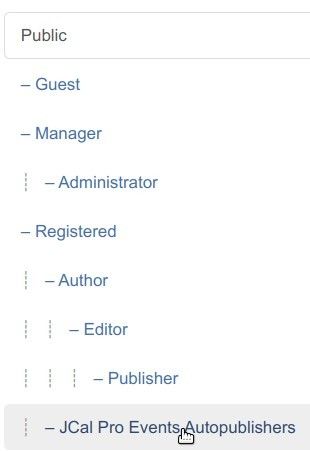
- User Groups Having Viewing Access: click "Registered" and click "JCal Pro Events Autopublishers":
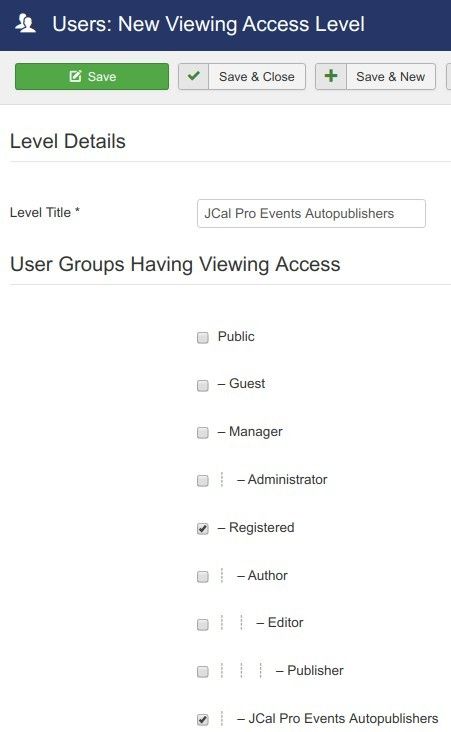
- Click Save & Close.
Excellent. You now have the new Joomla user group and new Joomla access level for your JCal Pro events frontend auto-publishers.
Now is a good time to set for the required "Autopublish" permission.
Step #3. Set the required "Autopublish" permission for the user group of your JCal Pro events frontend auto-publishers
- Go to Components > JCal Pro to open JCal Pro control panel.
- You will see the JCal Pro: Events default page. In the top-right corner, click the Options button:

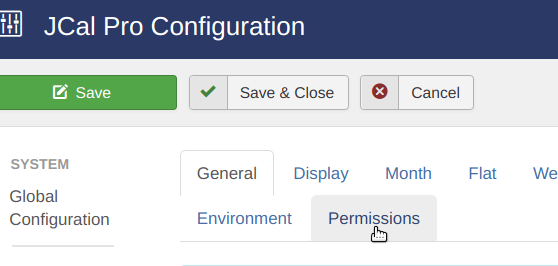
- You will see the JCal Pro Configuration page.
- Click the Permissions tab:
- Click the JCal Pro Evens Frontend Autopublishers tab:
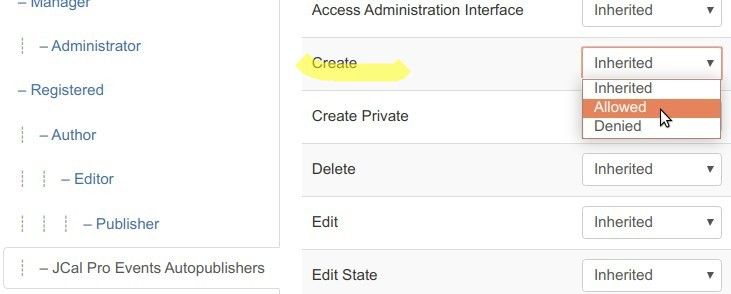
- Locate the Create action in the Action column and select Allowed. This will allow your Joomla user in the "JCal Pro Events Frontend Autopublishers" group to log into your Joomla site frontend and create JCal Pro events.
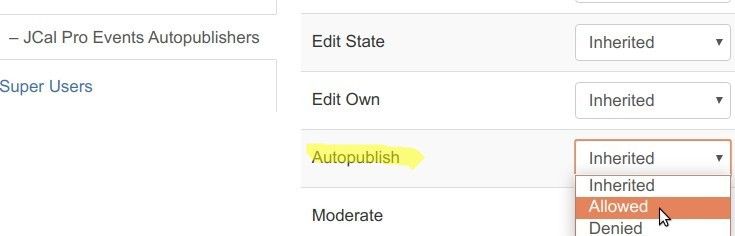
- Locate the Autopublish action in the Action column and select Allowed. This will allow your Joomla user in the "JCal Pro Events Frontend Autopublishers" group to log into your Joomla site frontend and autopublish JCal Pro events:
- Click Save & Close.
Well done! You are now ready to delegate the "Autopublish" permission frontend JCal Pro event autopublishing to your required Joomla user.
Step #4. Assign a required Joomla user as a JCal Pro events frontend auto-publisher
- Go to Users > Manage and open up a required Joomla user for editing.
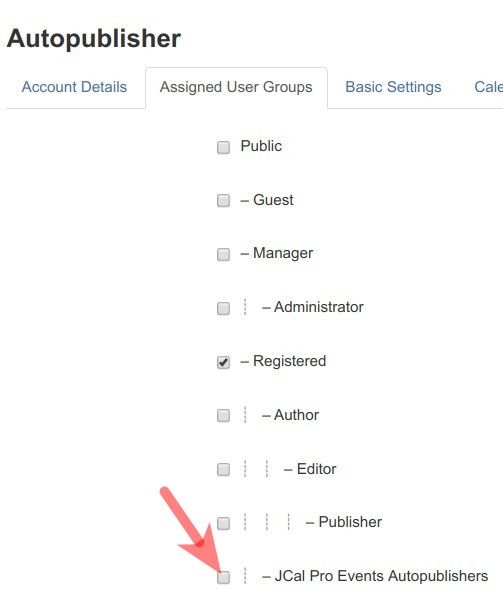
- You will be taken to the "Users: Edit" screen with your selected Joomla user account details. Click the Assigned User Groups tab:

- You should see the checkmark in the Registered checkbox. Click on the JCal Pro Events Frontend Autopublishers checkbox:
- You will the checkmark in the box. Click Save & Close.
Good job! You now have your dedicated JCal Pro events frontend auto-publisher.
Step #5. Create a frontend menu item for the JCal Pro events frontend auto-publishing
For the frontend events auto-publishing, you need to create a frontend menu item by the "Add New Event" type.
- Go to Menus > [your-menu-name] > "Add New Menu" Item.
- You will see the "Menus: New Item" screen. Create a menu item by the JCal Pro > Add New Event type:
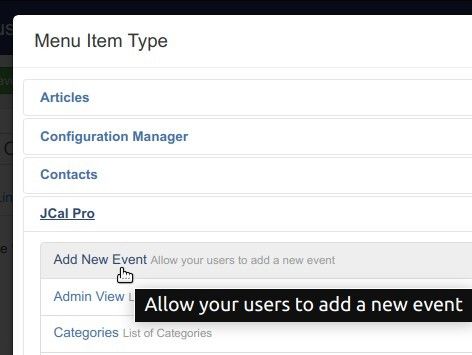
- Click "Save" or "Save & Close".
- In the right group of settings, change the Access parameter from the default "Public" to the "JCal Pre Events Frontend Autopublishers":
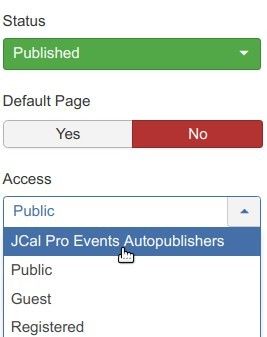
- Click "Save" of "Save & Close".
Excellent! Now is a good time to test the final result at work.
How to Test Your JCal Pro Events Frontend Auto-publishing
- Log into your Joomla site frontend as the user of the "JCal Pro Events Frontend Autopublishers" group.
- Click on the menu item you created in Step #5. For my demonstration, I will click the "Add New Event":

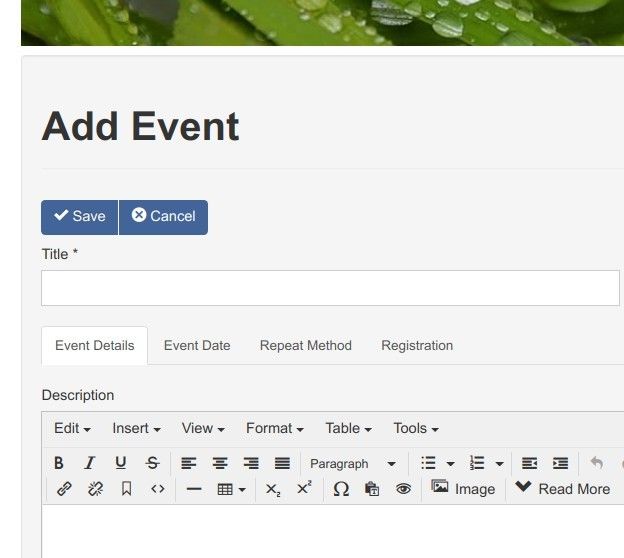
- You will see the "Add Event" JCal Pro frontend page:
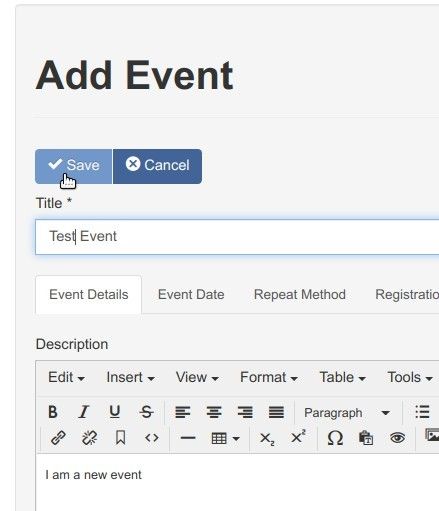
- Fill in the new event with some data for testing and click the "Save" button:
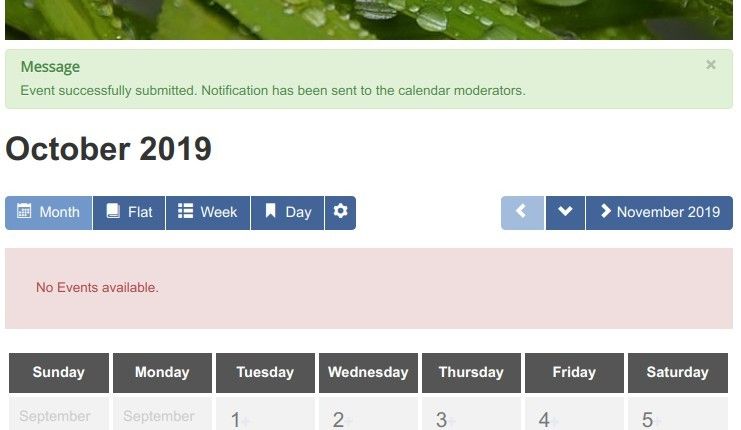
- You will see the "Event successfully submitted." message:
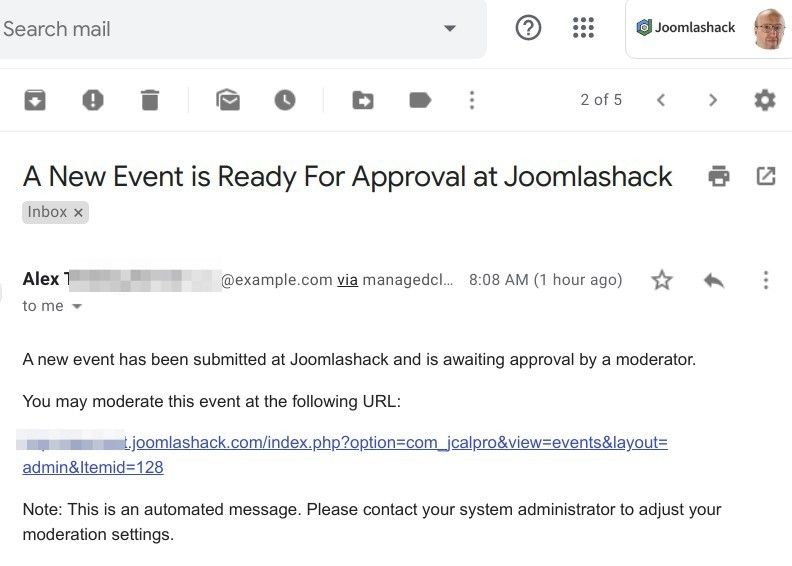
- At the same time, the site administrator and a JCal Pro moderator (if you created one), will both receive an email notification:
- Go ahead and check your events calendar at the frontend of your Joomla site. You should see the newly created event published