The SVG image format is the best image format to make sure your website logo displays nicely regardless of the size of the viewing device.
In this tutorial, you will learn how to add a logo image in the SVG format to a Joomlashack template.
Here is the process in a nutshell.
- Create a separate folder for SVG images in the core "Media" component
- FTP the required SVG image into this folder
- Create an empty Joomla module by the "Custom" type
- Insert the SVG image in this module
- Set the "Image Logo" parameter in your Joomlashack template to this module.
Let's take a look at this process in more detail.
Step #1. Create a folder for your .svg images in Joomla Media Manager
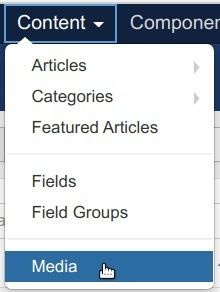
- In your Joomla administrator panel, go to "Content" > "Media":
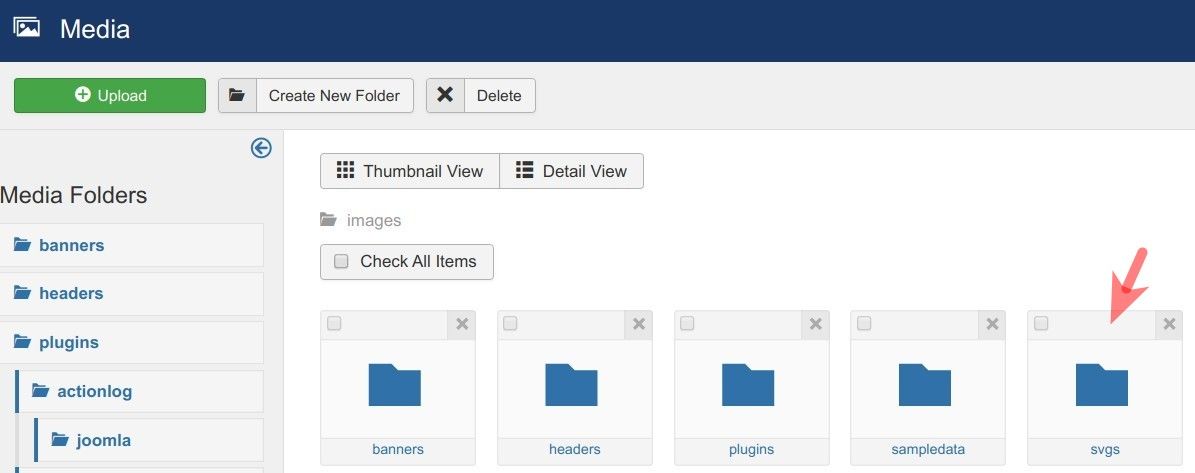
- You will be taken to the "Media" screen. Click the "Create New Folder" button and create a new folder specifically for your SVG images. For this tutorial, I created the "svgs" folder:
Step #2. FTP the required SVG image into the new folder
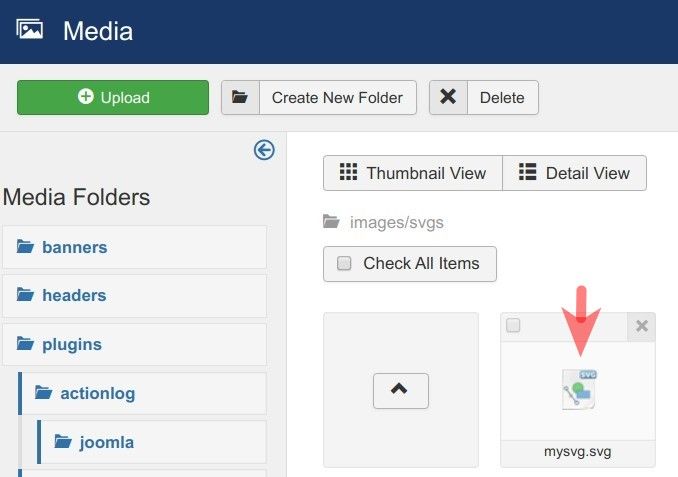
- Use an FTP client of your choice and transfer the required SVG image into the new folder you created for your SVG images. For my demonstration, I uploaded the mysvg.svg image.
- Open up your newly created folder. You should now see your SVG image listed:
Good job! In the next step, you will create a Joomla module to contain and display your SVG logo image.
Step #3. Create an empty Joomla module by the "Custom" type
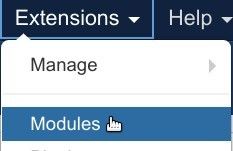
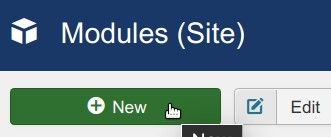
- In your Joomla administrator panel, go to "Extensions" > "Modules":
- This will bring you to the "Modules (Site)" screen. In the top left corner, click "New":
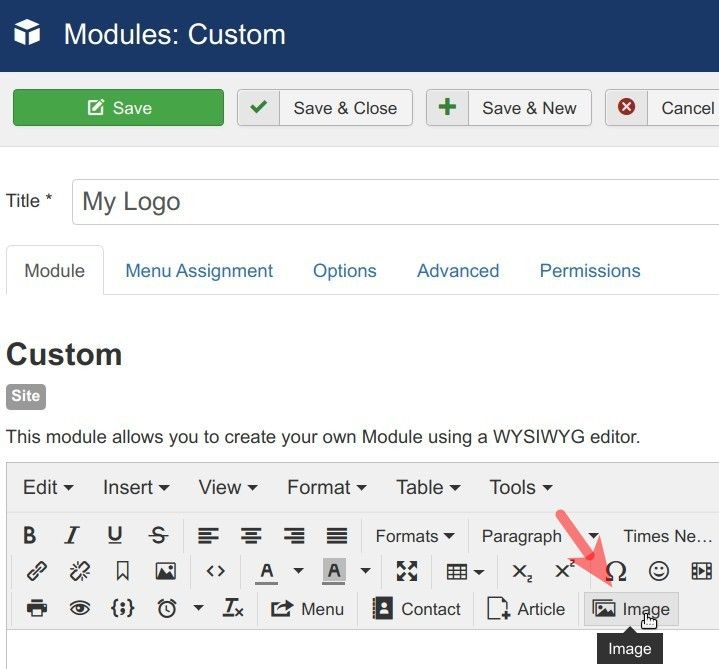
- In the list of the module types, click "Custom":

- You will arrive to the "Modules: Custom" screen. Set the module parameters:
- Title: Enter a descriptive title. For my demonstration, I used the title "My Logo".
- Show Title: Click "No".
- Position: Select the "Logo" position.
- Publishing: Select "No" for now.
- Click "Save".
Good job. You just created a container module for your logo. In the next step, you will insert your SVG logo image in this module.
Step #4. Insert the required SVG image into the logo module
For security reasons, Joomla doesn't treat SVG images the same way it does PNG and JPG images. To insert your SVG logo image, use a little trick.
- With your newly created Custom module still open, click "Image":
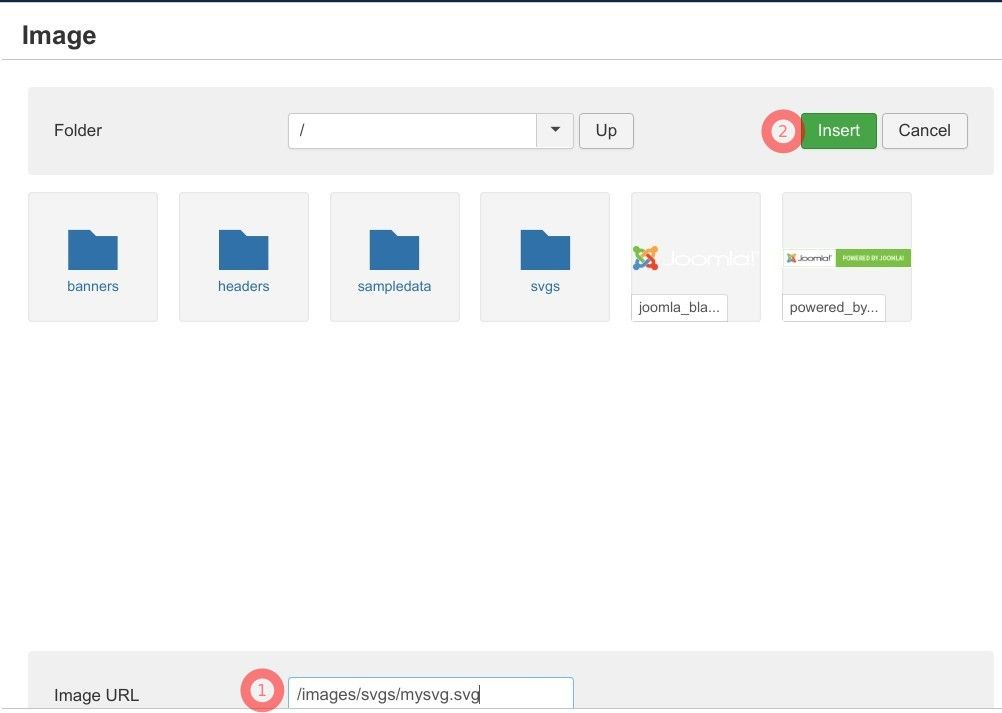
You will see the "Images" box. You may be surprised at this point. Although you FTPed an SVG image into this folder in Step #2, you will still see the "No Images Found" message. Let's do a little trick by inserting your SVG image by its URL.
- Enter into the "Image URL" field /images/[name-of-your-svg-folder]/[name-of-your-svg-file.svg]. For my demonstration, I enter /images/svgs/mysvg.svg. Click the green "Insert" button in the top right corner of the box:
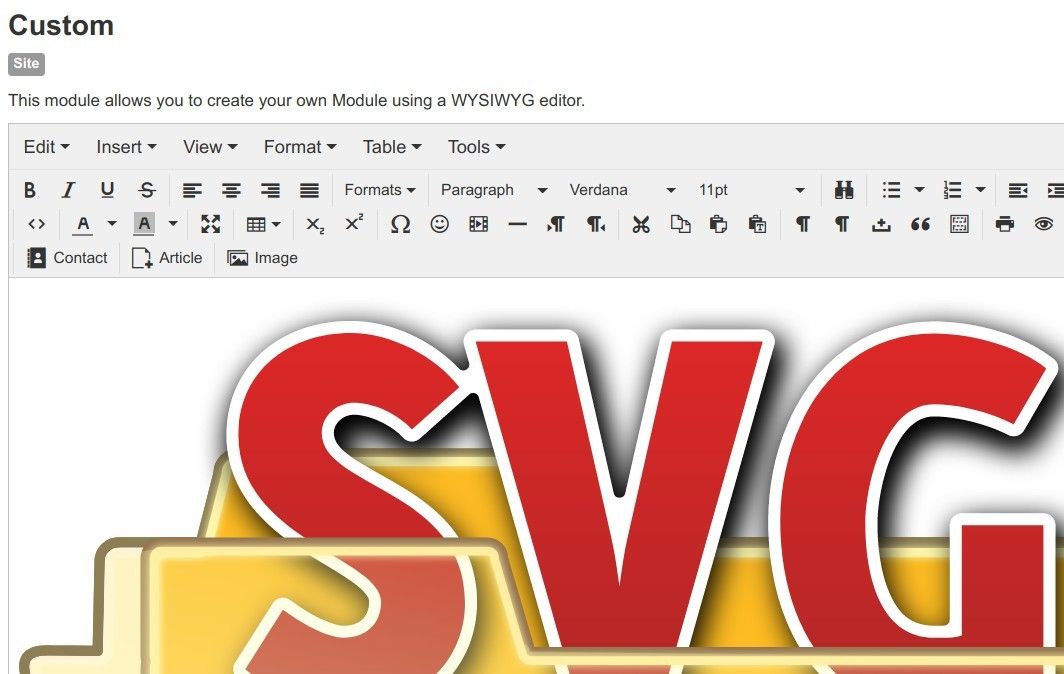
- You will see your SVG image added inside the HTML editor of the module:
- Click "Save & Close".
Excellent! You are one step away from adding your SVG image as a logo using a Joomlashack template.
Step #5. Set the "Logo Image" parameter in your Joomlashack template
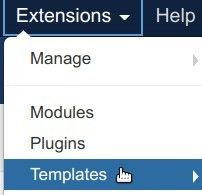
- Go to "Extensions" > "Templates":
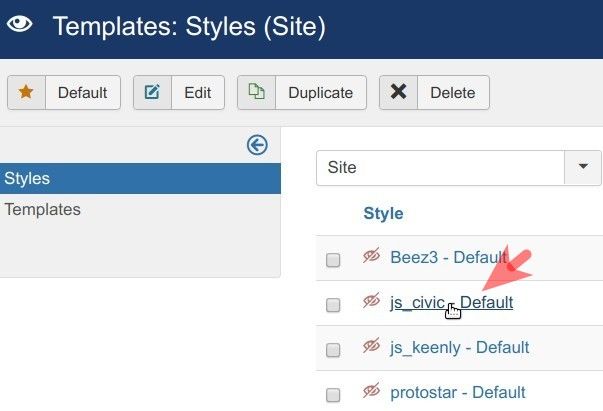
- You will see the "Templates: Styles (Site)" screen with the list of the templates installed on your Joomla site. Click on the name of your template. For my demonstration, I click "js_civic":
- This will bring you to the "Templates: Edit Styles" screen. Under the "Details" tab, set the "Logo Image" parameter to "Use module with position of logo":
![]()
- Click "Save" or "Save & Close".
- Visit the frontend of your site. You should now see the SVG image as the logo:
![]()