The best way to analyze traffic to your site is the popular Google Analytics.
In this post, you will learn how to connect Google Analytics to your Joomla site.
For your Joomla site, we recommend the Shack Analytics extension.
You will have an option to add Google Analytics to all pages of your Joomla site. Install Shack Analytics from your Joomlashack account, then follow this guide.
Step #1. Create a Google Analytics account for your site
Before you do anything else, you need a Google Analytics account to record your site's data.
- Sign in to your Google account.
- Visit analytics.google.com.
- Under the "Admin" tab, click "Create Account":
![]()
- You will be taken to the "Create account" screen. Enter your Google Analytics account name and click "Next":
![]()
- On the next screen, make sure the "Measure your website" radio button is selected:
![]()
- Scroll down the page and click "Next":
![]()
- On the next screen, enter your Google Analytics Property name, your website URL, select its industry category, reporting time zone and click "Create":
![]()
- On the next screen, agree to the Google Data Processing Terms, Data Protecting Terms, and click "I Accept":
![]()
Step #2. Use the Shack Analytics plugin
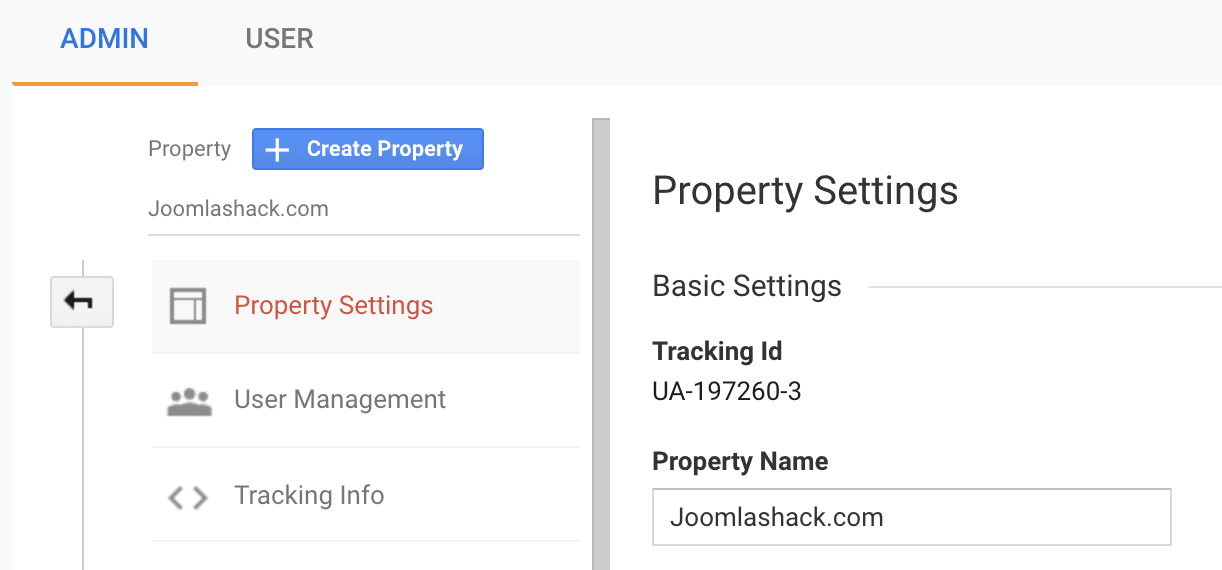
- In your Google Analytics dashboard, click Admin.
- You will see the new columns. In the Property column, click Property Settings.
- Copy the Tracking Id. This is what we will use to connect your site to Google Analytics.
- In your Joomla administrator area, go to Components > Shack Analytics Pro.
- You will be taken to the Shack Analytics: Tracking Tags administrative page.
- Click System - Shack Analytics.
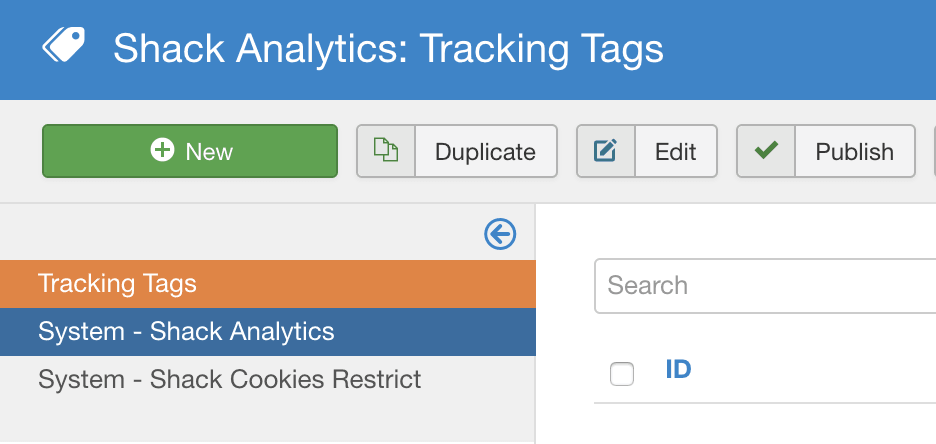
- Enter the ID number of your Google Analytics account into the Universal property ID box.
- Make sure that this plugin is enabled.
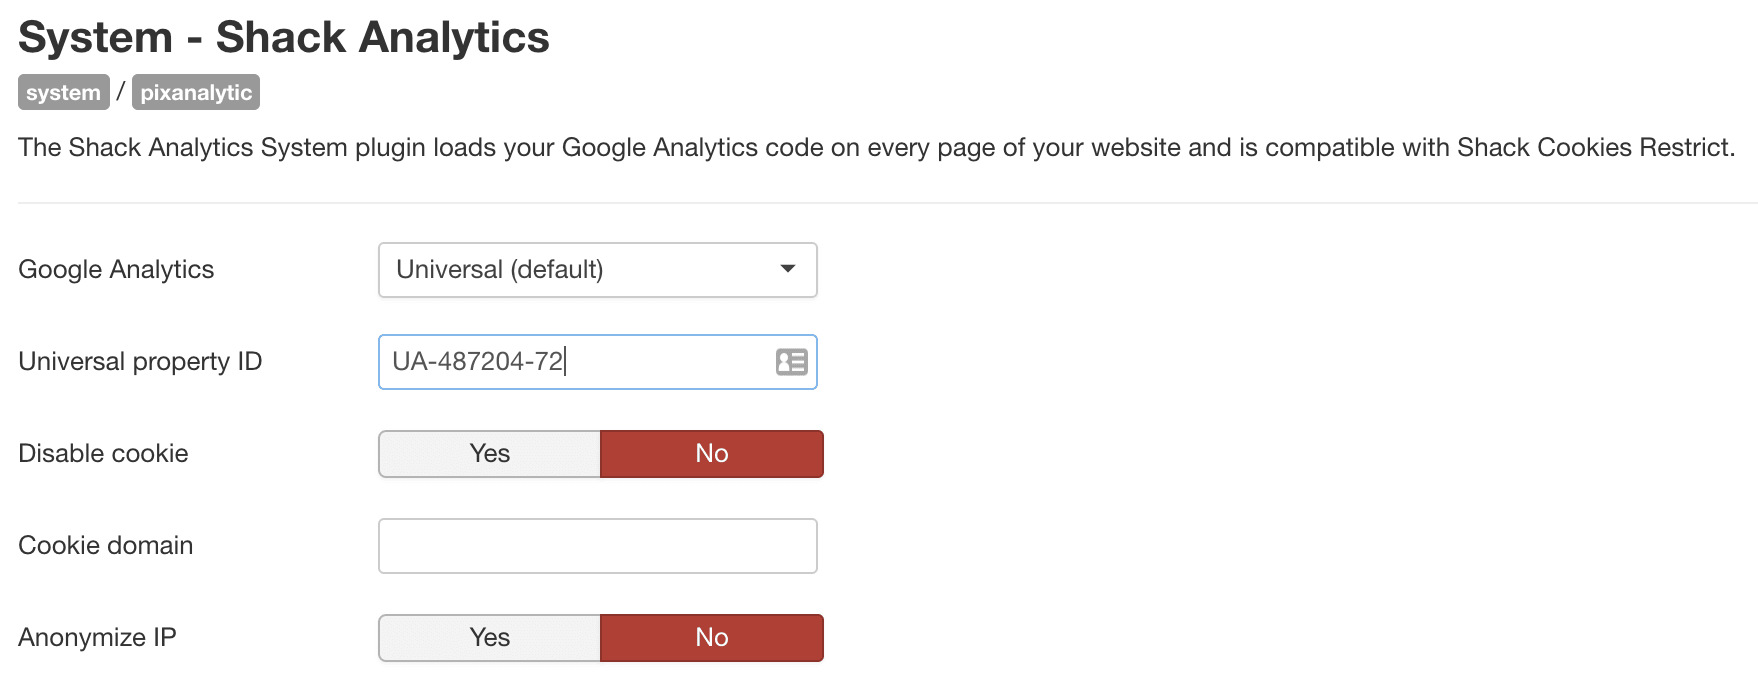
There are some key settings on this page. Here is what they mean:
- Google Analytics: Choose the Google Analytics version to use; Universal or Classic.
- Disable cookie: Let the plugin use visitor IP addresses to calculate a unique client ID instead of using a cookie. Accuracy is decreased a little but data is collected even if cookies aren't accepted.
- Cookie domain: Override the default cookie domain. The default is the domain of the current web page (minus any sub-domain). Leave it empty to preserve the default behavior of Google Analytics.
- Anonymize IP: Anonymize visitor IP addresses by telling Google Analytics to not store the full IP address.
Step #3. Check your result
- Check the source code of your website pages. You will see your Google Analytics tracking code added:
![]()
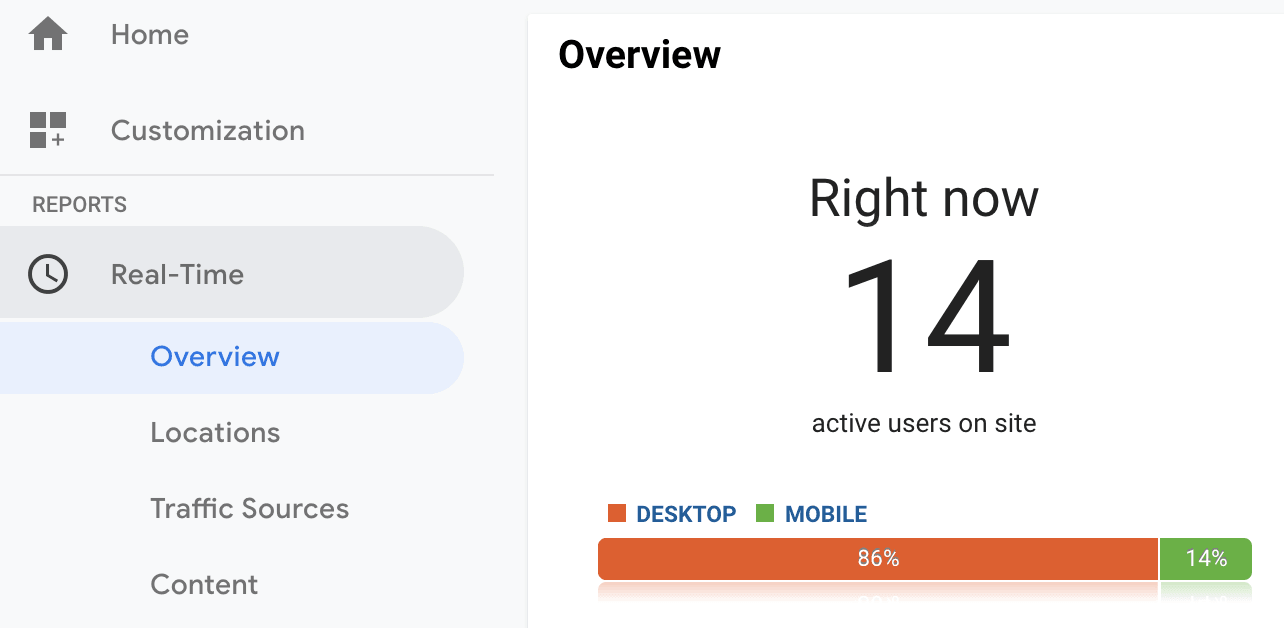
You can also go to your Google Analytics account to make sure that Google is accepting the code. The best way to check is by clicking "Real-Time" and seeing if Google is picking up people currently on your site.
