Many people choose to use an extension such as Shack Forms to create their contact forms.
Shack Forms is a great choice, but with the arrival of custom fields in Joomla, you can also customize contact forms with the Joomla core.
Every Joomla site ships with a "Contacts" extension. This is easy-to-use and doesn't require an extra extension. The main disadvantages are that you don't get many features and the Joomla core doesn't save form submissions. For that, you'll need Shack Forms or an alternative.
However, the Joomla core form is getting more features. I'll walk you through the basics of creating a Joomla contact form, and then you'll see how to add fields.
Part #1. Create a Joomla Contact Form
If you're completely new to Joomla contact forms, check out this guide first: How to Create a Joomla Contact Form.
In Joomla 3 Explained, we build a site for a city called "Joomlaville", so that explains the naming system we use.
- Go to "Components", then "Contacts".
- Click "New".
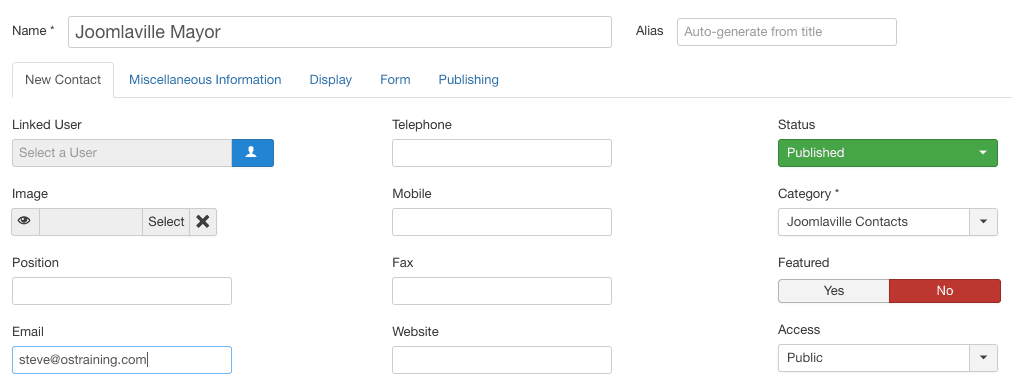
- Name: Joomlaville Mayor
- Email: Enter your e-mail address into the Email field. This e-mail won’t be made public, but whenever anyone uses the contact form, an e-mail gets sent to this address.
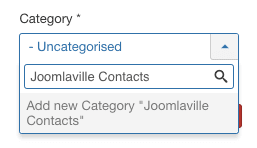
- Category: Type Joomlaville Contacts and then click "Enter" or "Return" on your keyboard.
When all three fields are filled in, your screen should look like the one below.
We’re also going to make a small option change. This is a design change because I personally think another layout is easier to read than the default Contacts layout:
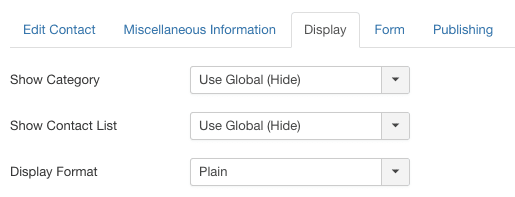
- Click the "Display" tab.
- Set the "Display Format" option to "Plain", as shown in the figure below.
Now that you have your contact form ready, the final step is to make it publicly visible via a menu link. Because we already have a Contact Us menu link, we’re going to edit that instead of adding a new link.
- Go to "Menus, "Main Menu", then "Add New Menu Item".
- Title: Contact
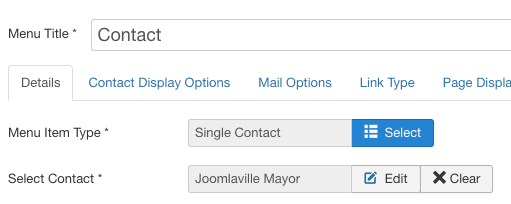
- Menu Item Type: Single Contact
- Select Contact: Joomlaville Mayor
Now visit the front of your site, and your contact form will look like the image below:
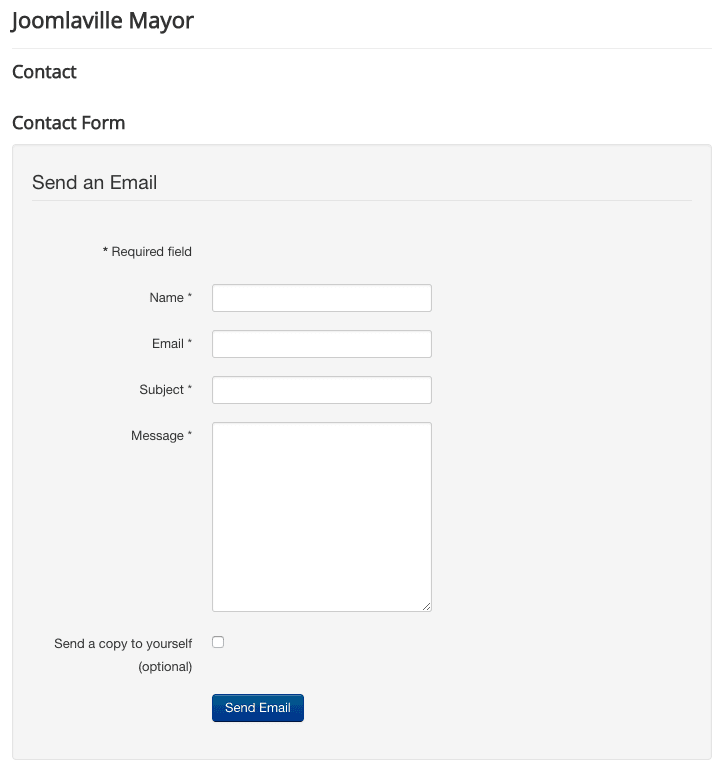
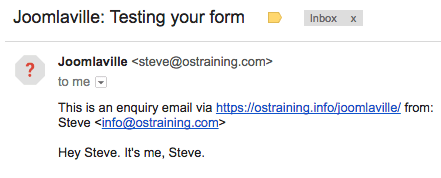
If anyone uses this form, you will now get an email that looks like this:
Part #2. Add Administrator Fields to Your Joomla Contact Form
There are some useful features you can use to improve your form. For example, you can add more data about your organization:
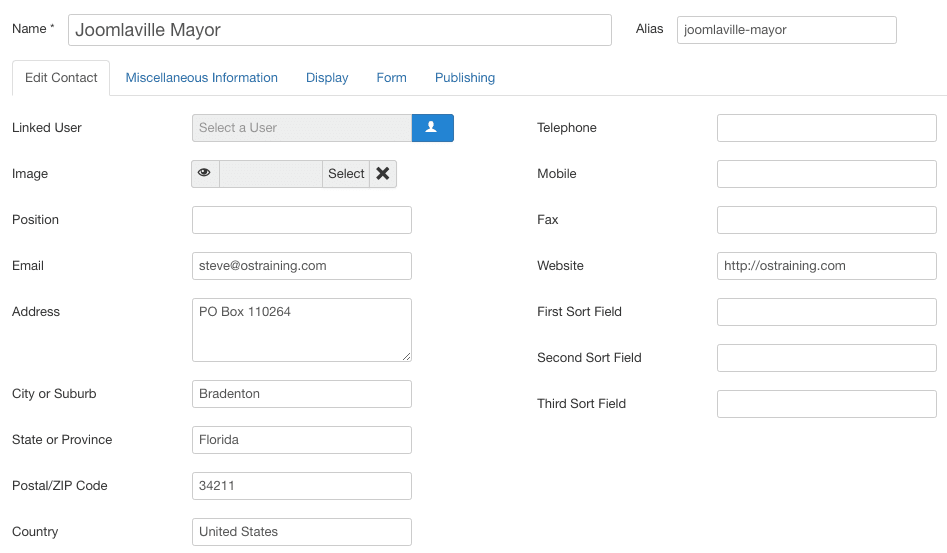
- Go to "Components", then "Contacts" and edit "Joomlaville Mayor".
- You will see a variety of contact fields including Address, City or Suburb, State or Province, Telephone, and Website. The image below shows some sample data from OSTraining:
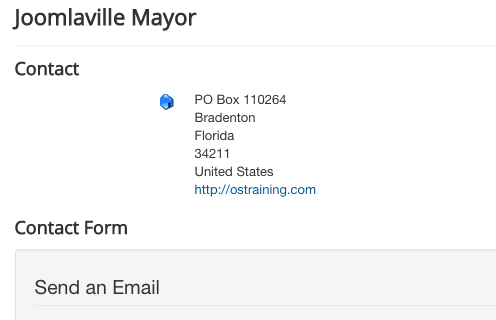
Here's how that data will appear on the front of the site:
Part #3. Add User Fields to Your Joomla Contact Form
You can also create custom fields to improve this contact form.
- Go to "Components" and "Contacts".
- Click "Field Groups" in the left-hand sidebar.
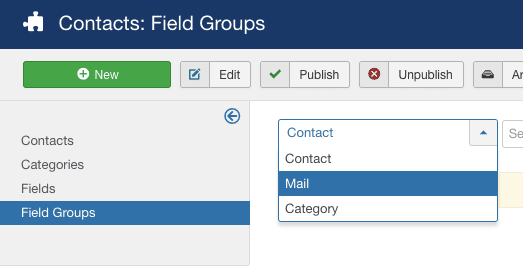
- This is an important new task: choose "Mail" from the drop-down menu. This means your fields will be attached to contact forms that users can rely on to send an email. If we choose "Contact" or "Category", our fields will only be available to site administrators. If you choose "Contact", this will be similar to the Address, City or Suburb, etc fields we saw above.
- Click "New".
- Title: Extra Contact Details
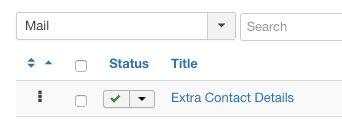
- Save the field group and make sure your next screen looks like this:
- Click "Fields" in the left-hand sidebar.
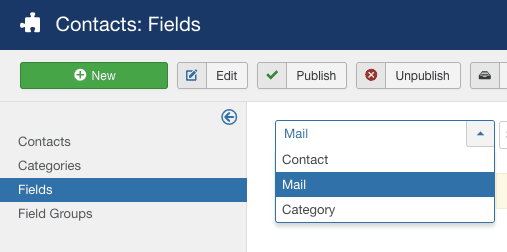
- Again, choose "Mail" in the drop-down menu:
- Click "New".
- Title: What is Your Question About?
- Type: Checkboxes

- Field Group: Extra Contact Details
- Checkbox Values: Enter topics that people might be contacting you about.

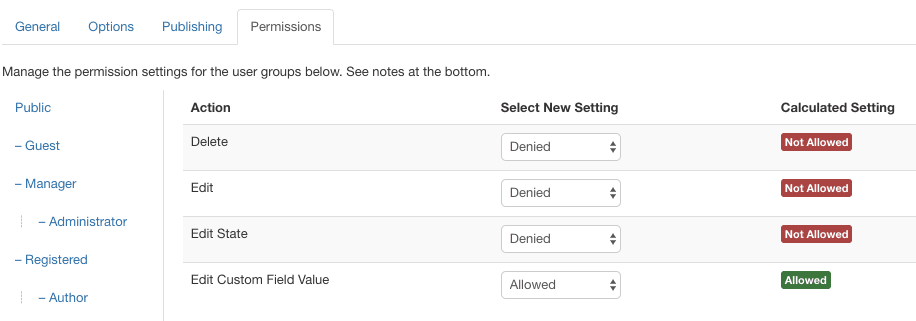
- Click the "Permissions" tab.
- Set "Edit Custom Field Value" to "Allowed". This will allow anyone to enter data into this field.
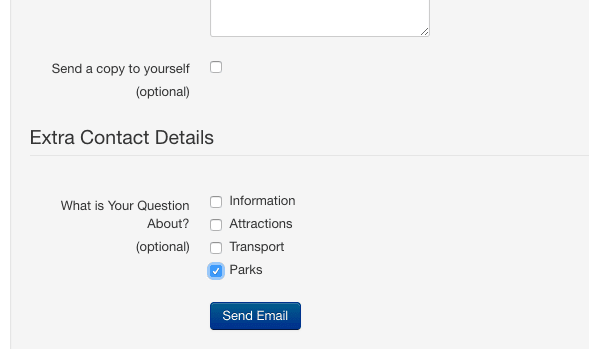
- Visit the front of your site and your contact form will now have a custom field:
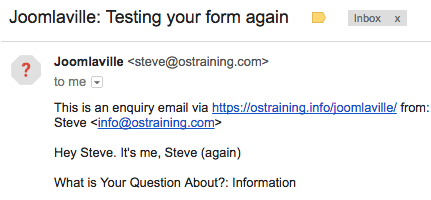
These custom fields will be included the emails you receive:
Joomla Contact Form Summary
All-in-all, there are 15 field types in Joomla. With these fields, you can create some powerful contact forms.
If you need to save your form entries or add more advanced fields, check out Shack Forms.
What's Next?
This tutorial is taken from "Joomla 3 Explained", the best-selling Joomla book. If you join the Everything Club you can get a copy of Shack Forms and also Joomla 3 Explained.


