Shack Locations is the best way to create a location-based directory in Joomla. You can create advanced directories with custom maps, markers, infoboxes and hundreds of locations.
In this guide, we'll show you how to add details to your locations using custom fields.
By default, a location page will display the following information:
- The Google map of the location
- The "Get Directions" search box of the location.
However, with custom fields, you can add a lot of extra, helpful information. For example, you can add these details using fields:
- The URL of the location's website
- The email address of the location
- An image for the location.
You can display this additional information with Shack Locations custom fields. I will walk you through them in this blog post. For my demonstration, I will use the Museum of Modern Art (MOMA) in New York City.
What is Shack Locations?
Shack Locations is the best way to create a location-based directory in Joomla.
With Shack Locations, you can create advanced directories with custom maps, markers, infoboxes and hundreds of locations.
You can add details to your locations using custom fields. And, you can give your users the ability to search and filter through the locations.
Video Guide to Custom Fields
Introduction to custom fields in Shack Locations
Take a look, at my demonstration page of the Museum of Modern Art (MOMA) in New York City:
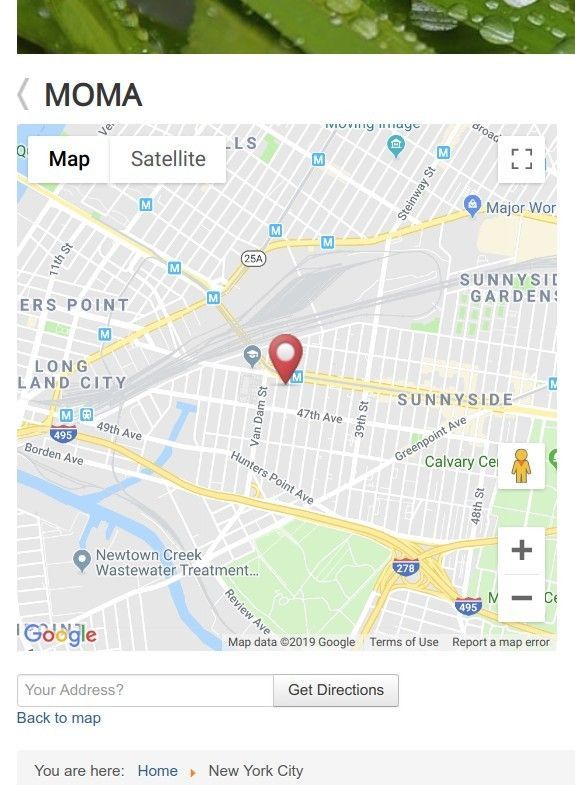
As you can see on my screenshot, by default, the MOMA location page displays:
- The Google map of the MOMA location
- The "Get Directions" search box of the MOMA location.
What if you would like to display some more useful information for your MOMA location viewers?
For example, you would like to display the following useful information about the MOMA:
- The URL of the MOMA website
- The MOMA contact email address
- The image of MOMA main entrance
- What type of museum MOMA is
- What type of audience MOMA is suitable for.
You can achieve this with the following custom fields in your Shack Locations:
- "Link", to display the URL of the MOMA website
- "Email", to display the MOMA email address
- "Image", to display the image of MOMA main entrance
- "Select List", to display what type of museum MOMA is
- "Multi Select", to display what audiences MOMA is suitable for.
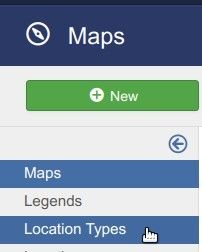
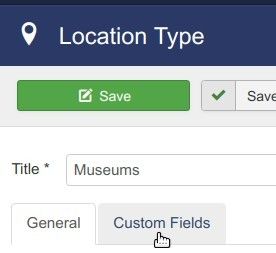
You would start this process by going to the "Location Types":
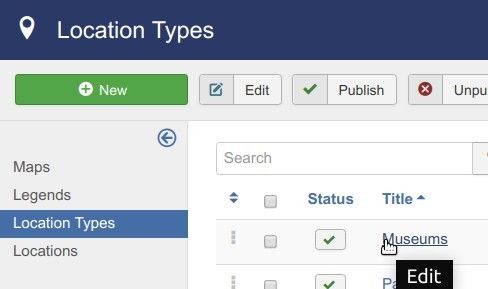
You will be taken to the "Location Types" screen. You would click on the title of your location type. For my demonstration, I clicked "Museums":
On the opened "Location Type" screen, you would click the "Custom Fields" tab:
Now you can start creating your required custom fields.
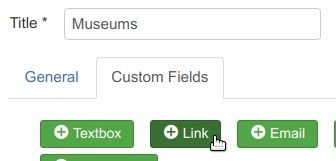
As we discussed earlier, the first custom field on your list was a field to display the URL of MOMA website. This is exactly what the "Link" custom field is for.
You would click the "Link" button:
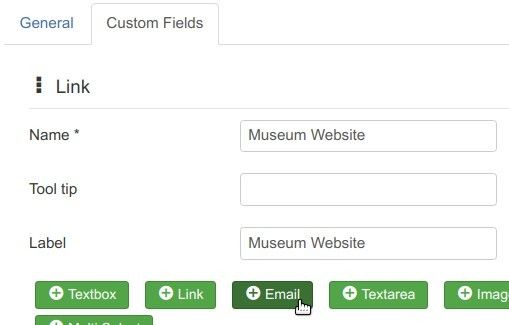
You would enter "Museum Website" in the "Name" and "Label" fields.
Next, you wanted to create a custom field to display the MOMA email address. Here the "Email" custom field comes in handy. So, you would click "Email":
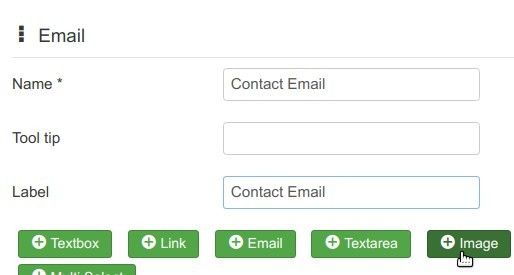
You would enter "Contact Email" in the "Name" and "Label" fields. Next on your list is to add the image of the MOMA main entrance. You would click "Image":
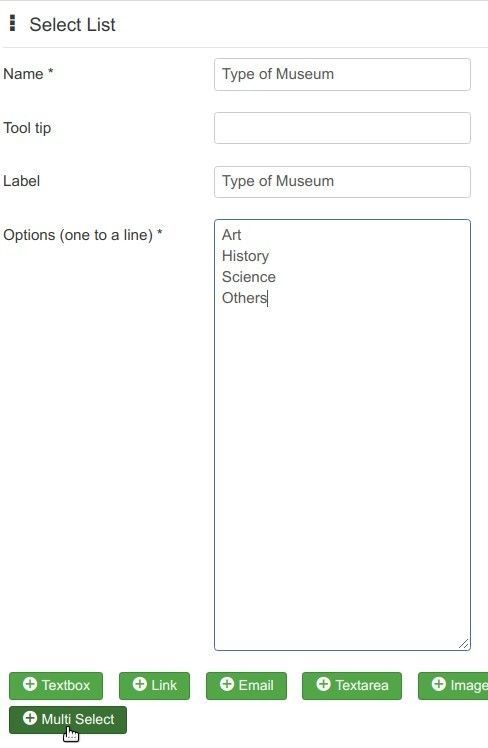
You would enter "Museum Main Entrance" in the "Name" and "Label" fields and click "Select List":

You would enter "Type of Museum" in the "Name" and "Label" fields. In the "Options" field, you would enter, each on its own line:
- "Art"
- "History"
- "Science"
- "Others".
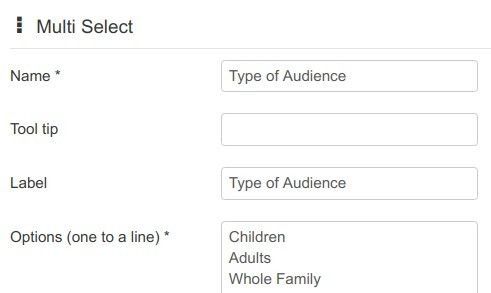
Then you would move on to the last field - the type of audience. You click "Multi Select":
For this custom field, you would enter "Type of Audience" in the "Name" and "Label" fields. In the "Options" field, enter, each on its own line:
- "Children"
- "Adults"
- "Whole Family"
Now is a good time to save your custom fields. You click "Save & Close".
Good job! You now have the required custom fields. But they are empty.
Let's fill them in with the information you would like those fields to display in our MOMA location page.
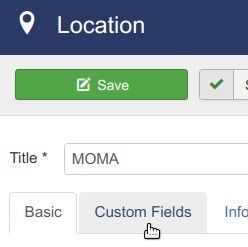
To do that, you would go to "Locations" > MOMA and click the "Custom Fields" tab:
Here you would fill in all of your newly created custom fields:
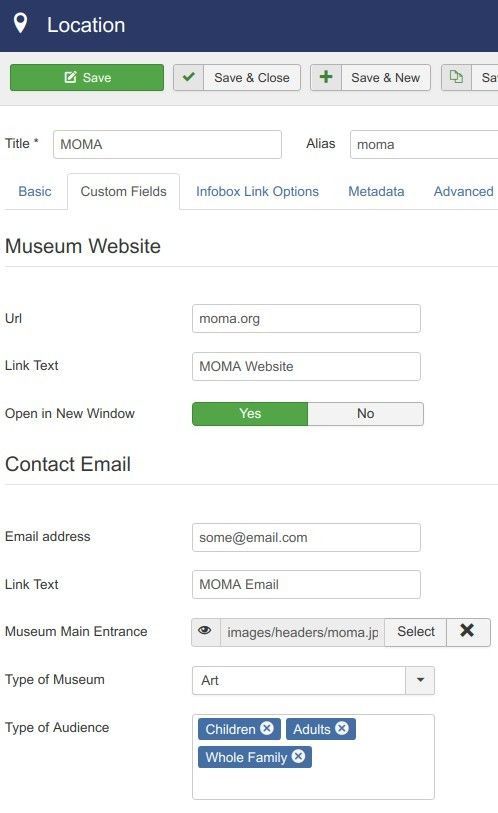
Excellent! You save your changes. When you check the MOMA location page again, you will see the custom fields at work:

What's Next?
Save $1,000's when you sign up to Joomlashack's Everything Club.
You will get access to all our 32 extensions, and legendary support!
Click here to join the Everything Club
About the author