Docman is perhaps the most popular way to handle documents in Joomla. This tutorial will show you how to use it.
Download Docman
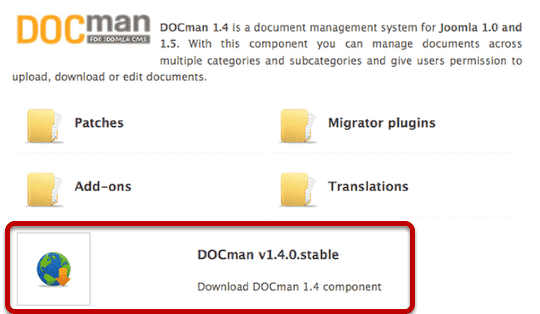
Visit https://www.joomlatools.eu/docman-14.html and download Docman v1.4.0. There is a more modern version of Docman that is commercial. We're using the free version in this tutorial.
Enable the Legacy Plugin

Login to the administrator area of your Joomla site and go to Extensions >> Plugin Manager. Click to enable the "System - Legacy" plugin.
Install Docman

Go to Extensions >> Install/Uninstall and click "Browse" to upload Docman
Add a New Category
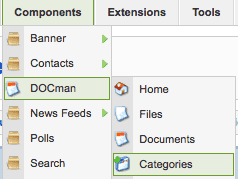
Go to Components >> Docman >> Categories and click "New" in the top-right corner.
Name and Save the Category
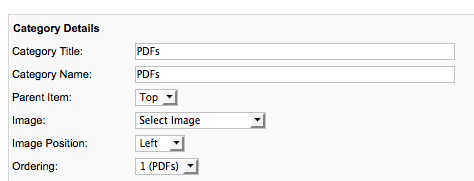
Give your new category a name and click "Save" in the top-right corner.
Start Uploading Documents

Click "Files" and then "Upload" in the top-right corner.
Choose Upload Option

Normally you'll want to keep this option as it is and just click "Next>>>"
Upload Your File

Browse to find your file and then click "Submit"
Choose to Make a New Document
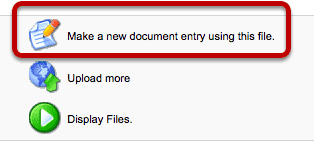
Once you have uploaded your file, the next step is to create a "Document" out of it. That simply means giving it a name, description and other details. Click "Make a new document entry using this file."
Add Details to the Document
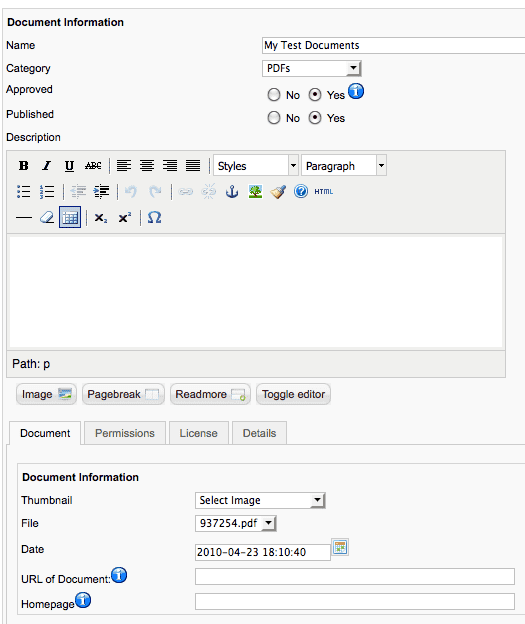
Make sure that both "Approved" and "Published" are set to "Yes". Then click "Save".
Verify that Your Document is Created

Hopefully your new document will appear as above.
Make a Menu Link to Docman
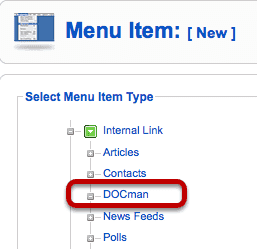
Go to Menus >> Main Menu >> click on "New" >> choose "Docman". Choose a title for your menu link and click "Save".
View Docman On the Front of Your Site
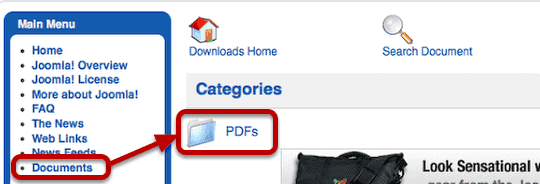
Click "Preview" in the top-right corner and you'll see your new menu link. Click on it and you'll see your Docman category. Open the category to see your file
Extra Feature: Docman Groups
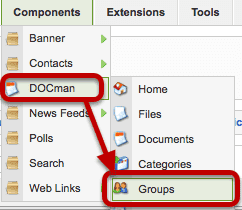
Docman also has a very powerful permissions system that allows you to control who can and cannot access documents. Start by going to Components >> Docman >> Groups
Creating a Docman Group

Click "Add" in the top-right corner". You can create a group of users simply by moving them from the "users available" list to the "Members in this Group" list.
Giving Groups Access to a Document
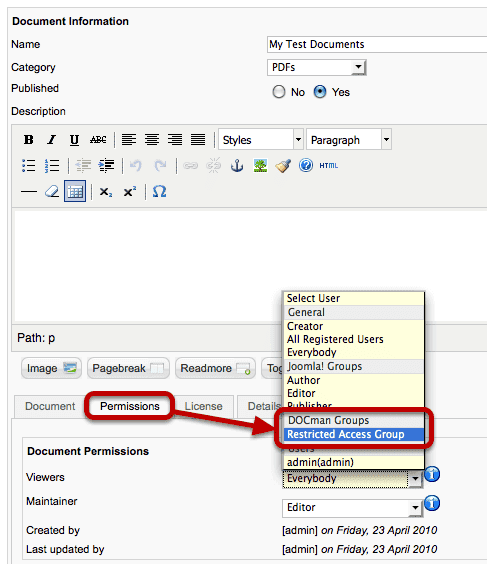
Now when you open up any document you can click "Permissions" and give access only to a certain group of users.
