This tutorial will show you how to upload Joomla files to your server using the CPanel provided by your hosting company. There are many possible reasons to do this. The reason we wrote this tutorial was the request of a customer whose files had been hacked. They needed to restore a clean set of Joomla files over the top of those that had been corrupted.
Step #1. Visit Joomla.org
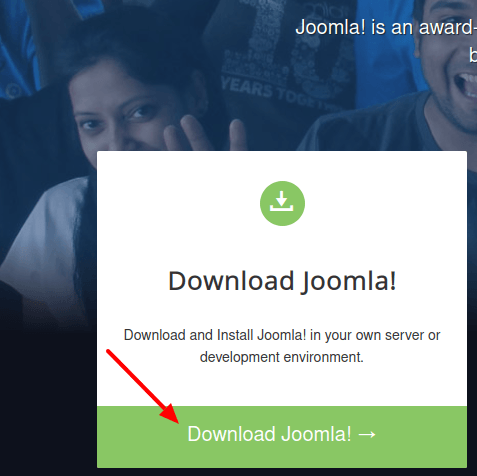
- Visit joomla.org and click on the "Download Joomla!" button.
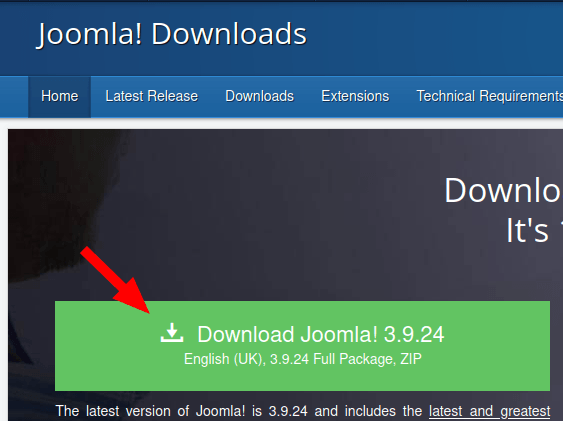
- You will see the "Joomla! Downloads" page. Click the green "Download Joomla!" button.
Step #2. Login to Your Cpanel
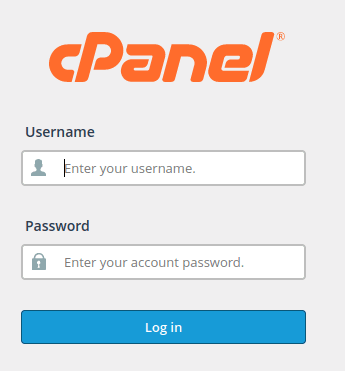
- Often you can access your CPanel just by adding /cpanel to your domain name ... example.com/cpanel
Step #3. Access Your File Manager
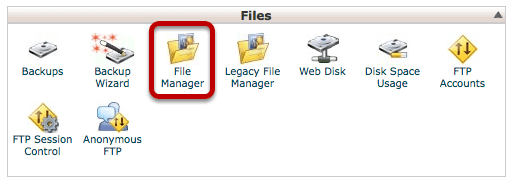
- Although your screen may not look 100% identical to the one above, every version of Cpanel does come with a "File Manager" option somewhere.
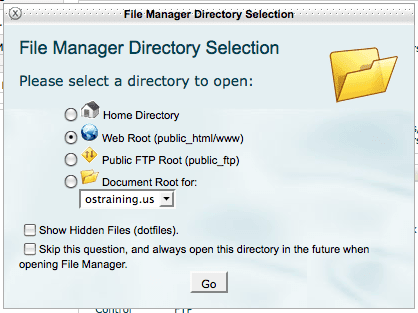
Step #4. Go to Your Web Root
Step #5. Overwrite Required Files
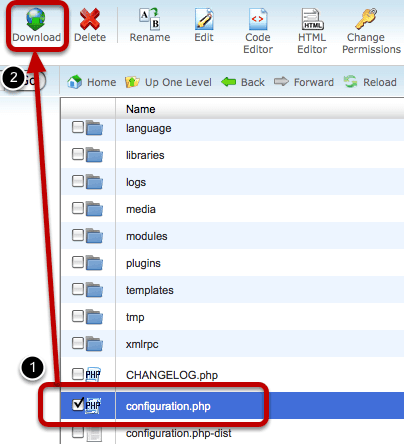
- If you're looking to overwrite existing files, be sure to make a backup of your configuration.php file. You'll need that for your site to continue to run properly.
Step #6. Visit the Upload Area

- Click the "Upload" button.
Step #7. Upload Your Files
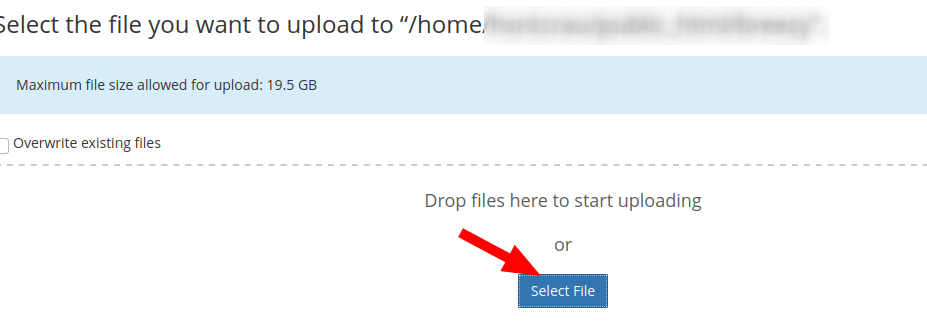
- Depending on your PC, hit either "Browse" or "Select" and select the Joomla files that you downloaded earlier.
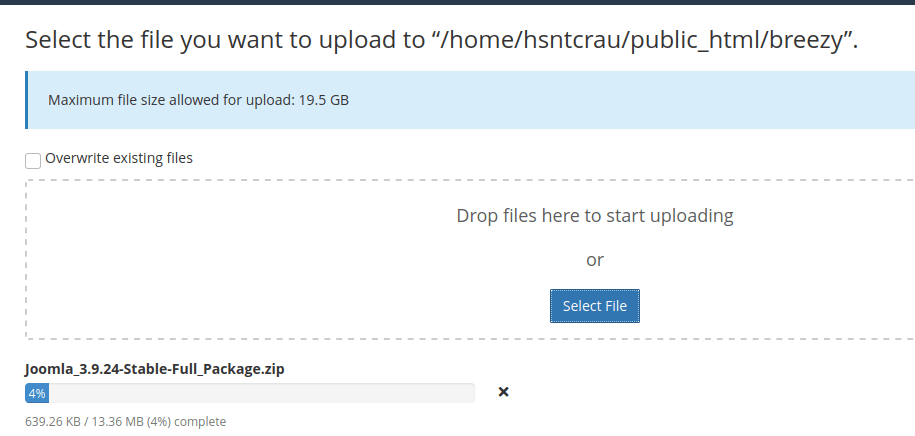
- This will trigger the file upload.
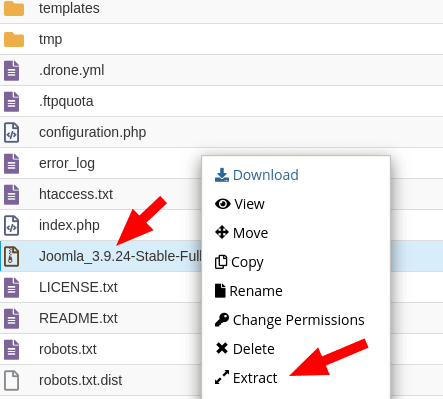
- Once the upload finished, you will see the Joomla file listed. Right-click on the file and click "Extract".
Step #8. Final Steps
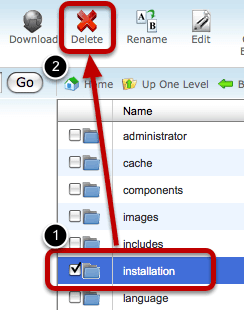
If you want to replace your existing Joomla site and keep your site running, you'll now need to do two more things:
- Re-upload your configuration.php using the configuration.php process as before.
- Delete the /installation folder as per the image above.
What's Next?
Save $1000's when you sign up to Joomlashack's Everything Club.
You will get access to all our 32 extensions, templates, and Joomla training.

