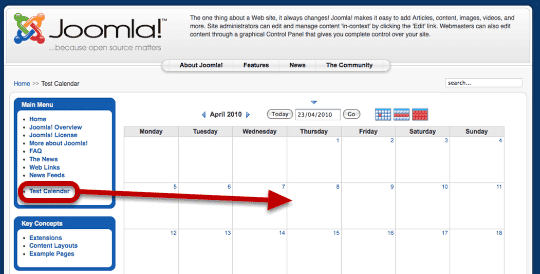
This tutorial will show you how to display a Google Calendar inside your Joomla website.
Go to Your Google Calendar
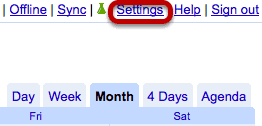
Go https://www.google.com/calendar, login and and click "Settings" in the top-right corner.
Find the Calendar ID
Click on "Calendars" and then click on the name of your calendar. Scroll down to "Calendar Address" and copy the "Calendar ID" to your notepad. It will have a long string of characters and then @group.calendar.google.com
Make the Calendar Public
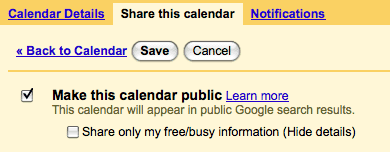
Click "Share This Calendar", check the box next to "Make this calendar public" and click "Save".
Download the GCalendar Component
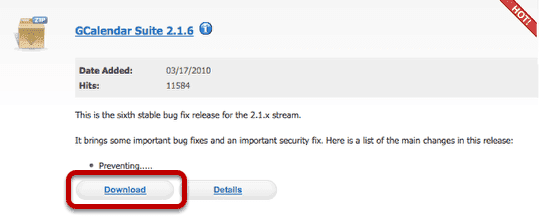
Now that you have your Google Calendar set up correctly, we're going to install the necessary Joomla component. Visit https://g4j.laoneo.net to download the GCalendar component
Extract the GCalendar Folder
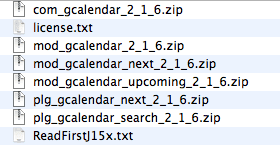
Click on the GCalendar folder and extract it so you can see the various extensions inside.
Install GCalendar
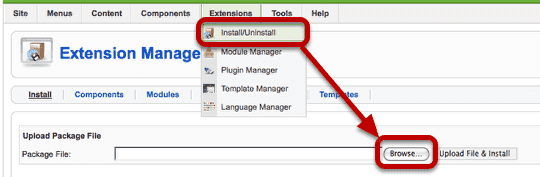
Go to Extensions >> Install/Uninstall and click "Browse" to upload com_gcalendar
Go to the GCalendar Component
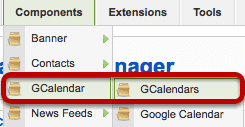
Go to Components >> GCalendar >> GCalendars
Creating a New Calendar
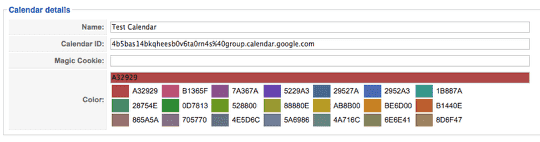
Click "New" in the top-right corner. You'll see three fields. You only need to give the calendar a title and enter the "Calendar ID" you found and saved earlier. Click "Save"
Make a Menu Link to the Calendar

Go to Menus >> Main Menu >> click "New" >> choose "GCalendar"
Choose the Calendar
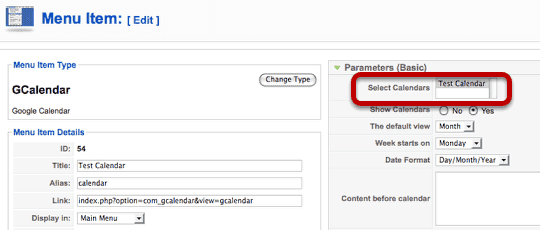
Choose the calendar you created and click "Save".
Your Calendar Should Be Ready ...