This lessons will show you how to insert an image into a Joomla module and make it appear to your site visitors.
Go to the Module Manager
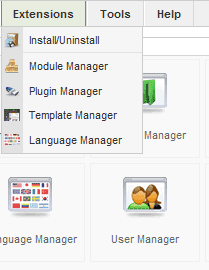
Go to Administrator >> Extensions >> Module Manager
Click to Create a New Module
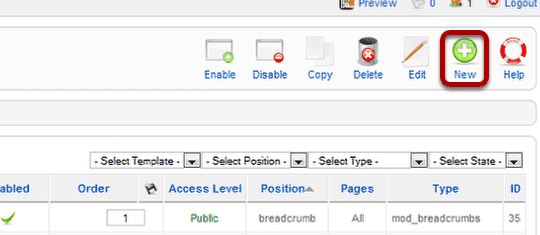
Click "New" in the top-right corner
Choose "Custom HTML"
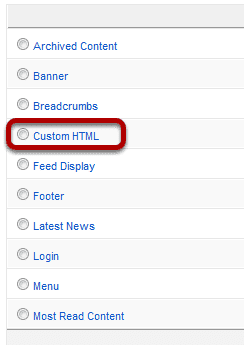
We can choose to create any kind of new module here. We'll choose "Custom HTML".
Find Your Image
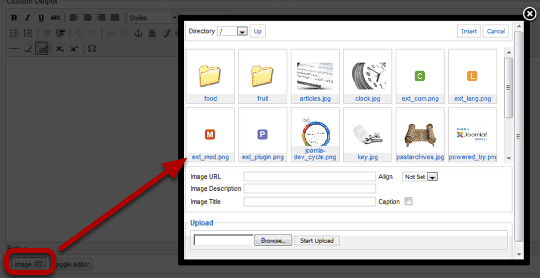
Click the Image button at the bottom of the page. You'll see a pop-up window. Either choose an image from here or click "Browse" and upload your image.
Insert Your Image
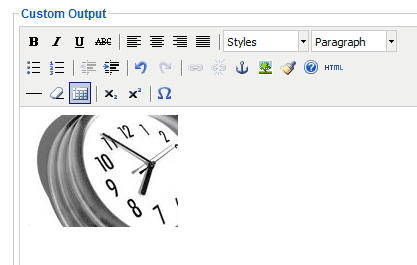
Click "Insert" and your image should be in the text editor.
Configure the Module
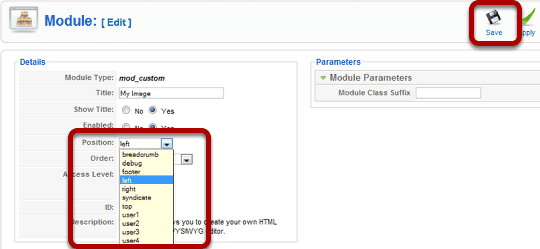
Choose your module position from the dropdown and then click "Save"
See the Image On Your Site
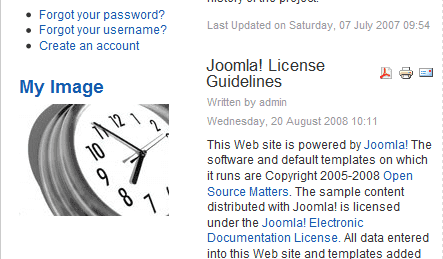
Visit the front of your site and the image should now appear on the page.