There are two features in Joomla that allow you to easily place modules directly inside articles:
- loadposition allows you to publish all the modules in a particular position.
- loadmodule allows you to publish just one particular module.
One of our students was using these features to create a layout but wasn't happy with how it looked inside his article. He wanted more control.
This tutorial will show you how to place modules inside your article with more style.
Part #1. Enable the Load Modules plugin
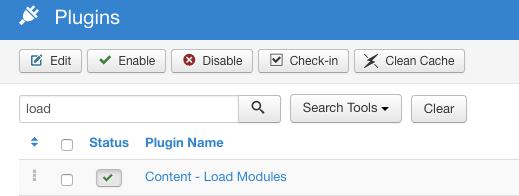
- Go to Extensions > Plugins.
- Use the filter to find the "Content - Load Modules" plugin.
- Check that the "Status" column shows a green check. If it's a red circle, click it and it will turn green.
Part #2. Use the Module Button
The Module button is by far the easiest way to place a module in a Joomla article.
In this example, I'm going to use the excellent Shack Forms extension from Joomlashack. If you're new to Shack Forms, try the Quick Start guide.
- The key thing to do is choose the "Static" option when you're creating your Shack Form. This is the "Layout" option on the first screen of Shack Forms:

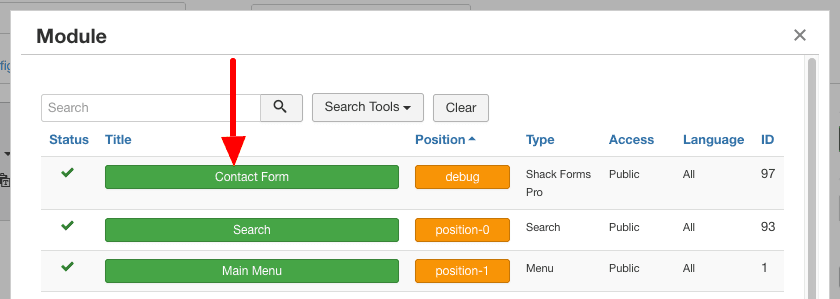
- Once you save a form in the Static position, click the "Module" button in the Joomla text editor.

- Click the green button for the module you created:
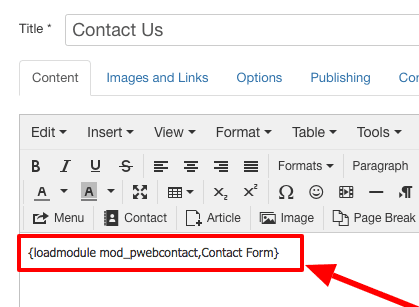
- The module will now be placed into the article, using the "loadmodule" shortcode.
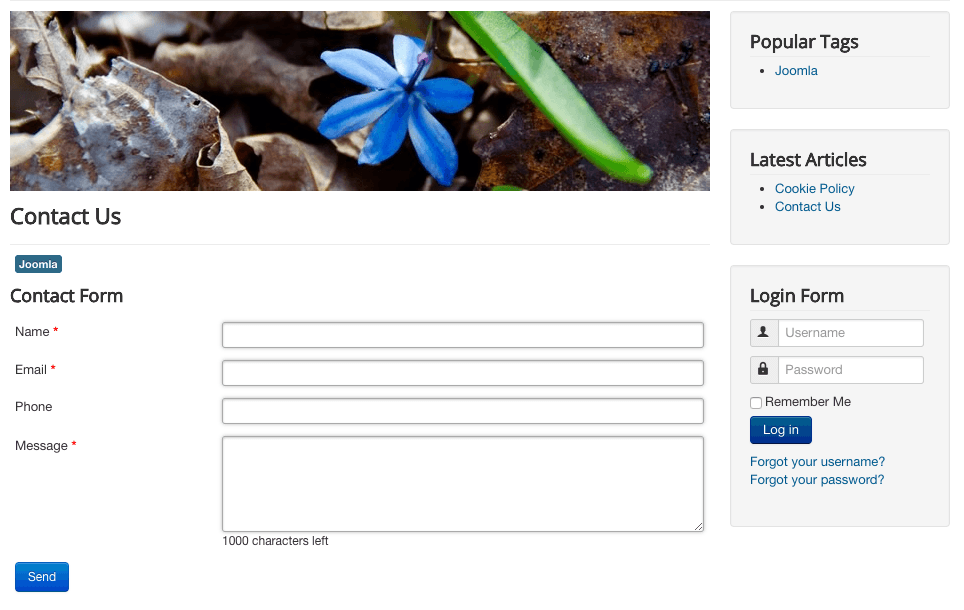
- Save the article and visit the front of your site. You will be able to see your new form live on your site:
Part #3. Type in loadmodule and loadposition
It is possible to create these shortcodes by hand. This can give you more control over the syntax. It's also useful if you are not using the default Joomla text editor.
- Create an article.
- Load the login module by typing . You can use this syntax to load any module by name.
- Load the Who's online module by position by typing
There is no actual template position called whoonline. You can make up your own module position names and use them for this technique. We'll show you how it gets created as we go. For now, just create an article.
I'm supposing this scenario. It's a membership drive, we want you to be able to sign up. If there is somebody online right now, we want you to click their name and get in touch. If it was real, I'd use something more powerful like a contact form module or a list of contacts. For this demonstration we just need some modules we all have access to so we can practice.

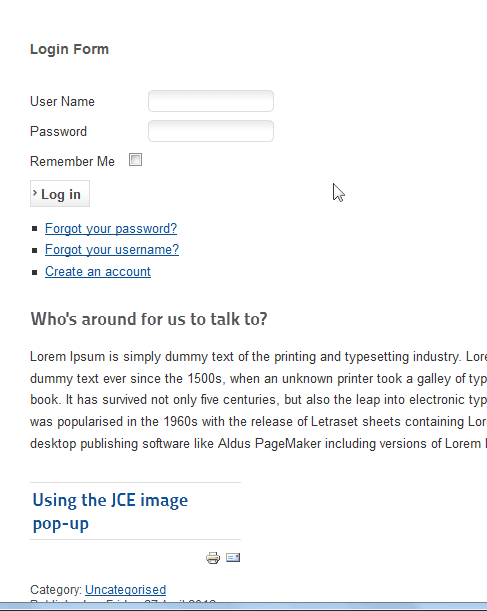
The image above shows what the page looks like. We currently don't have the modules showing yet. Let's learn how to put the modules in these positions. We already wrote the shortcodes, so let's create the modules for it.
- Go to Extensions > Module Manager > New.
- Choose the "Who's Online Module".
- Give the module title.
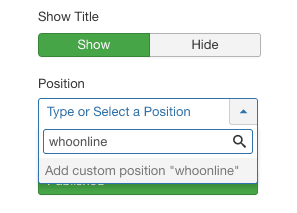
- On the right side of the screen, create a position name. You can do this simply by typing in the "Position" box. In the example below, I'm typing "whoonline". You can use any name you want as long as it is unique.
- Click "Add custom position".
- Save your module.
- View the article. Our newly published module now shows inside the article. So far we have loaded a module by name and by position.
Part #4. Create divs for placement and styling
Both our modules are inside the article but they don't look very good yet.. Let's put the two modules side by side.
- Edit your article and turn your editor to code view. If you have any problems at this point, please consult this tutorial.
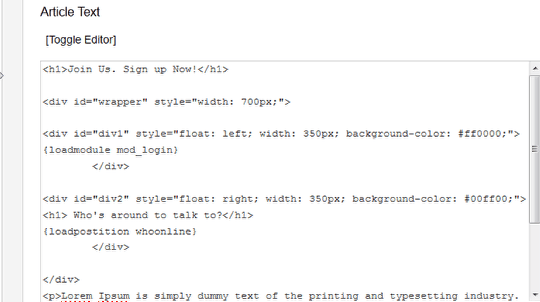
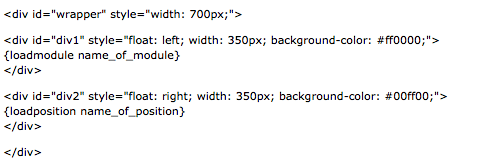
- One of the best ways to put these side by side is to use div tags. Create a wrapper, and float two more divs inside of it. Put your loadposition/loadmodule code inside the divs.
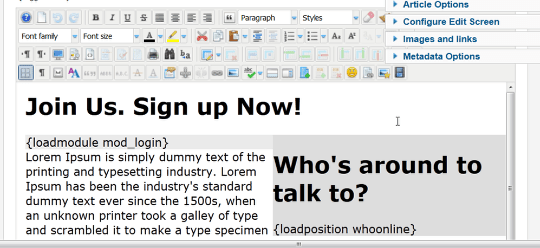
- This is what the article looks like in the editor view.
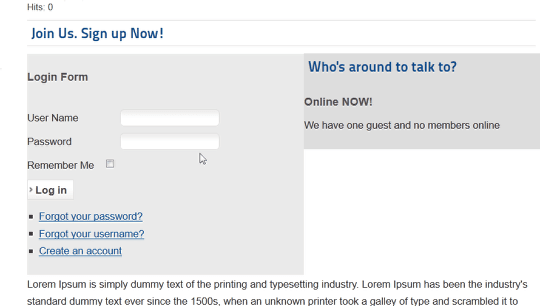
- It looks better on the front of the site:
If you know how to style with CSS you can use inline styles or get classes from your stylesheet and create any look you want. You can position them color them, add additional text and pictures and much, much more.

