JSN PageBuilder by JoomlaShine makes it possible to create custom layouts. It does this by turning an article into a page with customizable rows and columns. The process is so easy that anyone can do it.
In this tutorial, we'll introduce you to JSN PageBuilder and show you, with examples, how to build a page.
Step 1. Installation
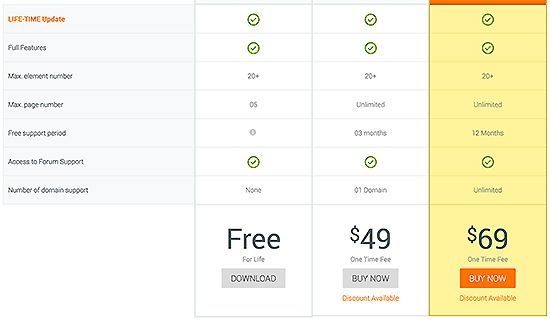
For this tutorial, we'll use the pro version of the extension.
Go to the JSN PageBuilder extension page and choose the plan that suits your needs.
If you choose the free version, please take note that it has some limits.
- Login to your Joomla administrator area.
- Go to Extensions > Extensions Manager.
- Click Upload a Package File and browse for the zip file.
- Click the Upload and Install button.
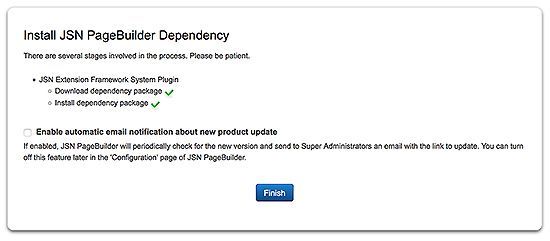
- Wait until you see the installation has completed and press the finish button.
Step 2. Create an article
Go to Content > Article manager > Add new article
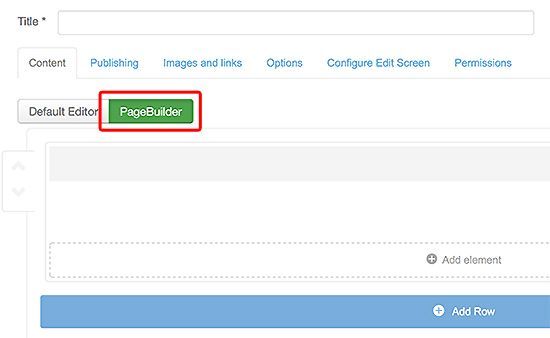
This is how you create an article in the regular way. Now, notice there is a new feature in the edit screen above the content area that allows you to switch between the default editor and the PageBuilder.

Click on the PageBuilder button
Step 3. Add a row
You can add rows with a predefined number of columns. Click on the Add row button and choose the columns you need. In this example, we'll choose 2 columns.

Now that we have a new row, it's time to add elements.
Step 4. Add a Text element
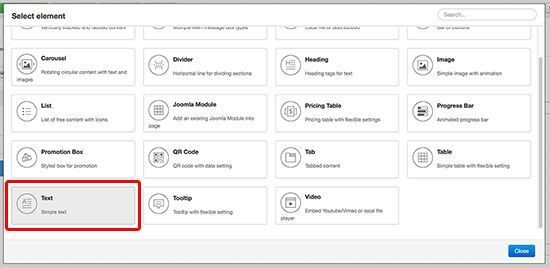
- Click on the Add element button

- From the list, choose Text
In the next screen you can add your title and text, as well as preview the final result. For advanced options, click on Styling tab to choose font, margins and animation.
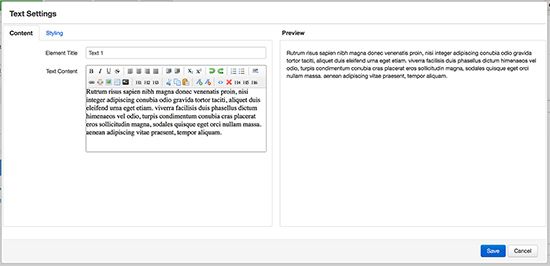
- When you are done, click the save button.
Step 5. Add a Joomla module
- Click on Add element button
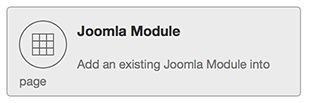
- Choose Joomla module
- Add title
- Choose the module

- When you are done, click the Save button.
Step 6. Add an Image element
- Click on Add element button
- Choose Image

- Add title
- Choose the image file
- Set an alternative text
- Choose the image size
- Enable a link

- When you are done, click the Save button.
There are many more elements available in JSN PageBuilder, such as tabs, audio, video, etc.
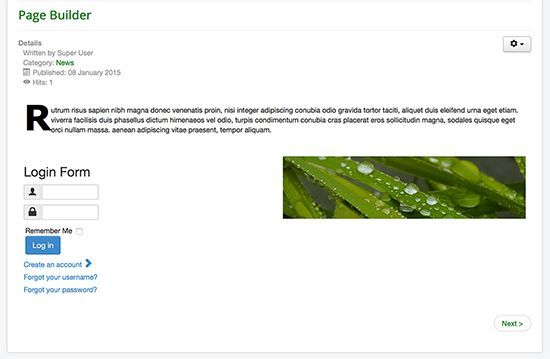
Step 7. Final result
- Go to your public site and see how it looks: