This tutorial will show you how to host your website on a CDN (content delivery network).
A CDN solves the problem of hosting your website in only one part of the world:
- If your server is in the U.S.A., it's going to load much more slowly for visitors from Australia
- If your server is in Germany, your visitors from India are going to be waiting a long time.
CDNs solve that problem by hosting your content on multiple servers around the world. The client accesses the copy of the data that is nearest to them instead of pulling it directly from your central server. This speeds up load time and eliminates bottlenecks!
jomCDN is a Joomla extension that automatically collects your site's assets (images, Javascript files, CSS files, etc.), synchronizes them with Amazon's servers and relinks all your page content to the Amazon servers. Once it's set up, each person gets your sites file from the Amazon server nearest to them. Wherever your site visitors are in the world, they'll be happy.
Here's how to use jomCDN:
Download jomCDN
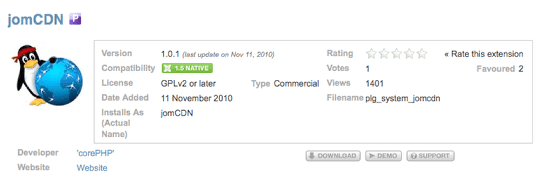
jomCDN is made by CorePHP.com and costs $29. Click here to view the product's page on extensions.joomla.org.
Install a Speed Test
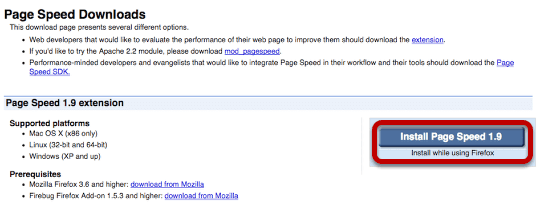
In order to see whether jomCDN speeds up your site, we're going to need an independent test. A good choice is Page Speed from Google. It works with the Firefox browser and the Firebug extension.
- Click here to download Firefox (if you don't currently have it)
- Click here to install Firebug
- Click here to install Page Speed
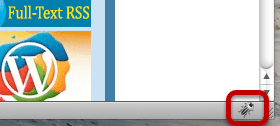
When you have Firebug installed, visit the page you want to analyse and click on the small bug icon in the corner of your Firefox screen. That will enable Firebug.
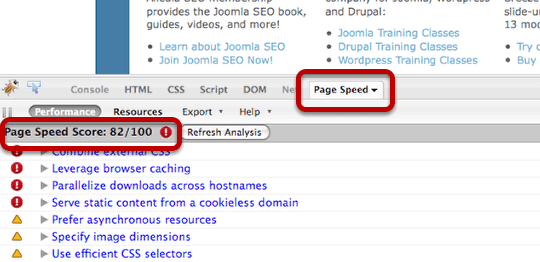
I'm going to analyze Joomlashack where I sometimes write blog posts. I clicked on the Page Speed tab and then clicked on "Analyze Performance".
It produced a score of 82 out of 100 for this site. It also points out some areas in which I could improve the speed of this site.
Let's set up jomCDN and see what the score is afterwards.
Signing up for Amazon S3
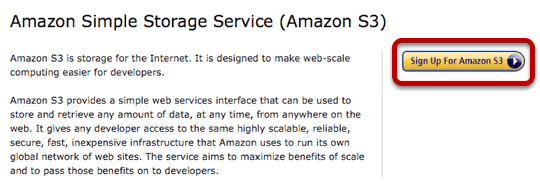
Lots of the Joomla files that we have on our site are going to be transferred to Amazon's servers, so we need to set up an account there. Go to https://aws.amazon.com/s3/ and sign up. The hosting is very, very cheap and will likely only cost you a few cents per month.
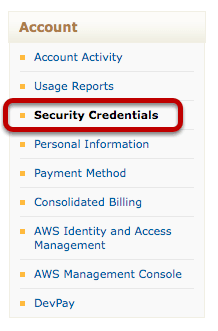
Once you've signed up, you'll need to do two things.
- Go to Account >> Security Credentials and get both a "Access Key ID" and a "Secret Access Key" (screenshot above)
- Go to AWS Management Console and click "Create Bucket". Enter a name that you'll remember (screenshots below)
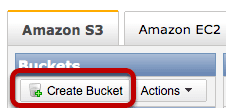
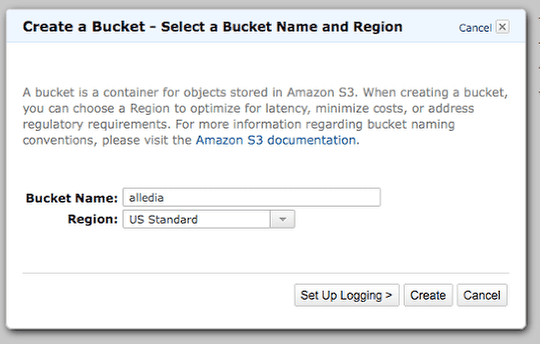
Hopefully now you're finished you'll have three details written down:
- "Access Key ID"
- "Secret Access Key"
- The bucket name
Set up Amazon CloudFront
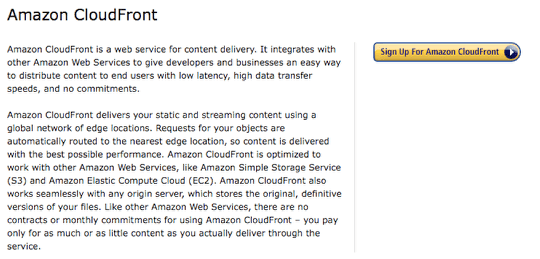
We now need to sign up for a second Amazon service.
- Amazon S3 is where our files will be stored.
- Amazon CloudFront is the actual CDN system which we send our files to a server in Australia for our Australian visitors, to a server in Germany for our German visitors and so on.
Go here to sign-up: https://aws.amazon.com/cloudfront/. You will need to use the same account details as you used for Amazon S3.

Once you're logged in to Amazon Cloudfront, click "Create Distribution". The only thing you need to do is choose the bucket name that you created earlier:
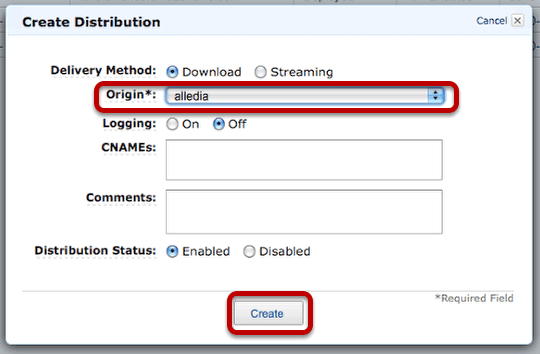
When you've saved that, you'll get a row of information about the setup. The one column you need to copy is the "Domain name".
Now that you have that, place it with the information you had earlier. You should have these four pieces of data:
- "Access Key ID"
- "Secret Access Key"
- The bucket name
- The domain name
Install and Configure jomCDN
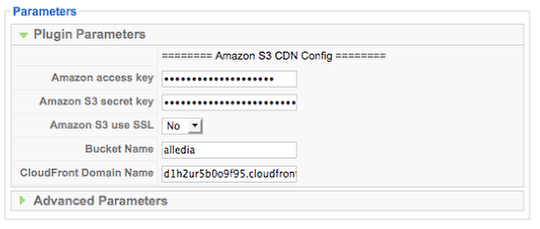
- Go to your Joomla site and install the jomCDN plugin.
- Go to Extensions >> Plugin Manager and open it up. Here you'll need to enter those four pieces of information we collected earlier.
- Enable the plugin and click Apply
There's one final task to do now. We need to set up a cron job. That will allow us to regularly update the file on Amazon's servers.
Inside the plugin, scroll down to the "Complete setup" field. There will be a URL for the cron job with the format htttp://yourdomain.com/?cdn_run_cron.
A note: if you're using Shell access, the URL will be different. Please read the JomCDN instructions for further details.
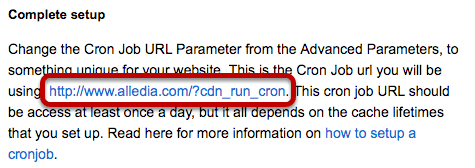
Click that link and you should see a list of all the Joomla files being added to Amazon's servers:

If you don't see this message, its likely that another plugin is blocking it from working. To fix the problem, go to Extensions >> Plugin Manager and disable the plugins one-by-one until the cron job works. The most likely culprits are other compression / speed plugins that you'll find in the Plugin Manager under the "System" category.
Note: once the cron job link is working successfully, go to the "Advanced Parameters" tab inside the Extensions >> Plugin Manager >> jomCDN and change the "Cron Job URL Parameter" part of the URL to something else. As Alejandro notes in the commnets below, it's not safe for other people to know this URL.
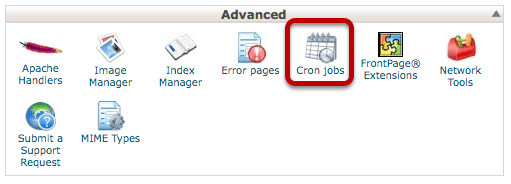
Now you have a secret, successful URL, you're ready to set up the cron job. Each host is likely to be different, but our host Rochen.com uses CPanel, a very popular hosting control panel.
Login to the hosting account and click on "Cron Jobs":
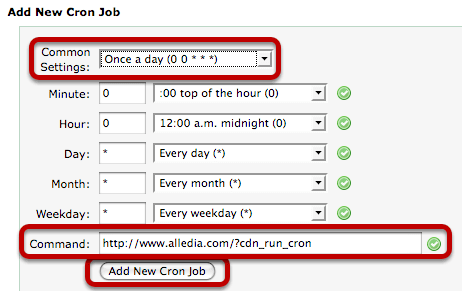
Choose a frequency for your cron job (once a day is a good choice, enter the URL of your cron job into the "Command' link and click "Add New Cron Job"
Test Your Setup
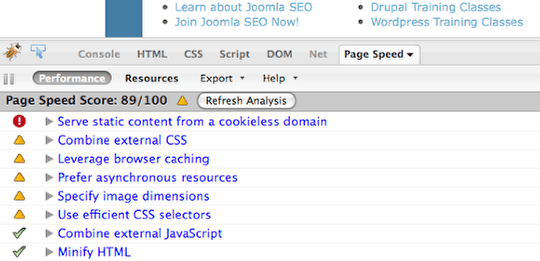
Now that my setup is complete, I'm going to use Page Speed once more to test the site's speed. This time it gives a result of 89/100 with far less important errors.
I've still work to do on speeding up the site, but jomCDN has helped by nearly 10 points out of 100.
