Many people install off-the-shelf Joomla templates or extensions and then want to modify their design.
If you want to add custom CSS to your Joomla site without hacking any existing files, we recommend the "Add Custom CSS" plugin.
In this tutorial, we'll show you how to use the Add Custom CSS plugin to safely tweak your site's design.
Step #1: Create a custom.css file
The most important is to know which CSS code you want to add. If you are not familiar with CSS, we have a CSS class that you will find helpful.
- Add your custom CSS into a file called mycustom.css.
- Upload that file to your site. In my example, I'll upload the file to my templates' CSS folder templates/mytemplate/css/mycustom.css, but you can place this file anywhere you wish.
Step #2: Download and Install the "Add Custom CSS" plugin
- Go to the extension page for "Add Custom CSS" and click the download button.

- Login to your Joomla administrator area.
- Go to Extensions > Manage:

- Click Or browse the file:

- Find the plugin installation file on your hard drive and click twice on its name to start its installation.
Excellent! You just installed the plugin you need to create your own custom CSS styles for your Joomla site.
Now it's a good time to configure it.
Step #3: Setup the "Add Custom CSS" plugin
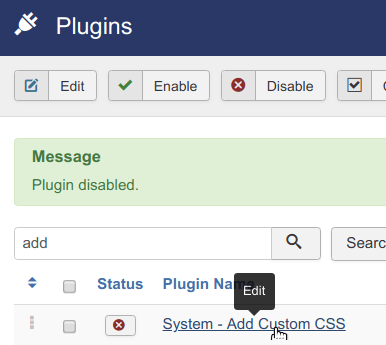
- Go to Extensions > Plugins.
- Search for "System - Add Custom CSS".

- Click on the plugin title to open the plugin for editing.
- In the Custom CSS File 1 Path field, enter the path to your CSS file. In this example, as I mentioned at the beginning of this tutorial, we chose the templates/mytemplate/css/mycustom.css path.

- Enable the plugin.
- Click Save & Close button.
Step #4: Check the final result
- Refresh your site and confirm if your new CSS code is being loaded.

