Content Templater is a simple to use tool that lets you create standard layouts for frequently used text or layouts. You can use it to create a product listing, a directory listing, or calendar entry that you need to repeat over and over.
It adds a button to the bottom of your article editing window, one click and the saved layout is added to your article or module. Update the information and you're done.
With Content Templater you can create predefined reusable content templates. Not only can you make complete standard page layouts, you can also use Content Templater for text snippets. So any piece of text you want to use more than once, just make a content template of it!
1. Download and install the plugin
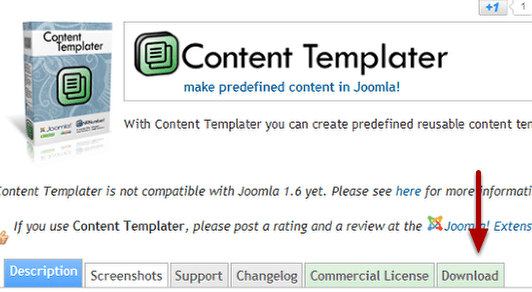
Download Content Templater from this link https://www.nonumber.nl/extensions/contenttemplater
Save it to your local computer in a place you can find it easily.
As of this writing this is only for J15, but an updated version is in the works for 1.7
2. Upload to your site
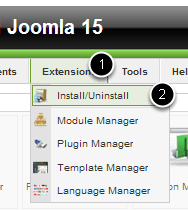
Go to Extensions > install/Uninstall
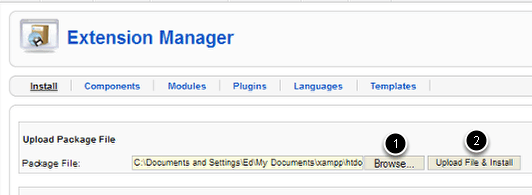
In the Extension Manager use Browse and find the downloaded file on your computer then click Upload File & Install.
3. Configure Content Templater
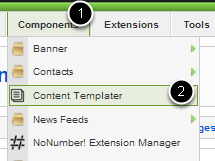
Go to Components > Content Templater

Click Parameters
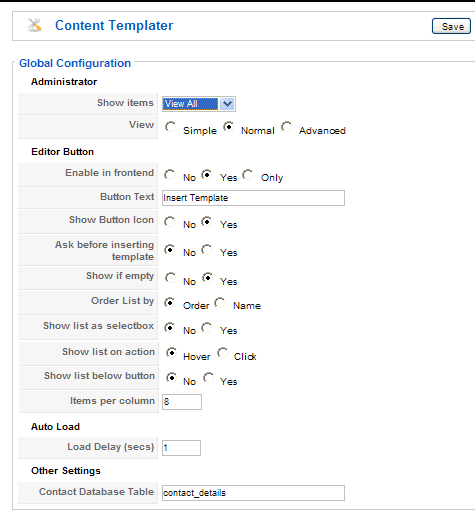
The Parameters are simple. The defaults work really well. You can return to this if you want to fine tune the behavior of the plugin. Save your changes, if any, and you're ready to start creating templates.
4. Create a template

Click New to start.
5. Add the descriptive information
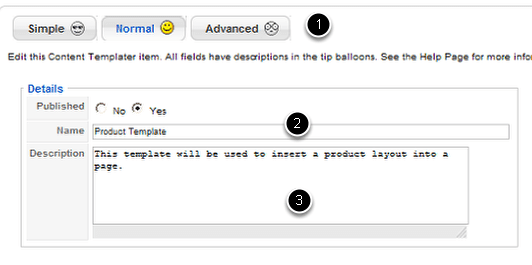
Start by choosing the view you want to use. The default setting is Normal. You can change this to whatever works best for you in the configuration step.
Give the template a descriptive name. This is not going to show in your article. It's for your use.
Give the template a description. This is also for administrators, and will not show anywhere on your site.
6. Use the editor to actually create the layout
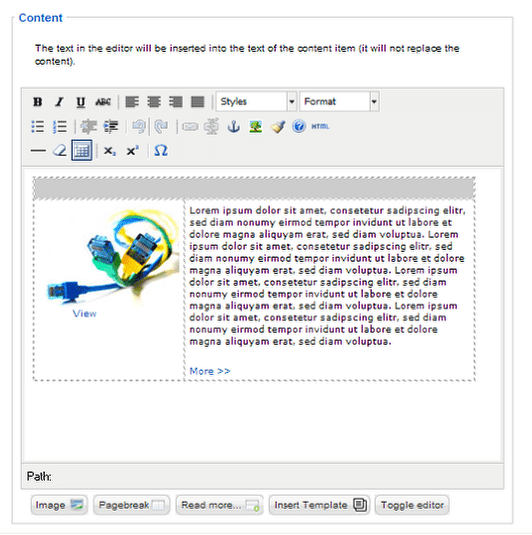
Create a layout standard template. Use placeholder pictures, you'll be replacing them and sample text. Format it with all the fonts, styling or colors you want to use.
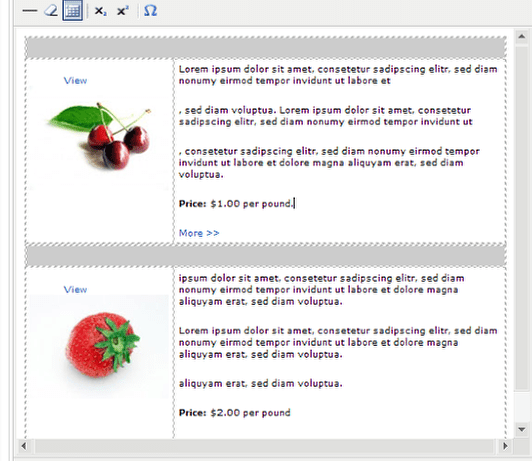
This could be a single item like the example above or an entire page layout. What you put here is only restricted by your imagination.
Now you're ready to use it.
7. Decide whether you want the template to auto load

If a template is set to Auto Load, it will be automatically inserted as soon as you create the article. If you don't set it to Auto Load, you will see a button at the bottom of the editing window when you create the article, and using the button will allow you to choose which template you want. Clicking the button will insert the template.
If the template is unpublished, you won't see it as a choice when you use the Insert Template button.
8. Create a new article in the Article Manager
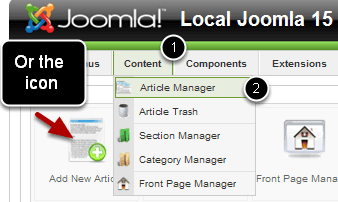
Go to Content > Article Manager then click the New button
Or
Just click the Add New Article icon in the dashboard.
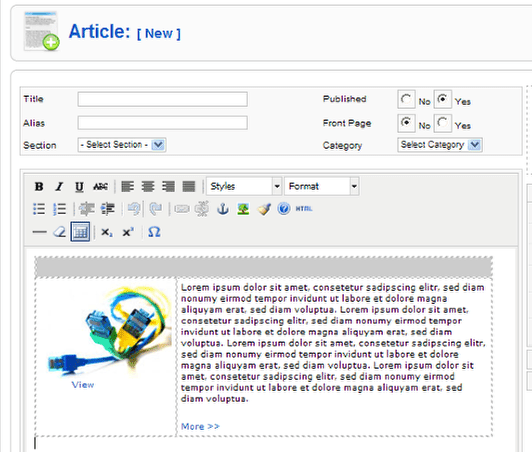
Your article editor will open up and the template will already be in place. If you chose not to auto load the template, you can do so from the Insert Template Button.
9. Use the Insert Template button to insert a template
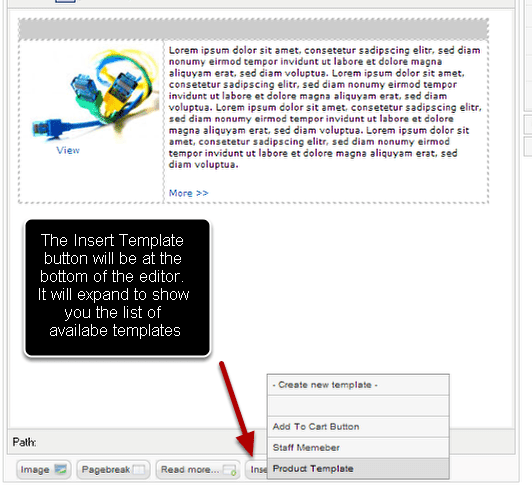
Choose the one you want. You can insert more than one template by repeating the process. Just click the name of the template.
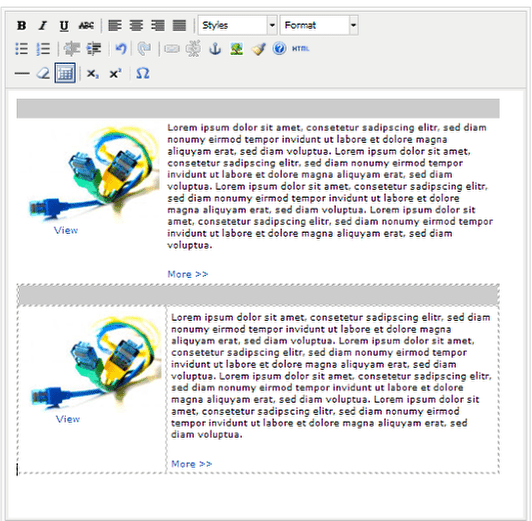
A copy of the template will be placed on the page. Now all you need to do is replace the placeholder pictures and change the content as needed.
